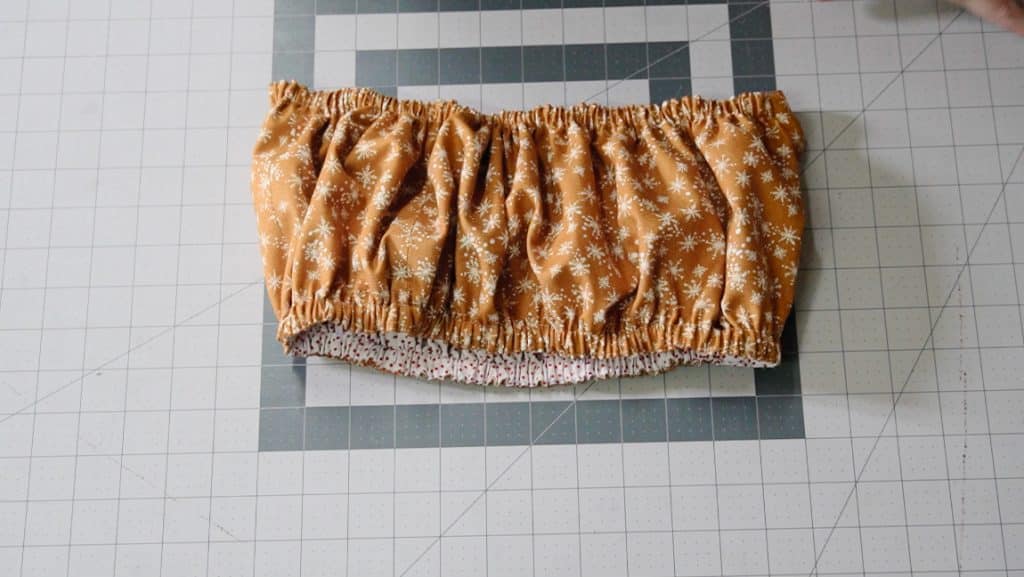
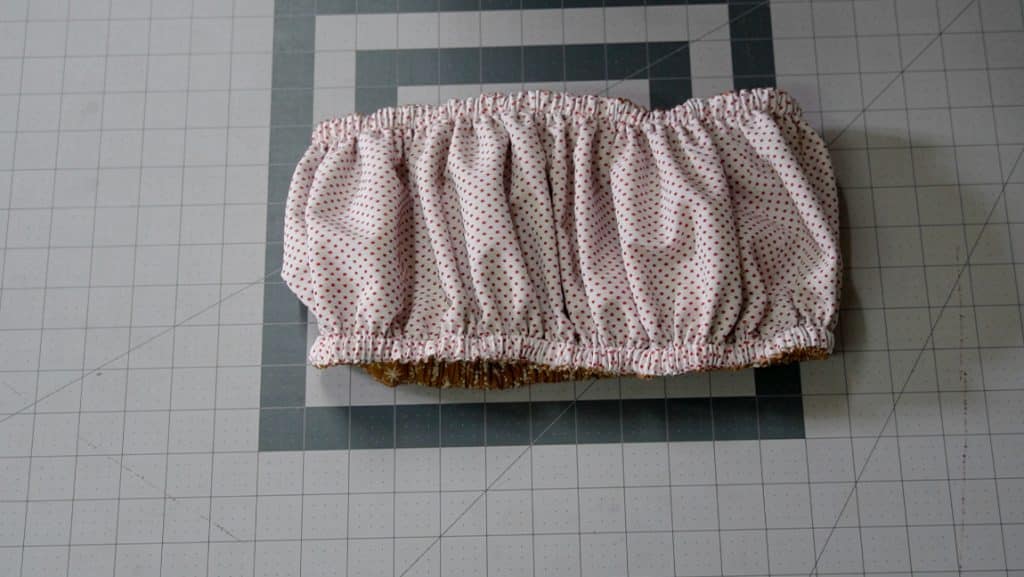
Basic Bandeau Tutorial for Summer Cosplays

This tutorial will walk you through how to make a basic bandeau to use for your next costume. You can also use this tutorial to create a basic swimsuit top if you’re going to a summer convention that has a pool. Just be sure to use swimsuit fabric for that (or fabric that can get wet). This was originally made to be a reversible bandeau design, but you can also just use the reverse side as a lining.
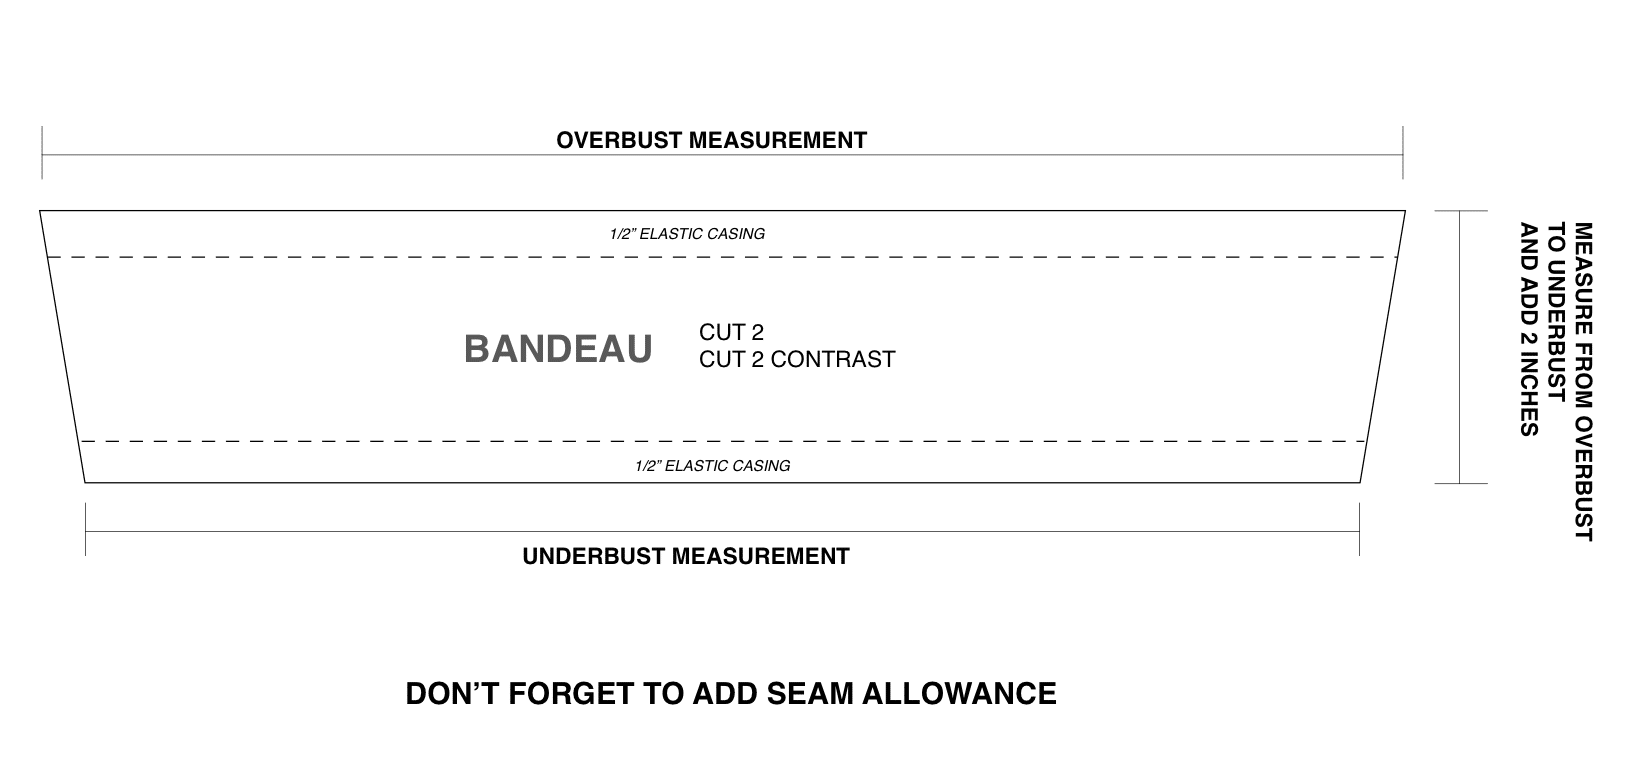
First, I’ll walk you through how to create the sewing pattern based on your measurements, then the step-by-step tutorial. Have fun!
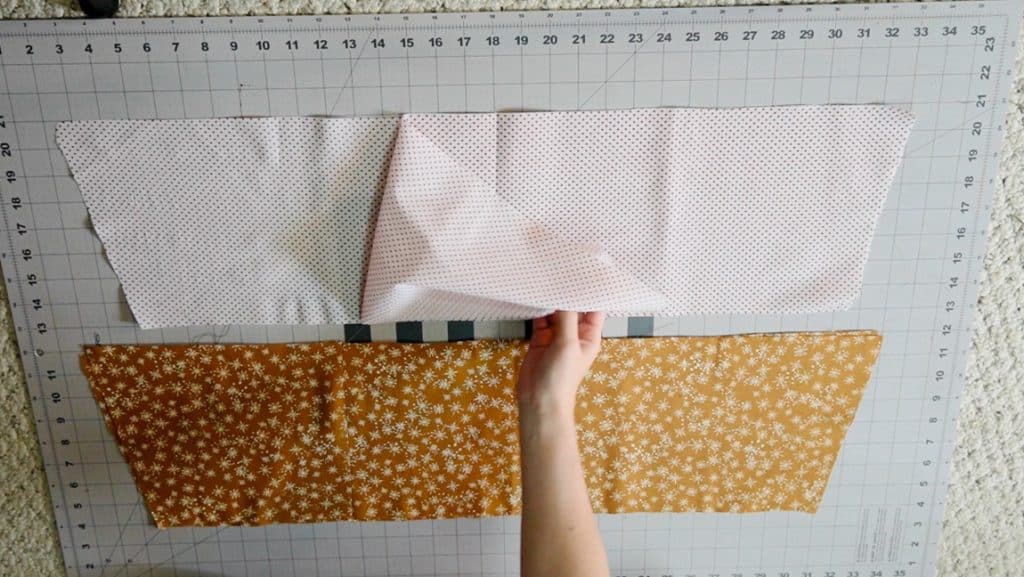
Make Your Pattern:
This page contains affiliate links. As an Amazon Associate, I earn a small commission from qualifying purchases.
Supplies Needed:
Step 1
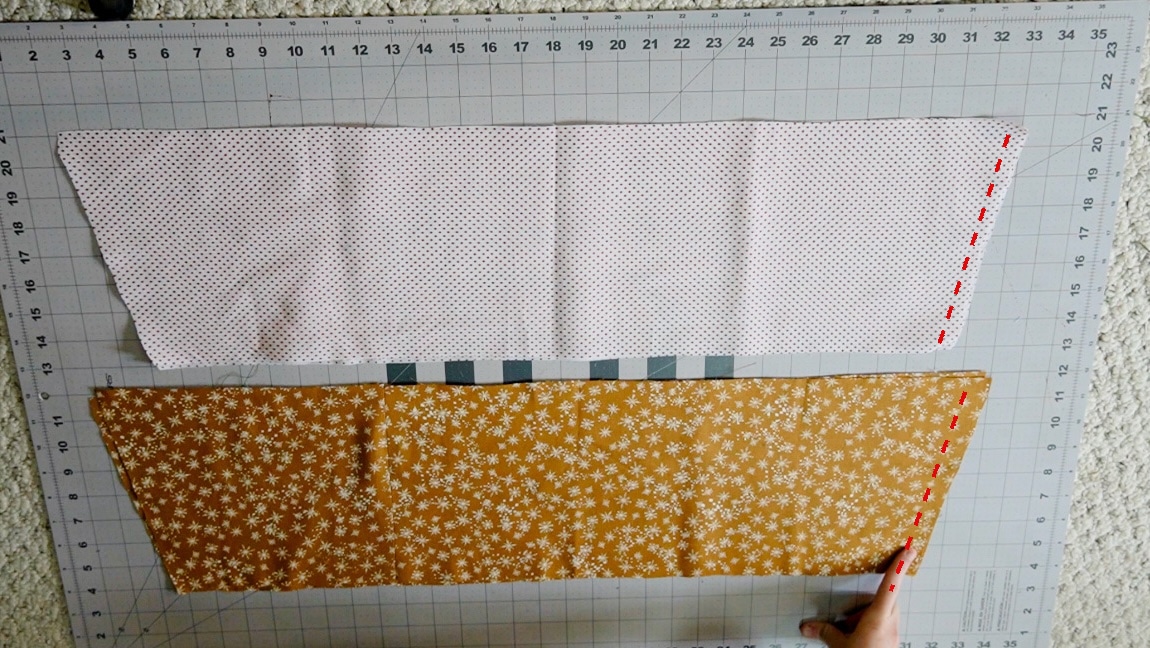
sew one side of the bandeau top
With right sides together, sew just one side of the bandeau and the bandeau contrast color.
Step 2
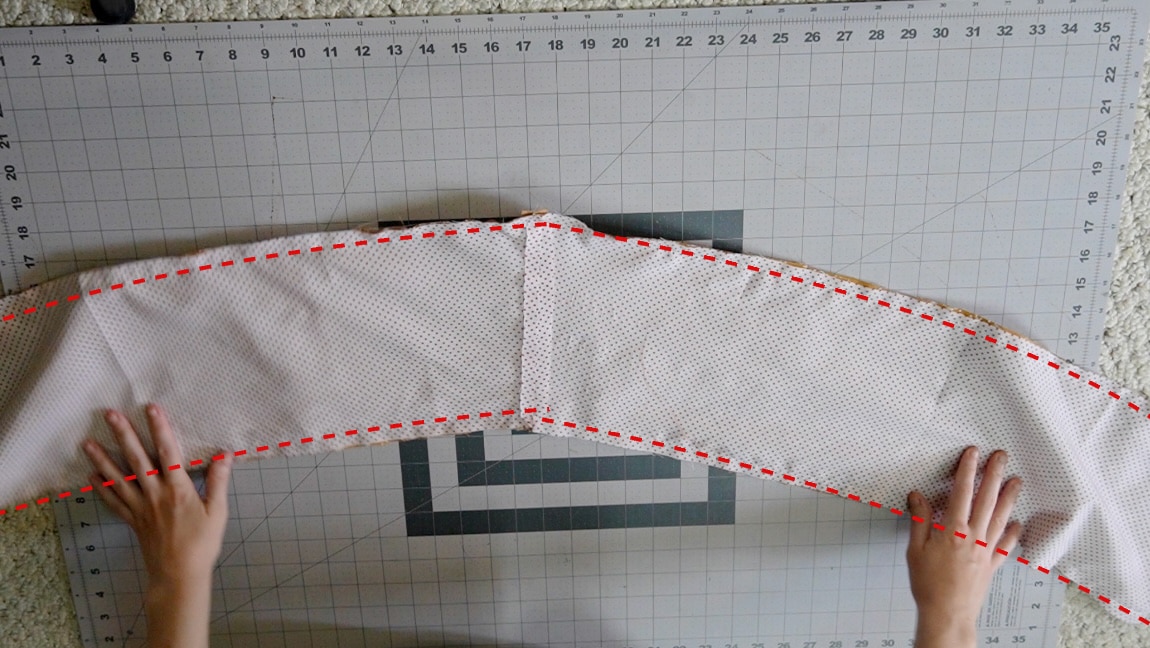
sew the two contrast colors together on the top and bottom
With right sides together, sew the two contrast colors along the long edges.
Step 3
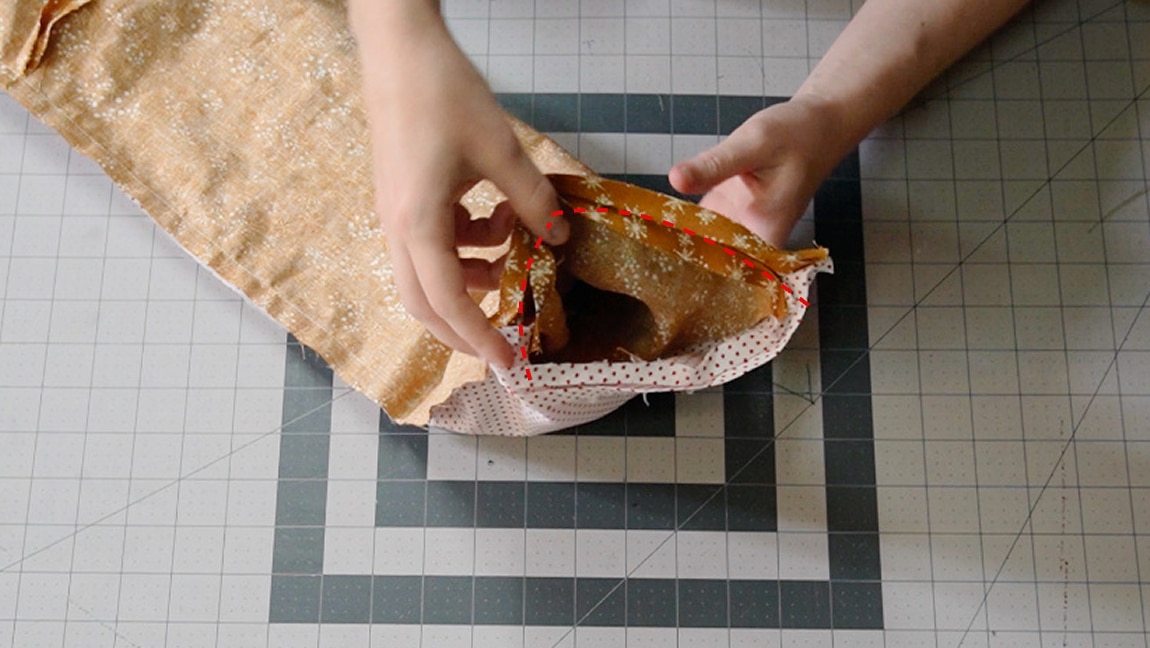
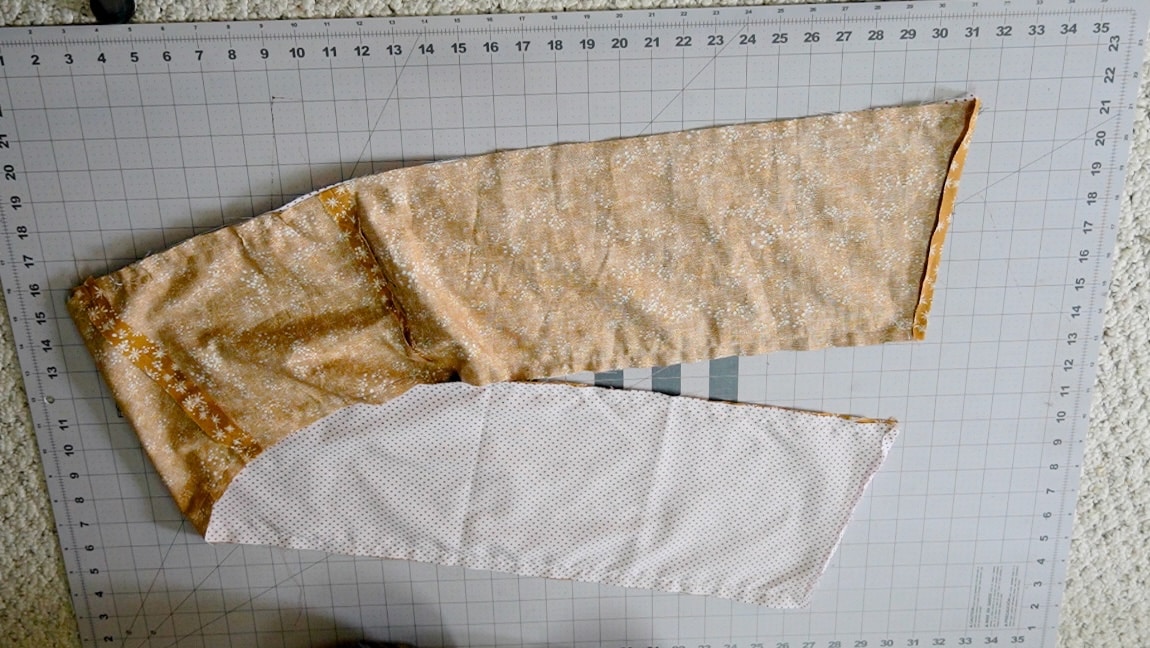
fold the bandeau in half inside itself and sew one side
Fold the bandeau in half with right sides together (This means it will be folded into a tube-like structure inside of itself). Then sew one half of the bandeau
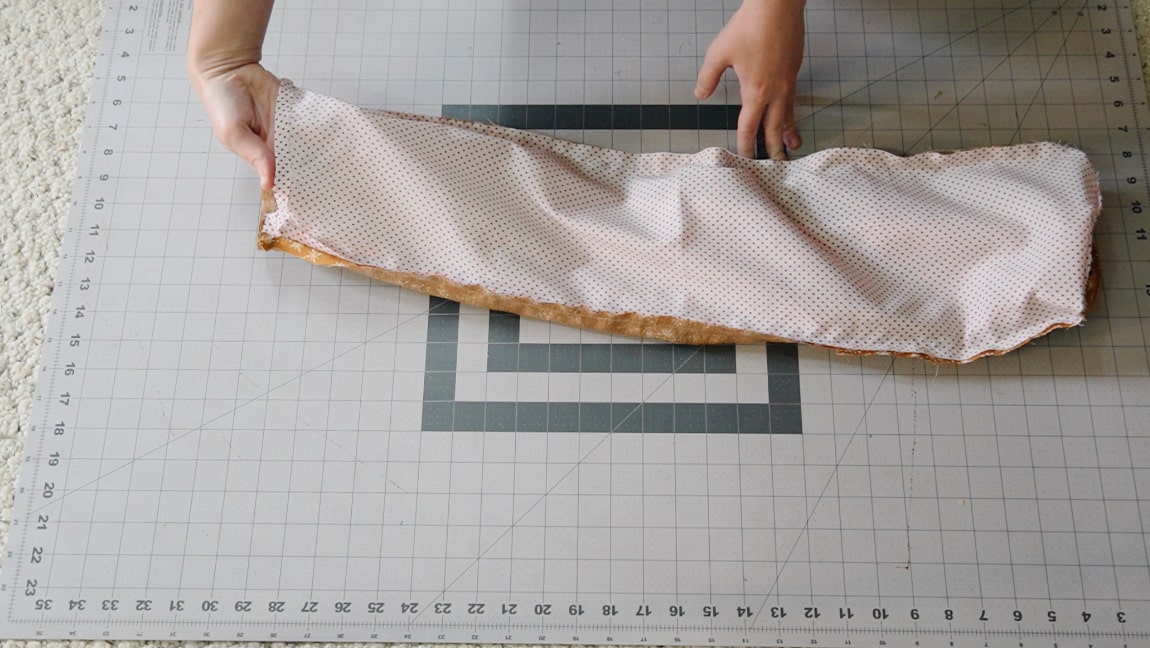
Step 4
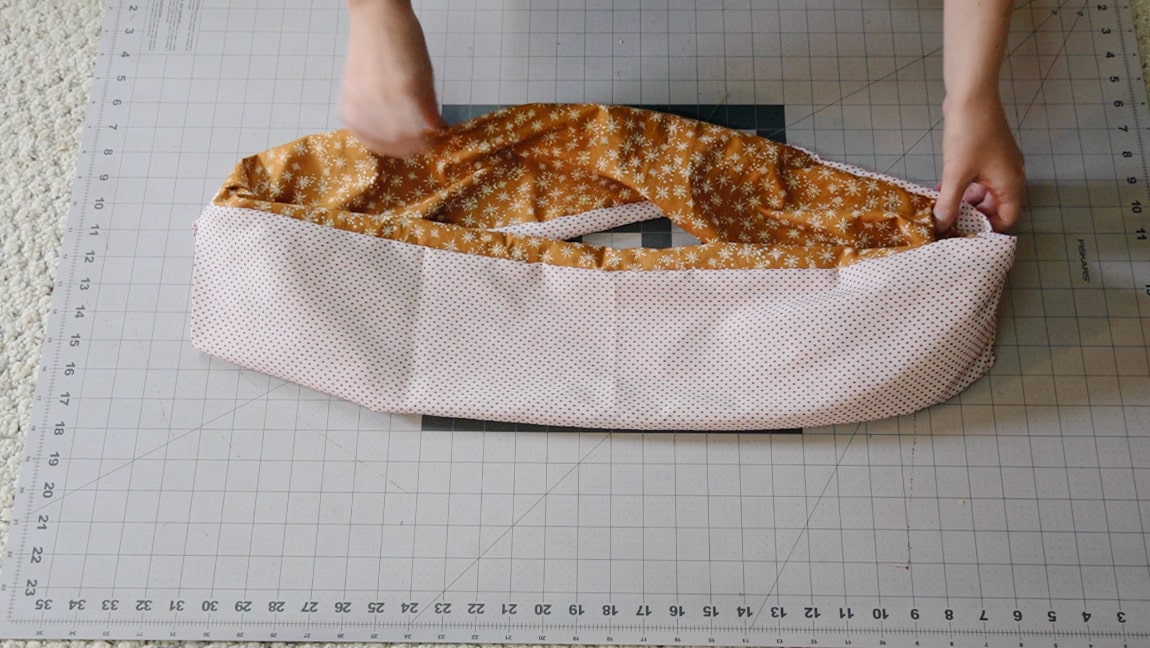
turn the bandeau right side out and press
Turn the bandeau to the right side through the open half. Then press it to make the seams nice and flat.
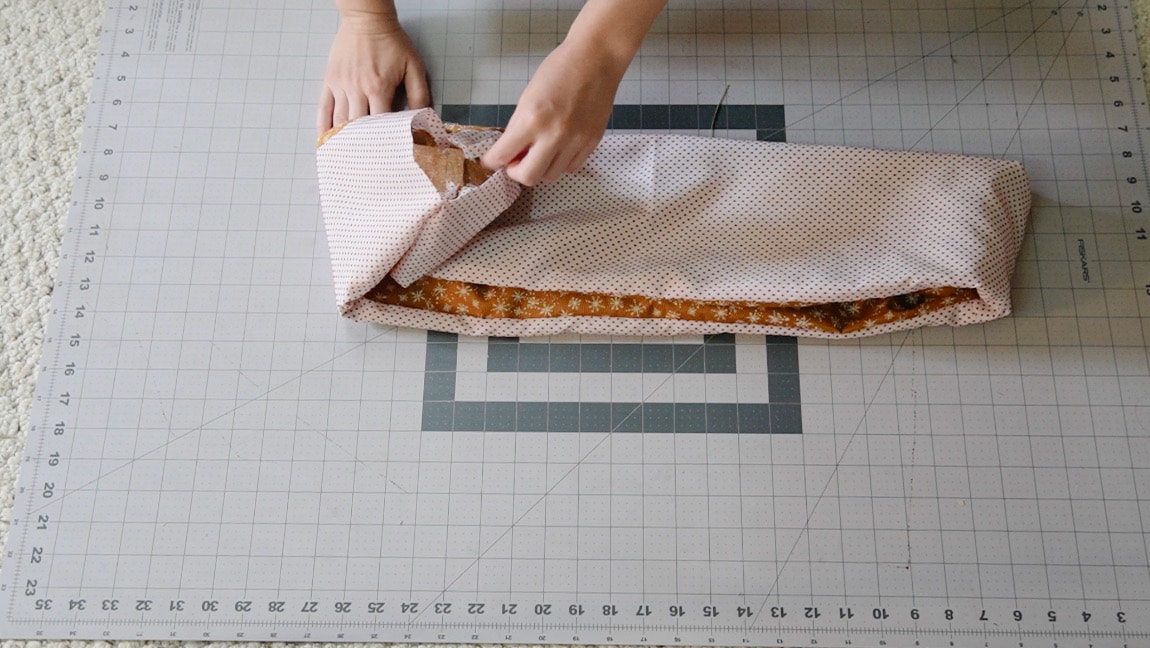
Step 5
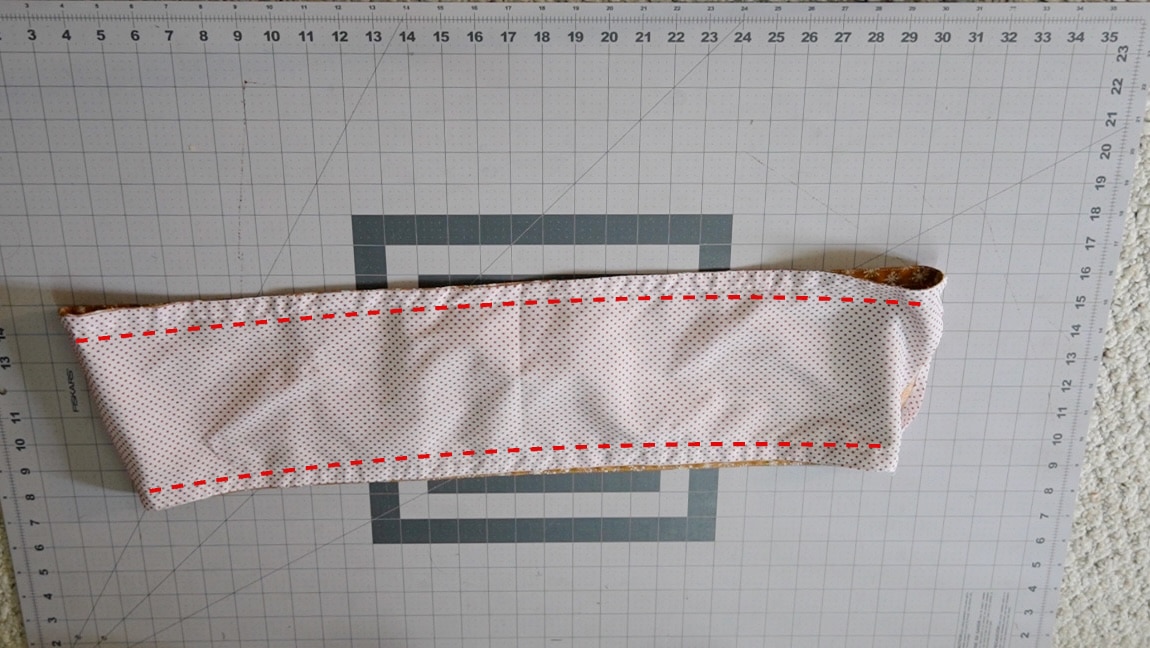
add a line of stitches on both sides to form casings
Add a line of stitches 5/8″ down from the top and 5/8″ up from the bottom to form casings for your elastic.
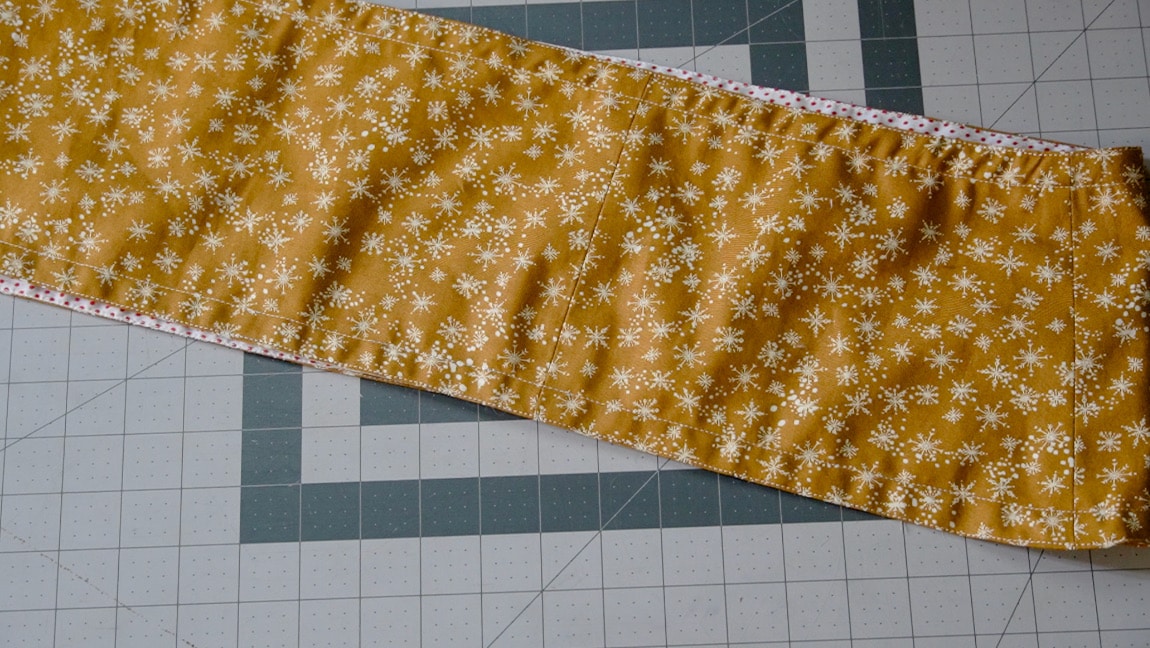
Step 6
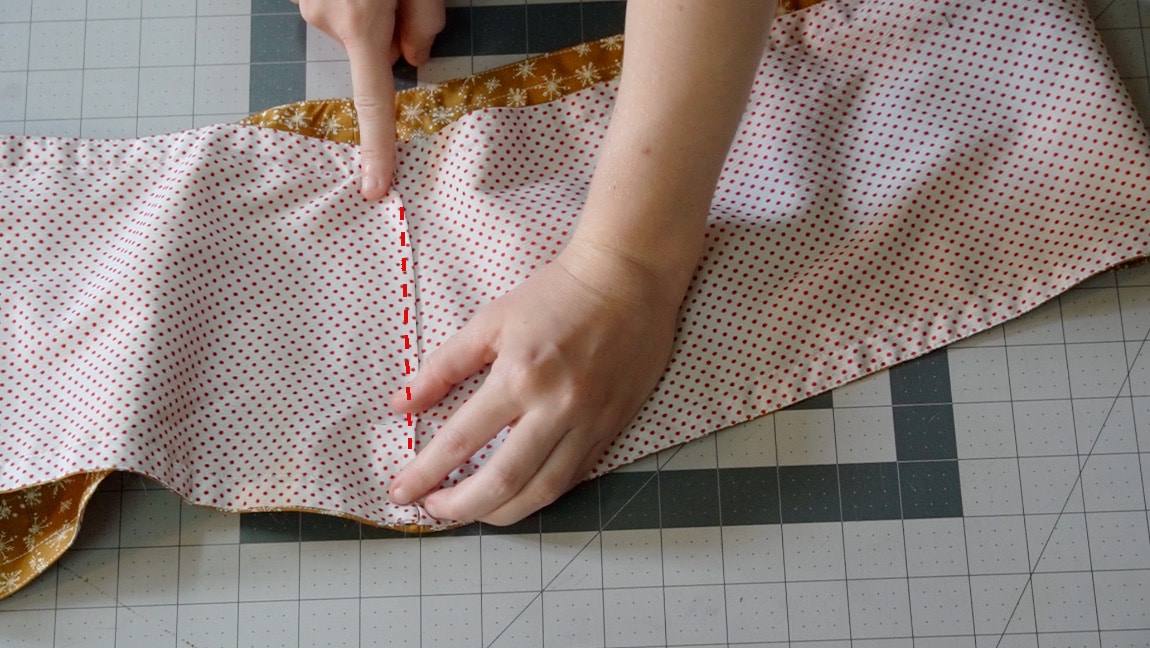
fold over the fabric between casings and hand sew it closed
Fold the gap in the fabric and sew up the area in between the casings. There should still be a gap for inserting elastic and the top and bottom.
Step 7
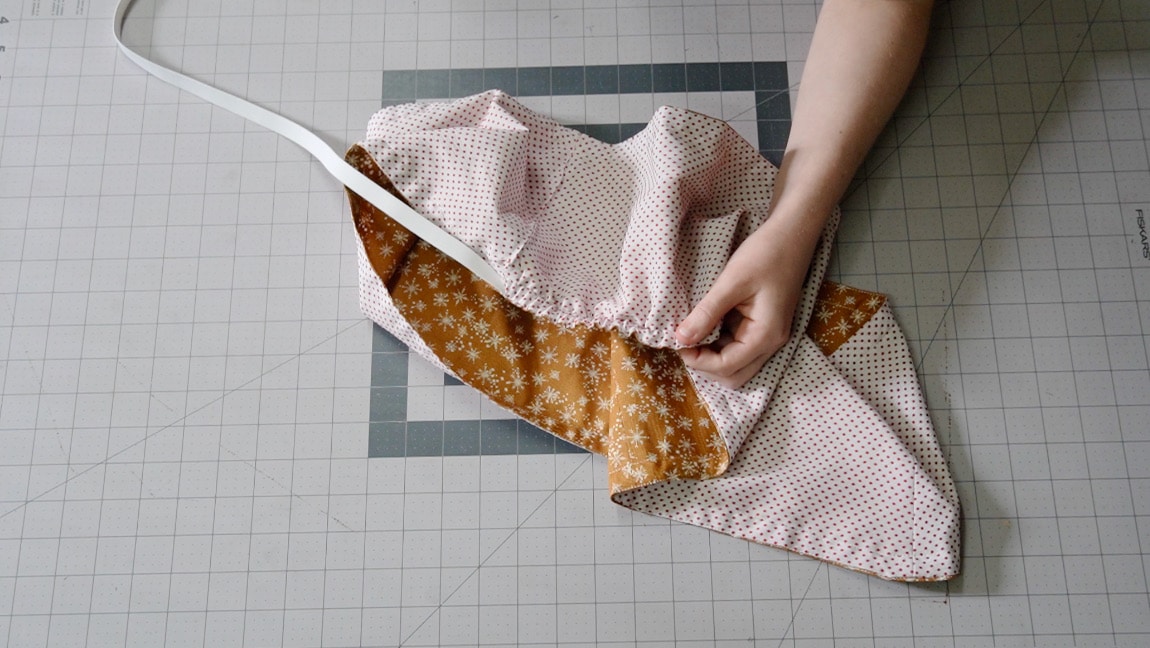
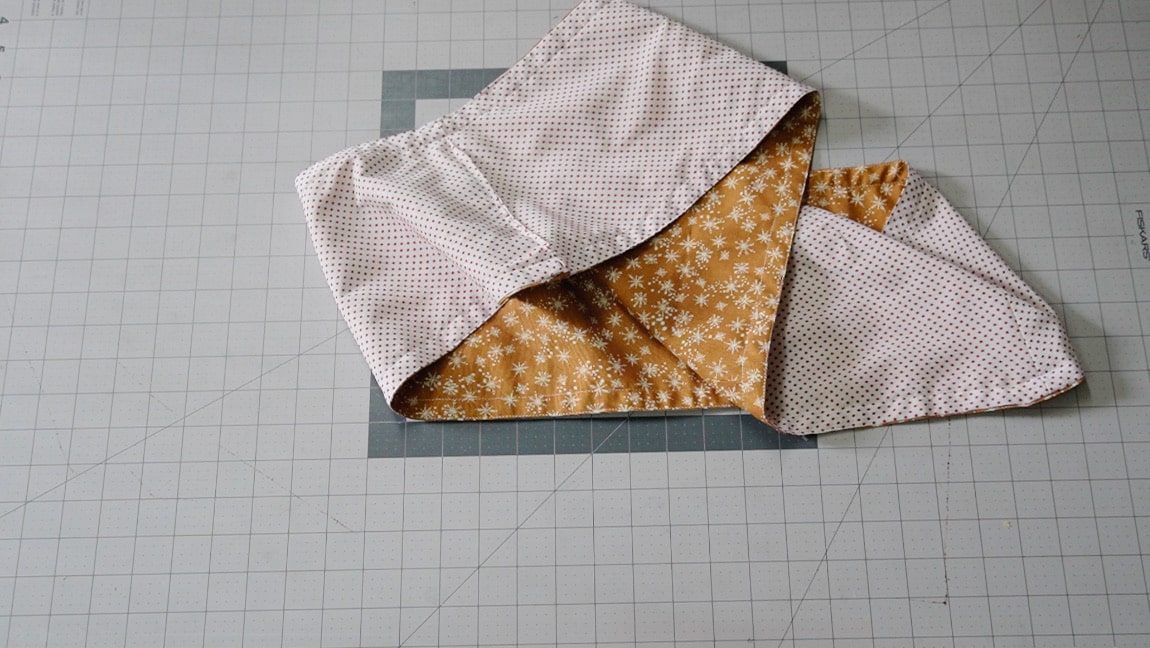
insert elastic into the top and bottom casings
Cut two pieces of elastic that are equal to your overbust and underbust measurements. Then insert them into the elastic casings. Try on the bandeau and pull the elastic until it feels comfortable and secure. Then sew it into a loop and sew up the gap.
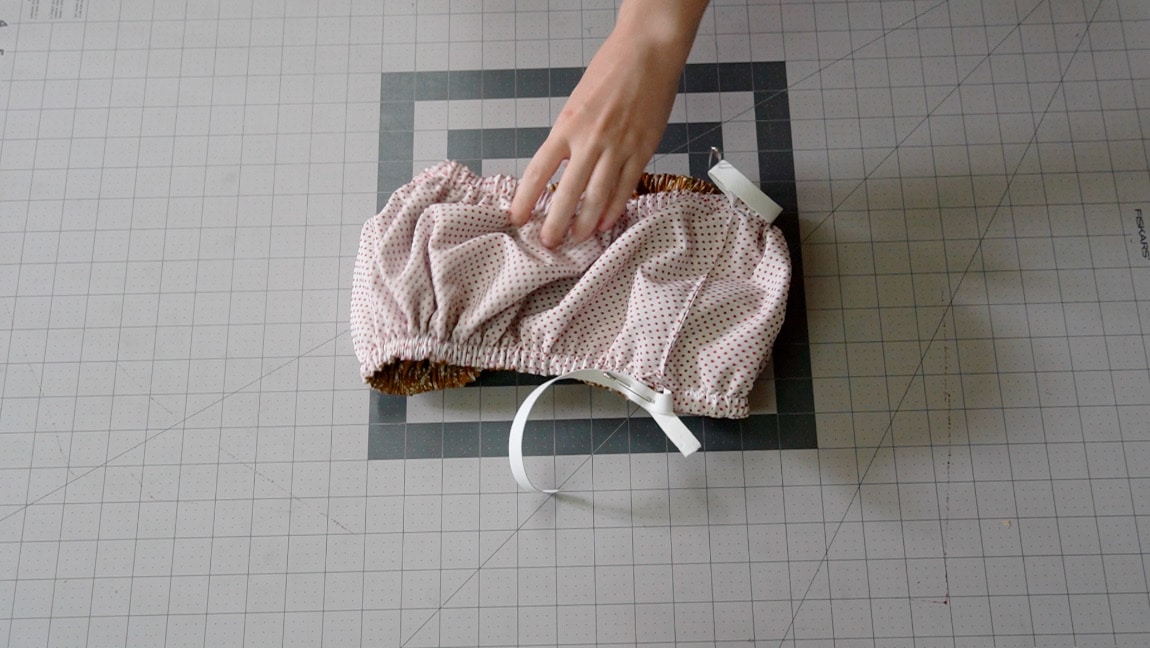
Finished!