Tutorial: How to Make a Basic Sun Hat for Costumes

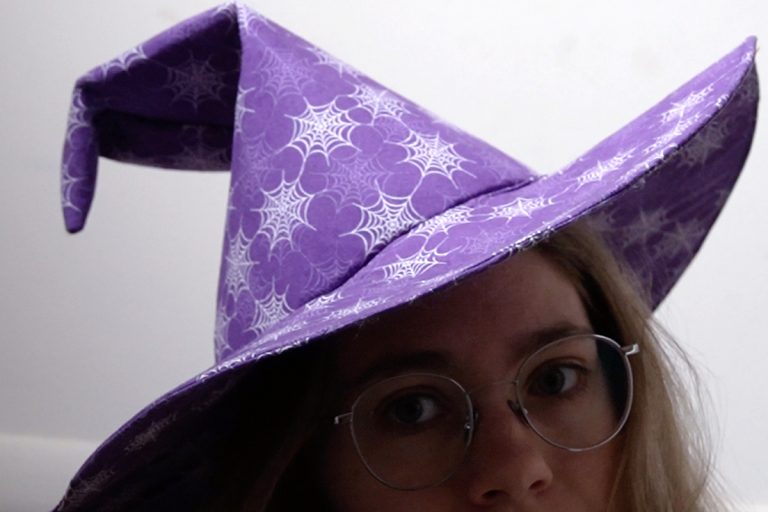
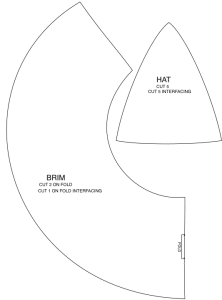
Learn how to make a simple sun hat for your next cosplay costume. The pattern (which you can print below) is sized for an adult head. If you need this for a child’s costume, you’ll need to adjust the pattern to make it smaller.
This page contains affiliate links. As an Amazon Associate, I earn a small commission from qualifying purchases.
Supplies Needed:
(all of my patterns include 1/2″ seam allowance)
Step 1
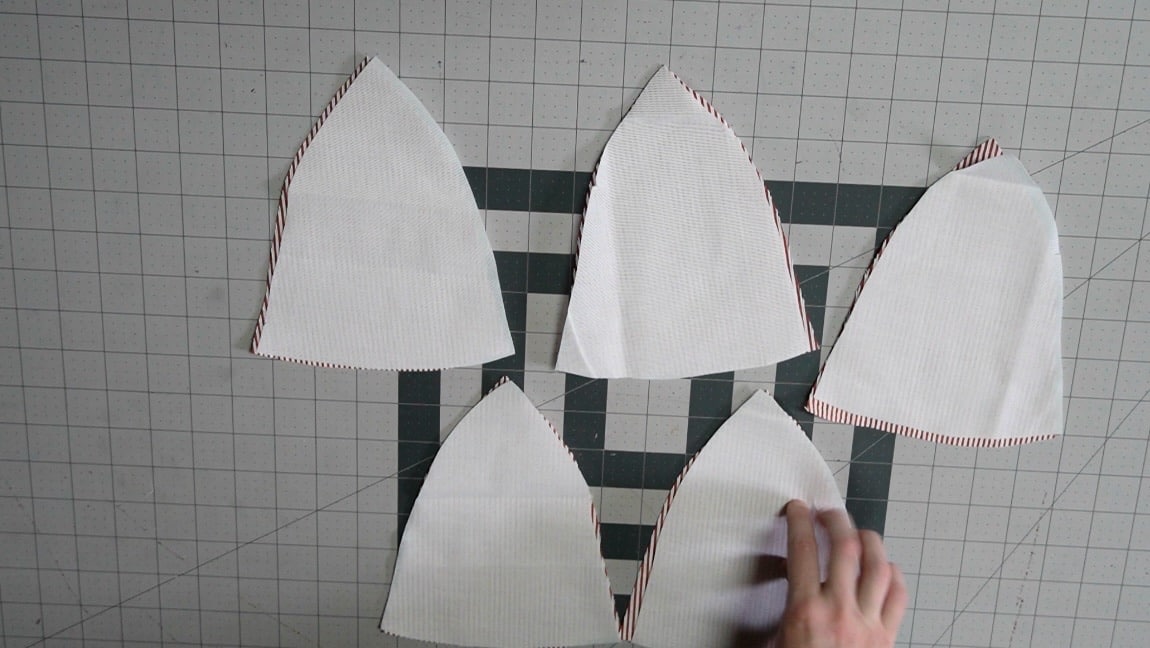
apply interfacing to the panels
Step 2
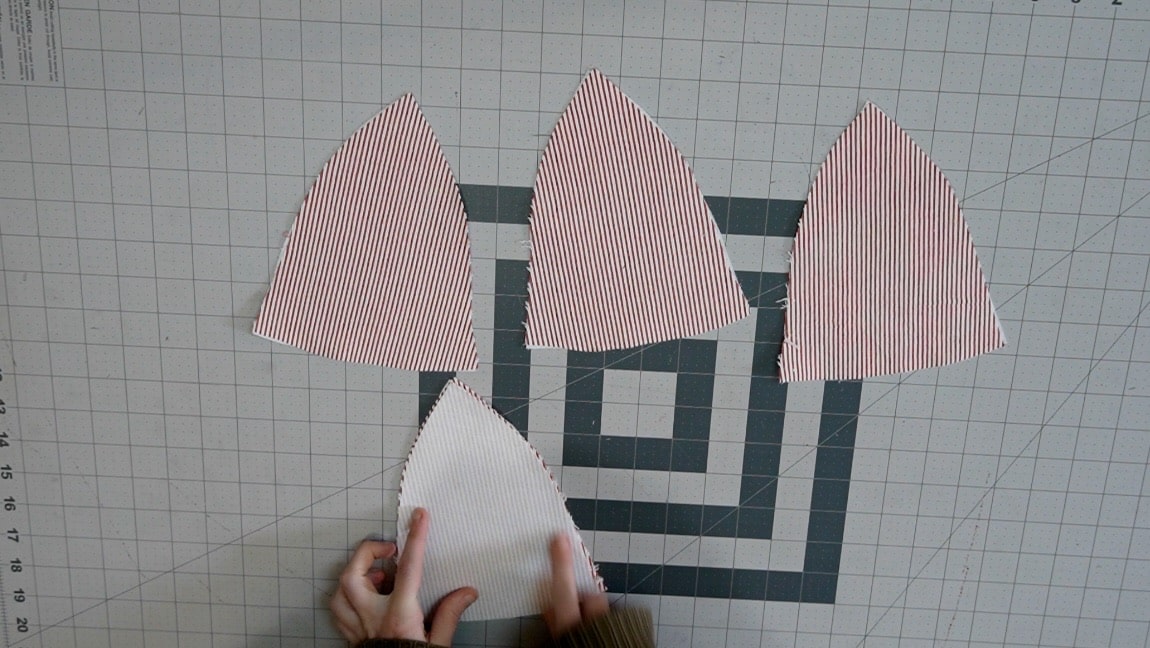
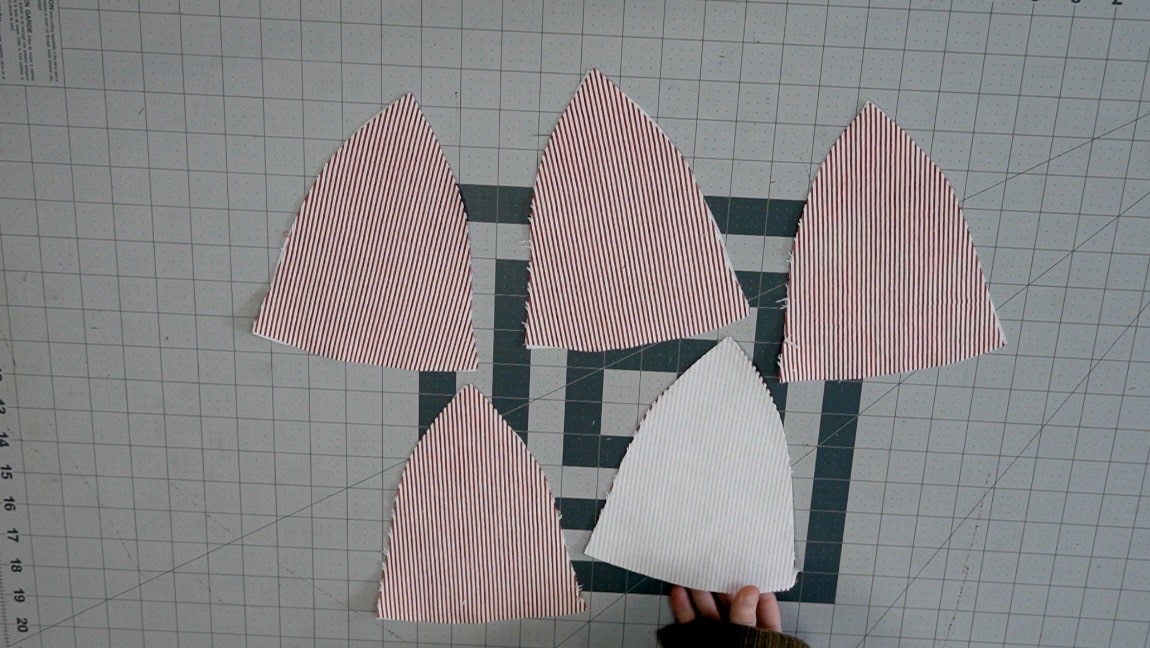
sew the panels together in two groups
Sew the hat panels together in groups. I find it easiest to make a group of 2 panels and a group of 3 panels.
Step 3
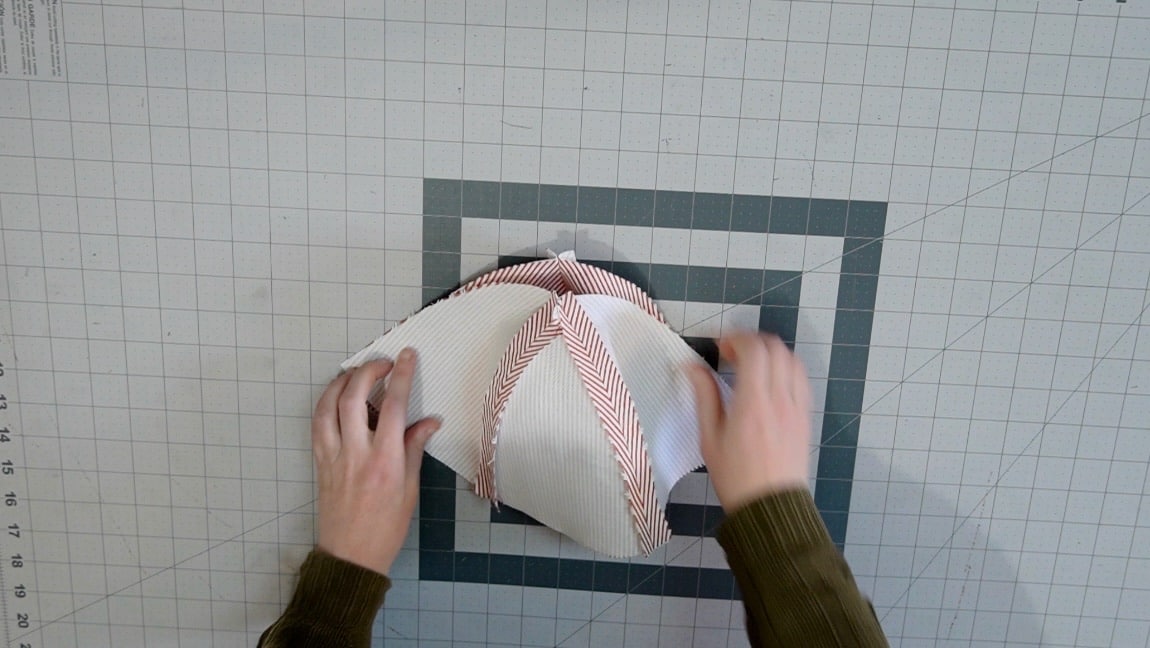
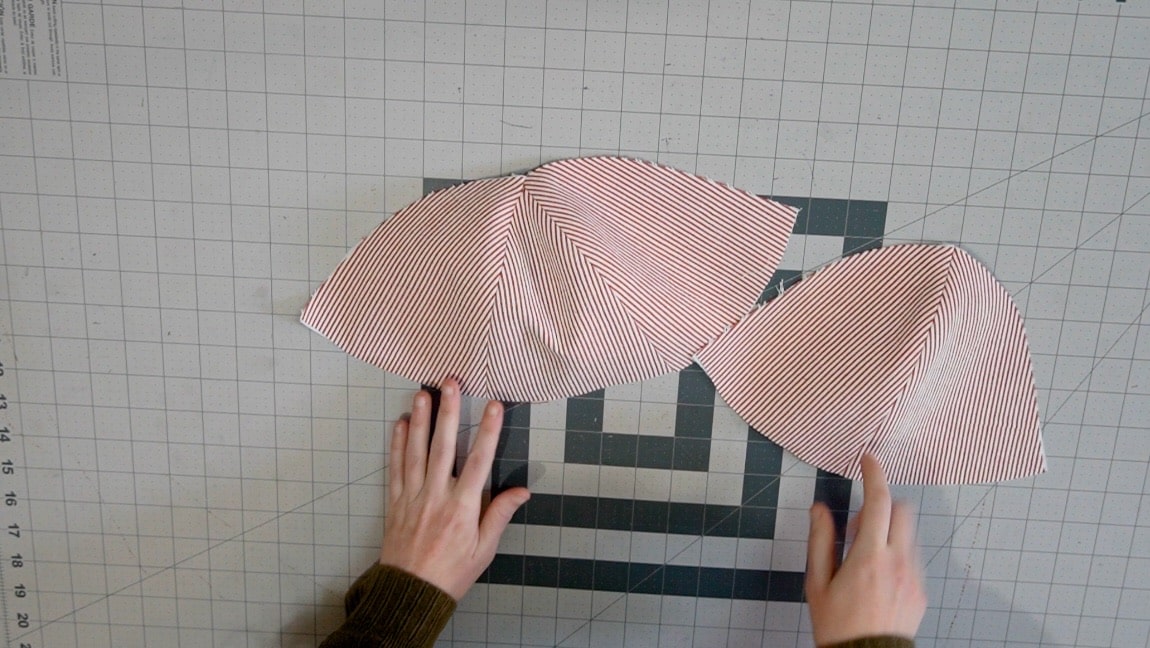
sew the hat crown together
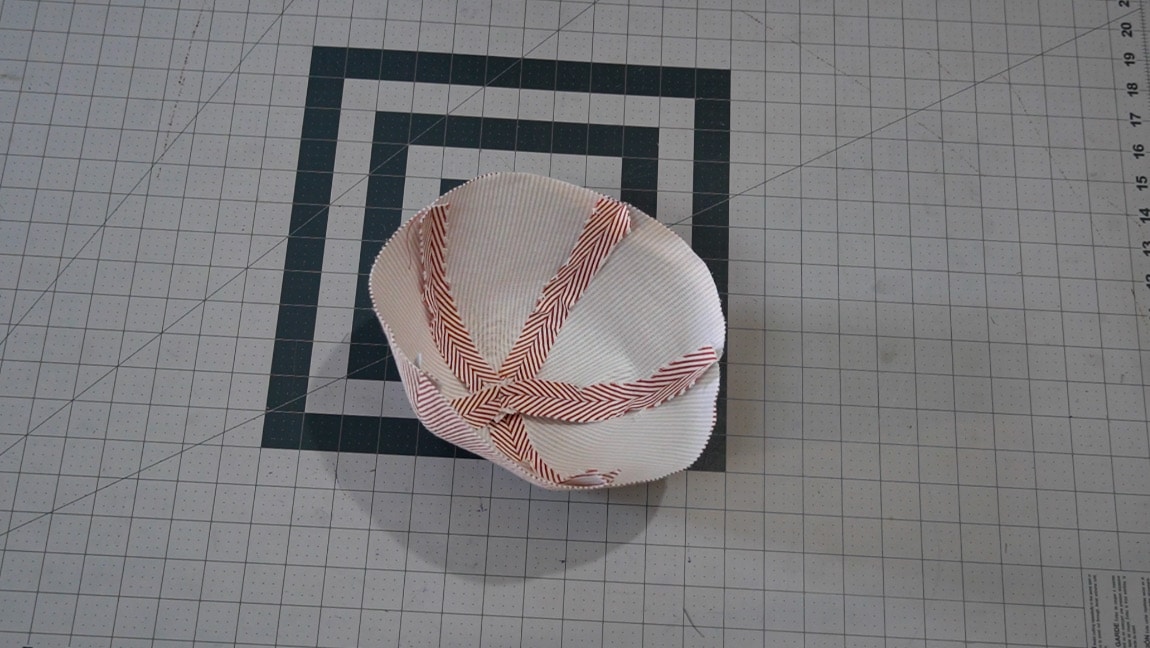
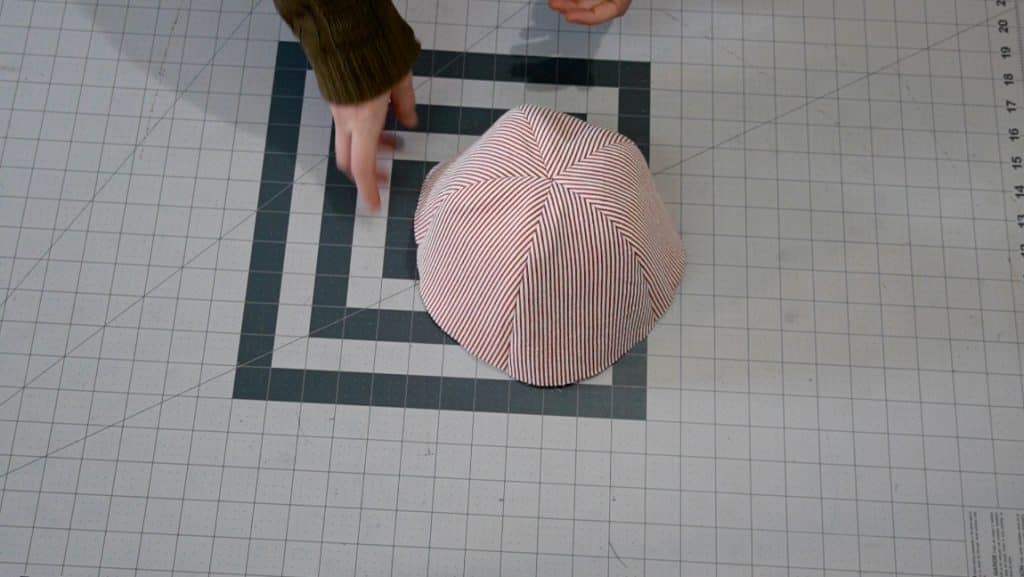
With right sides together, sew the two groups of panels to form the crown of the hat.
Step 4
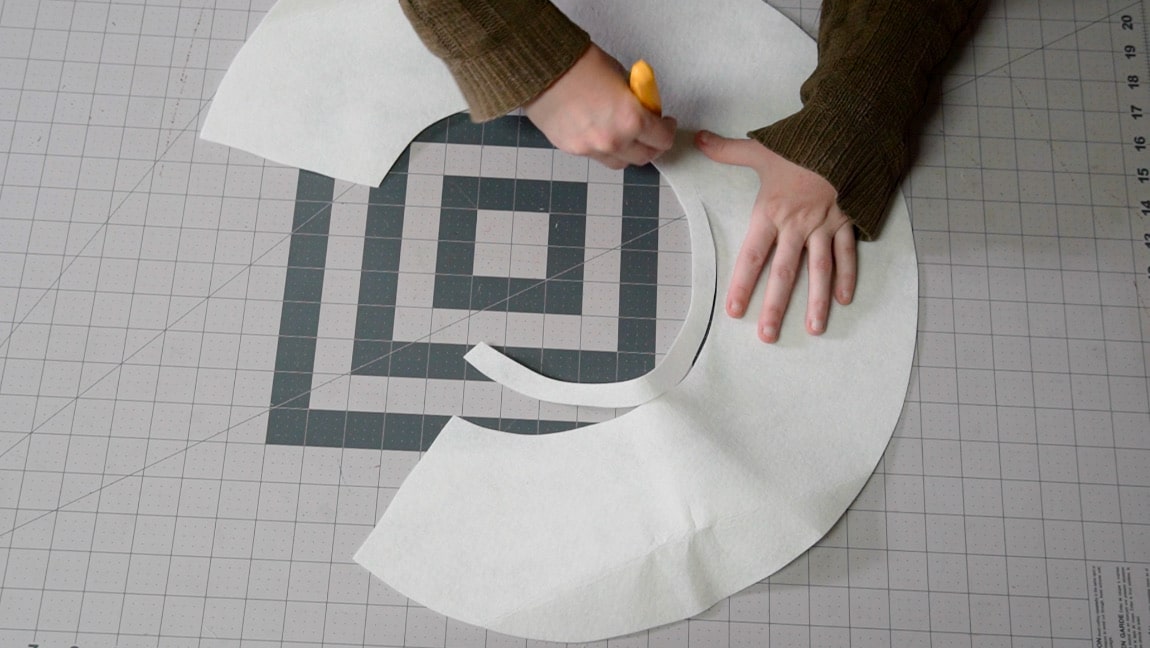
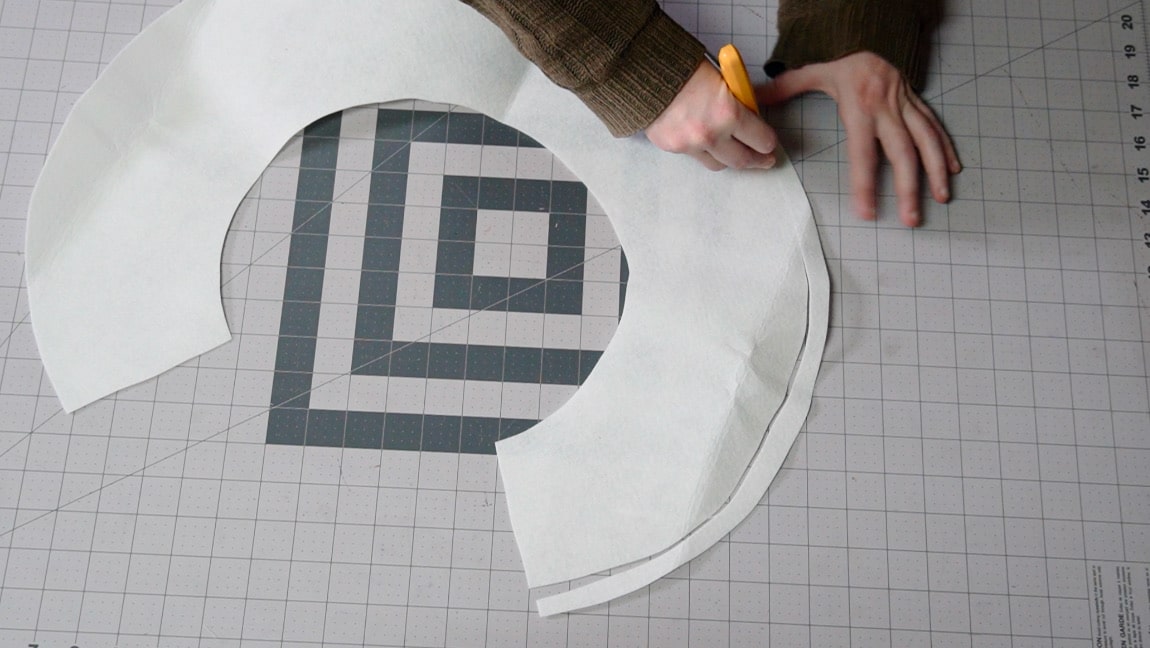
Optional: trim the brim interfacing
Sometimes it’s easier to work with heavy interfacing if it’s not getting in the way of the seams, so you may want to trim the seam allowance. This step isn’t completely necessary, but it might make your life a little easier when sewing the brim.
Step 5
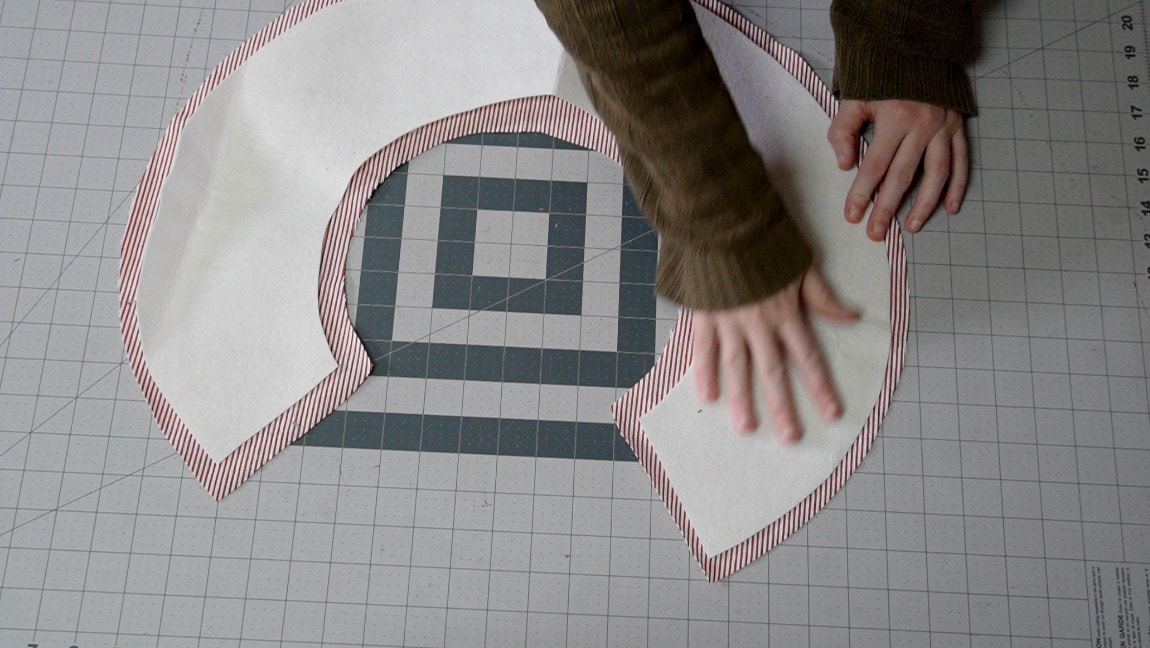
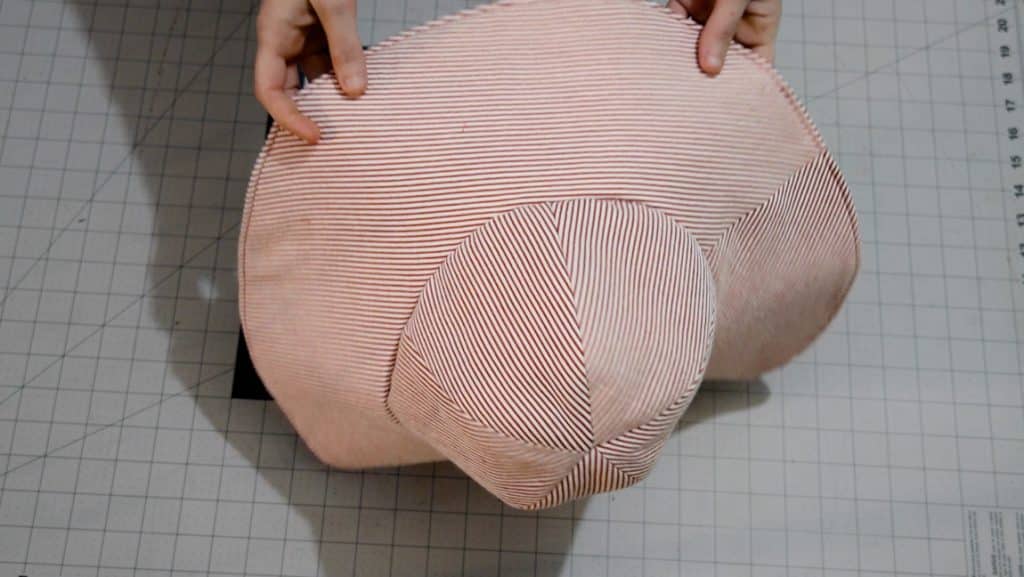
apply the interfacing to the brim
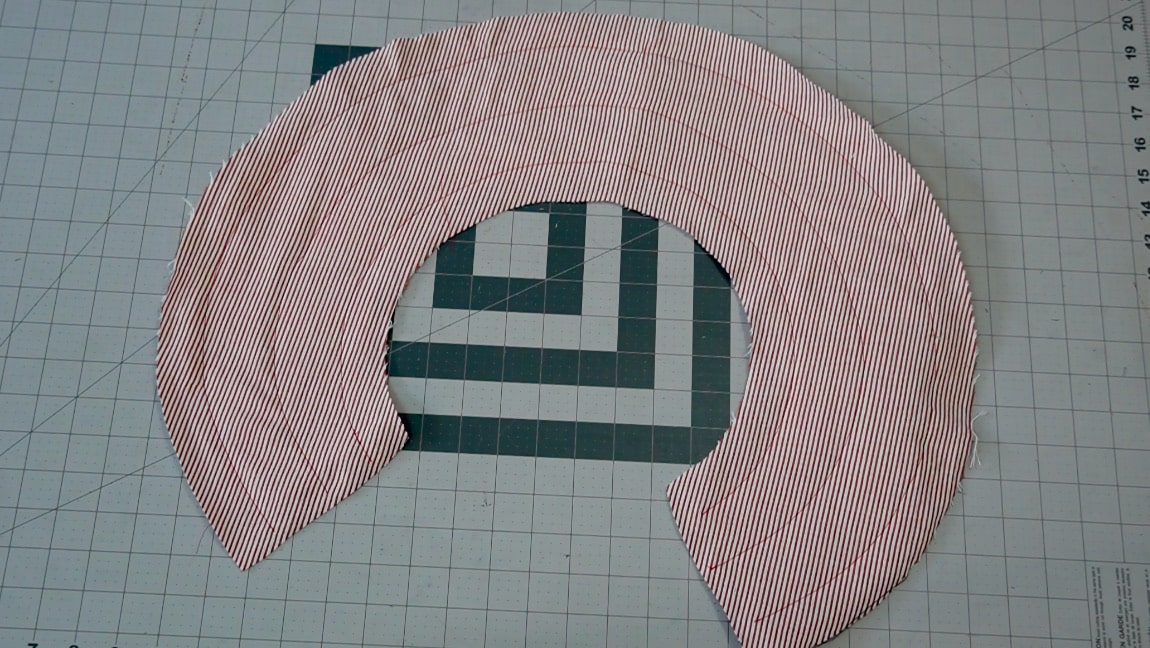
You can use fusible or sew-in interfacing. I only had sew-in interfacing available, which is why you’ll see stitches around the brim in the image below. If you’re using fusible, you don’t need to do that.
Step 6
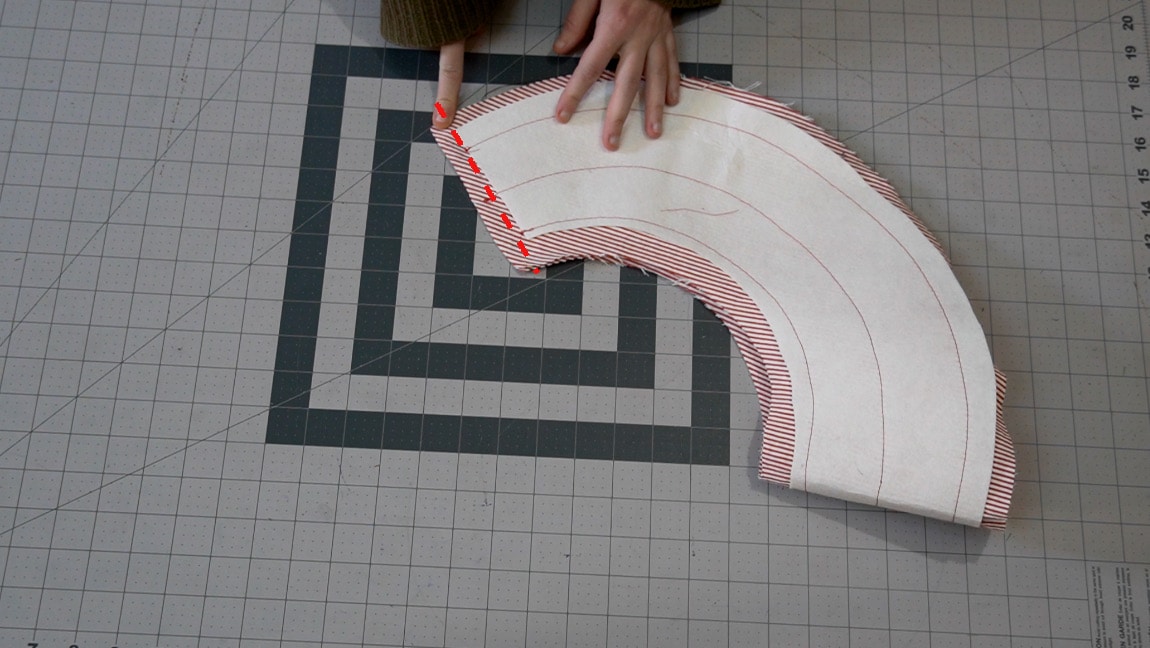
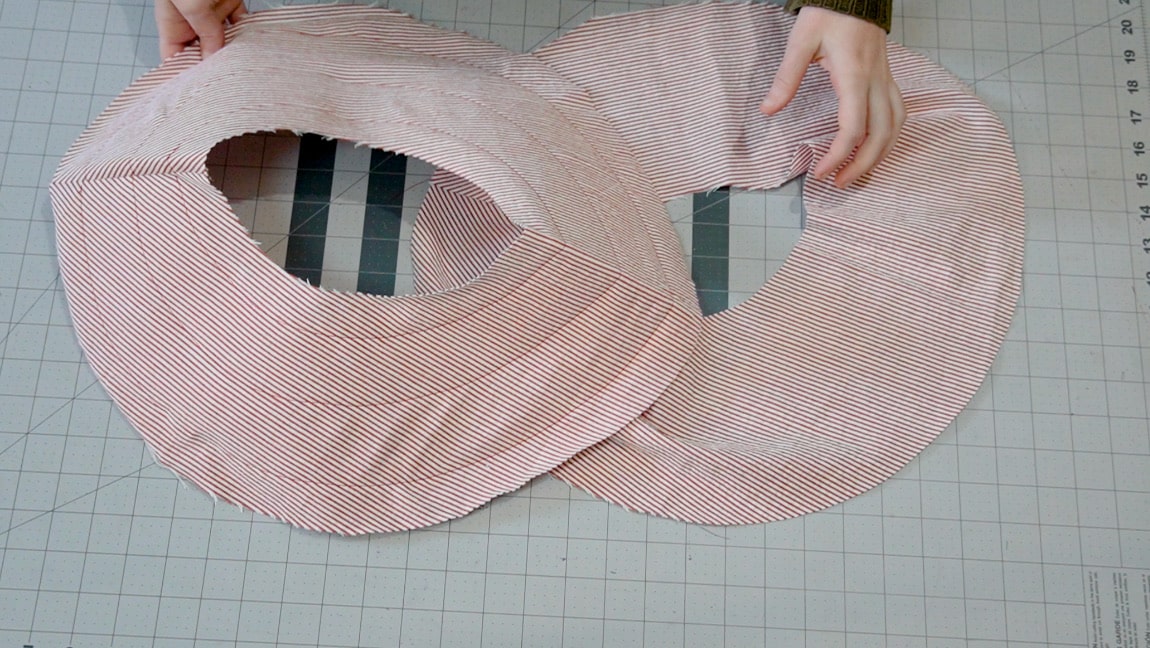
sew the brim in half
Fold both of the the brim pieces in half with right sides together and sew it in a circle.
Step 7
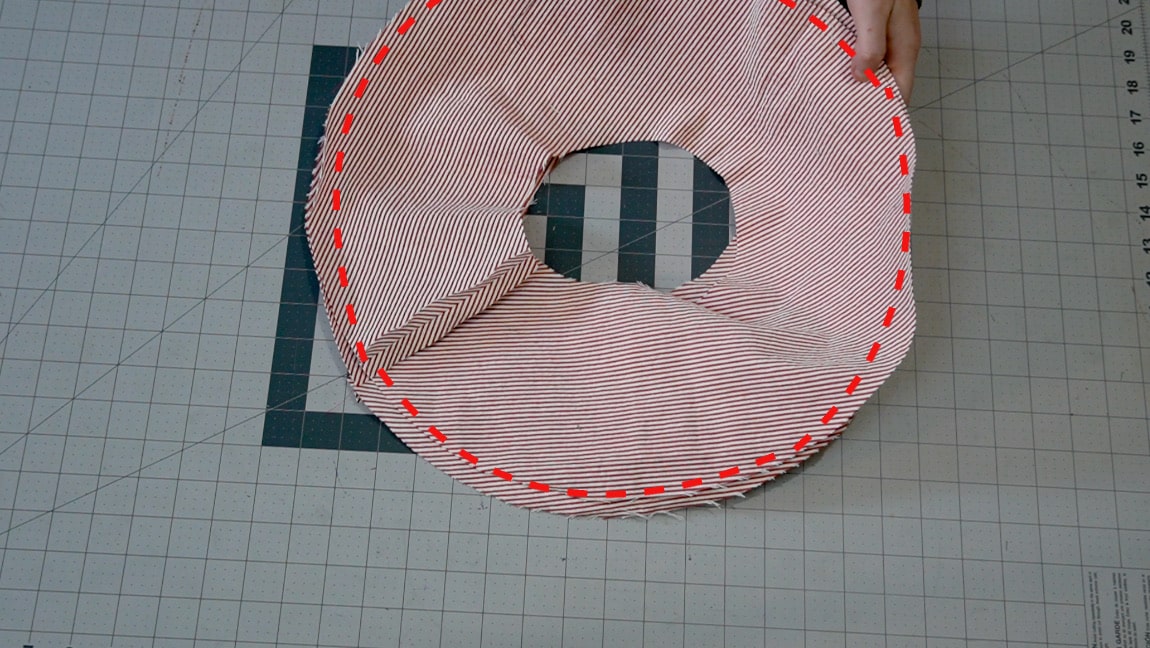
sew the brim pieces together
With right sides together, sew the brims together along the outer edge.
Step 8
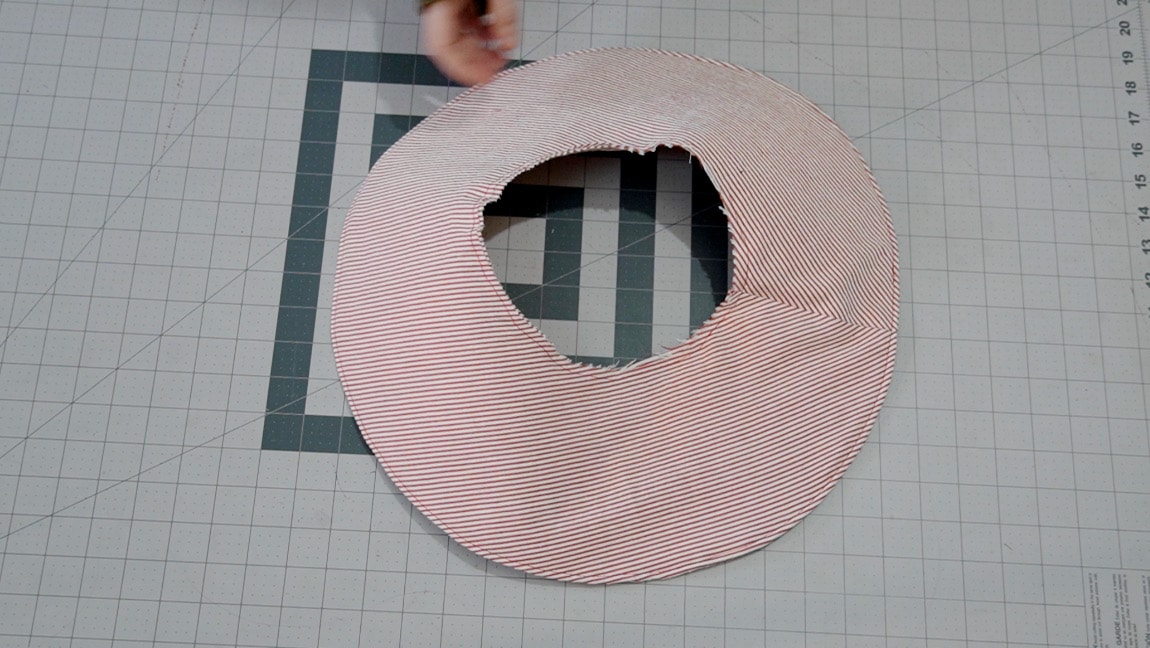
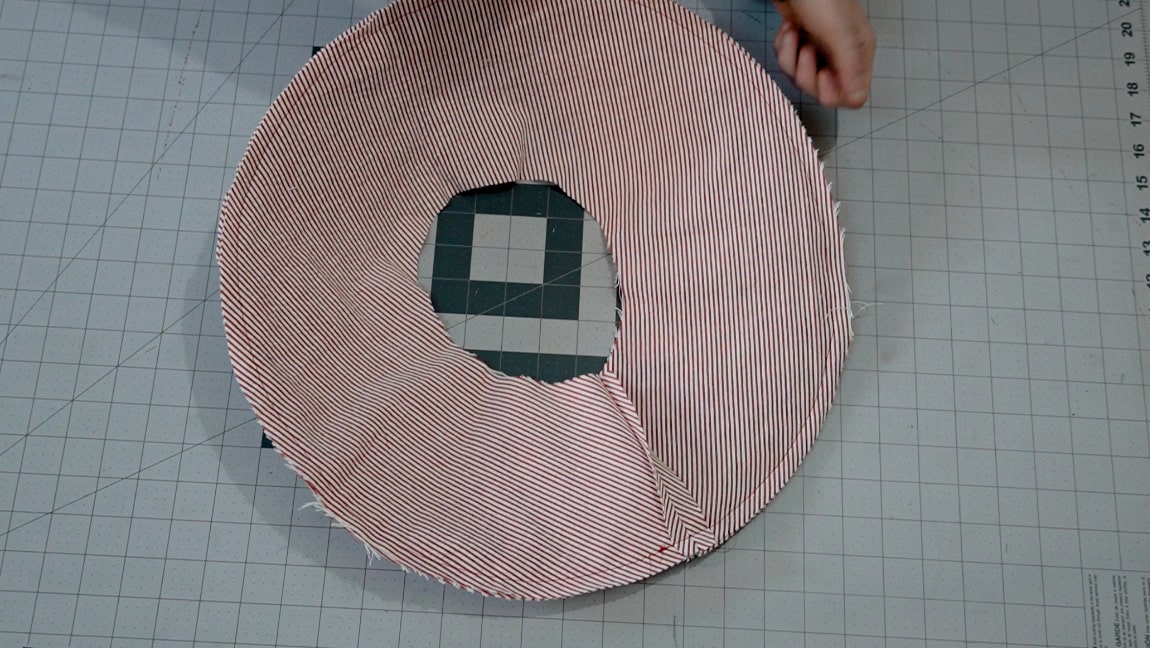
turn the brim to the right side
Turn the brim to the right side through the middle. Then top stitch around the edge of the brim to make it neat.
Step 9
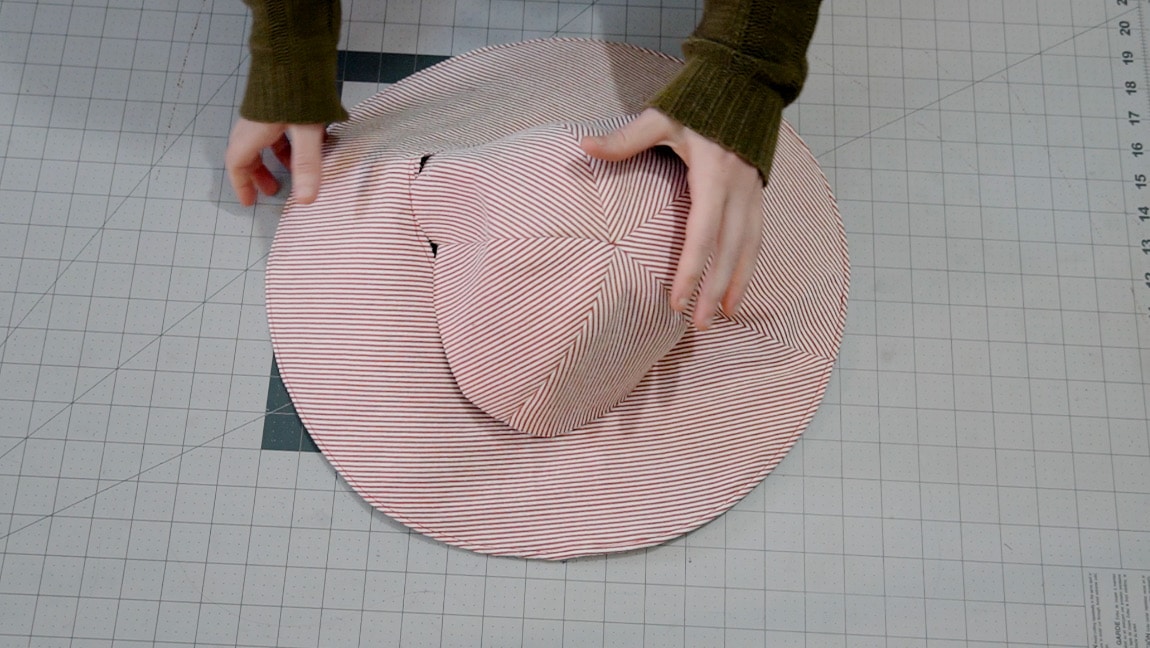
sew the brim to the hat
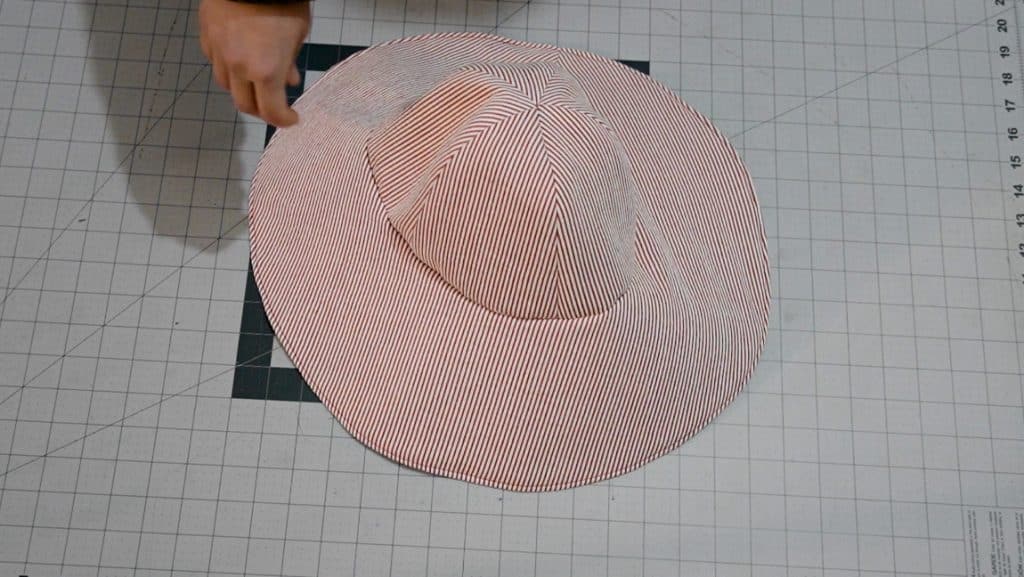
With right sides together, sew the brim to the hat. You will need to ease the fabric as you sew around the hat to keep it from puckering.
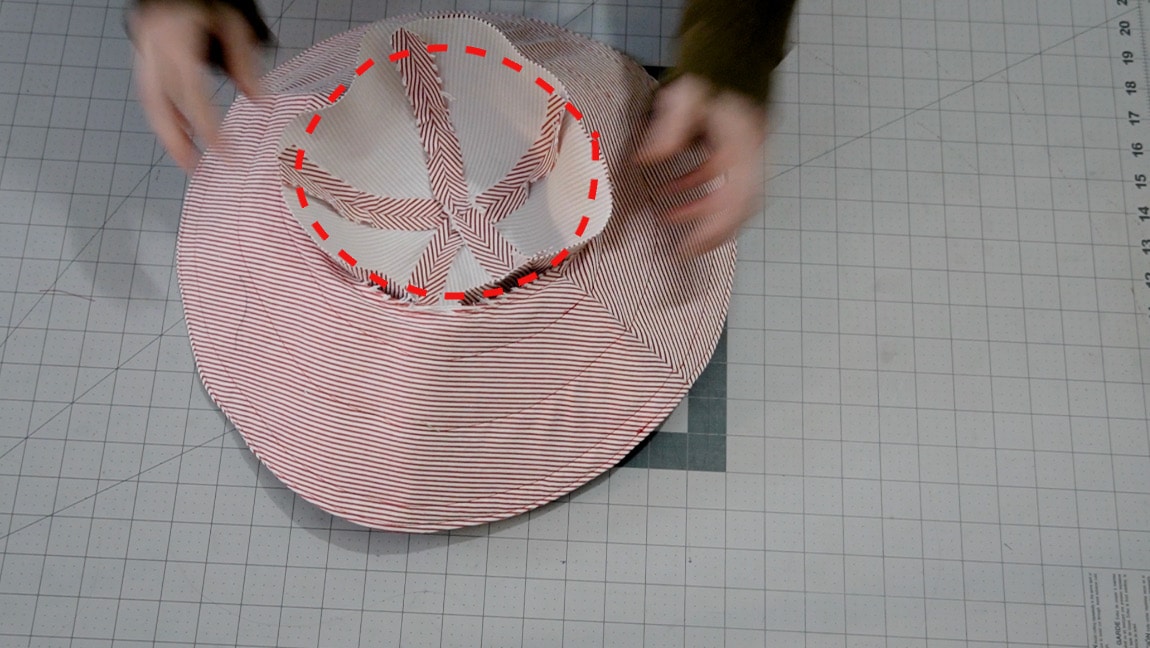
Finished!