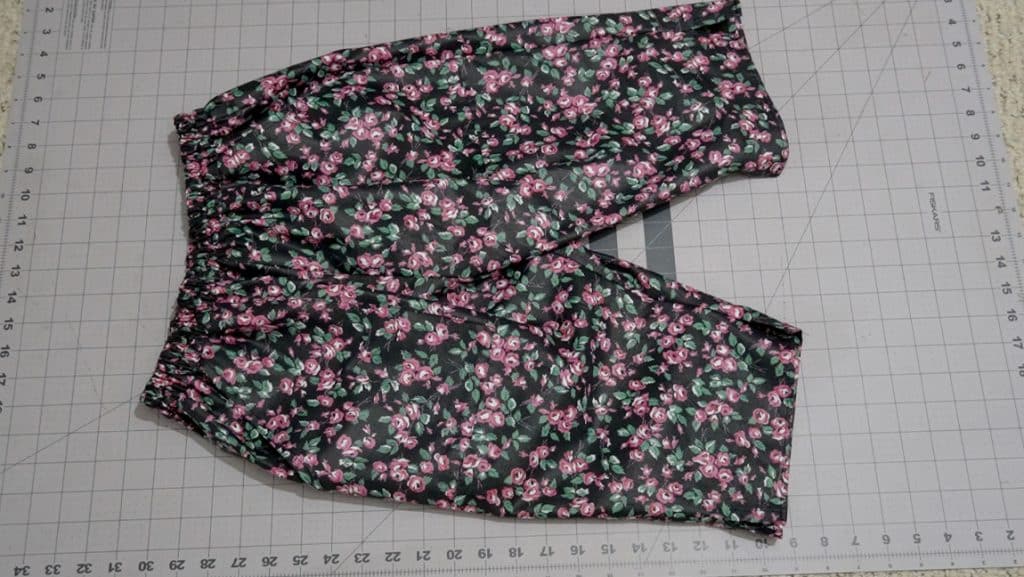
Tutorial: How to Make a Basic Pair of Capris for Costumes

Anime characters sometimes have unusual costumes. This tutorial is meant to be a basic building block for any character wearing 3/4 or knee length pants. I’ll walk you through how to create your pants from scratch and how to sew everything together (including how to add a pocket).
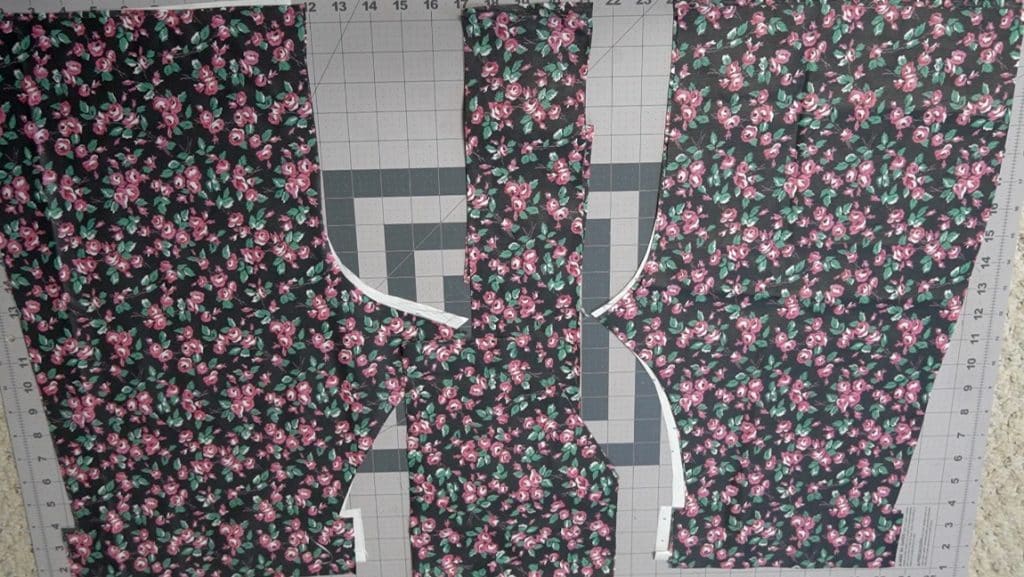
Supplies Needed:
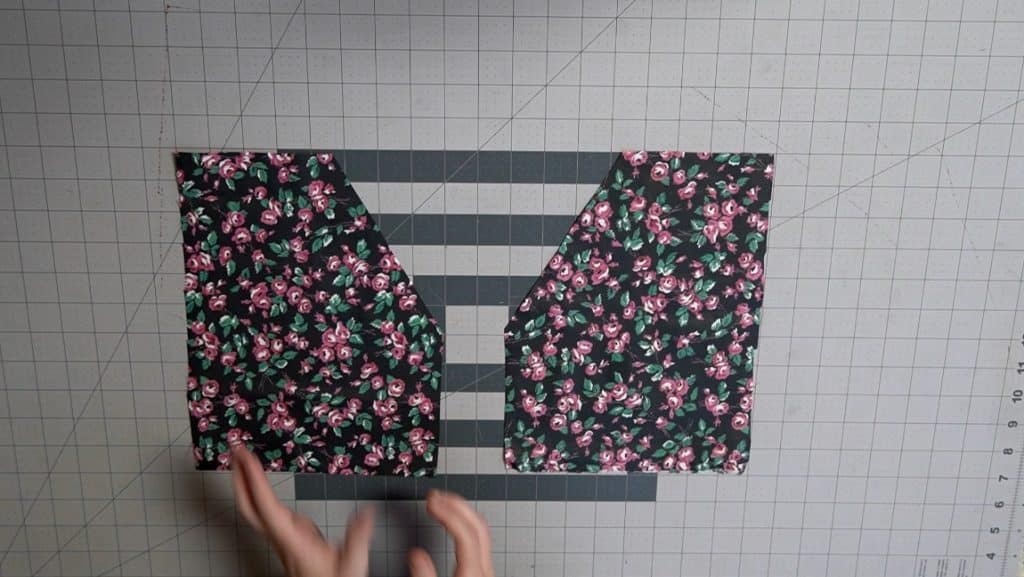
Pattern PIeces
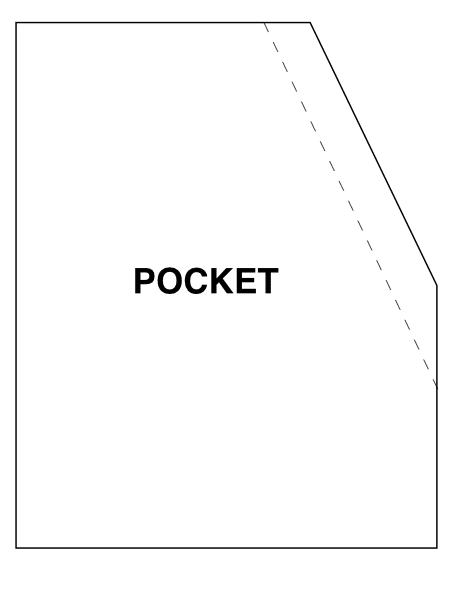
Pocket Pattern
How to Make your pattern:
First, take your measurements:
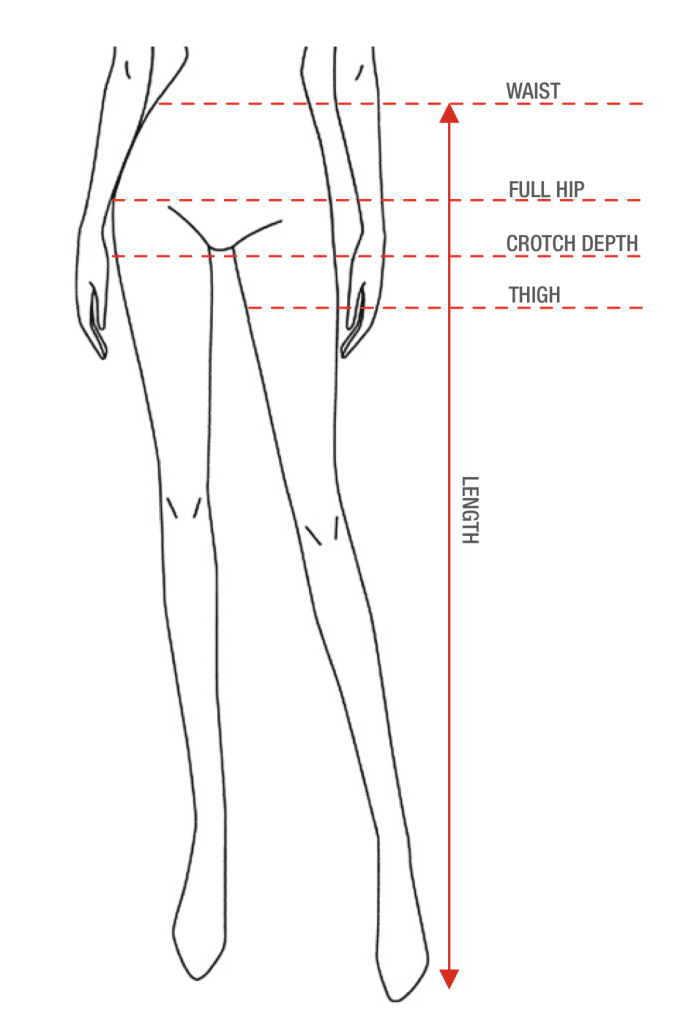
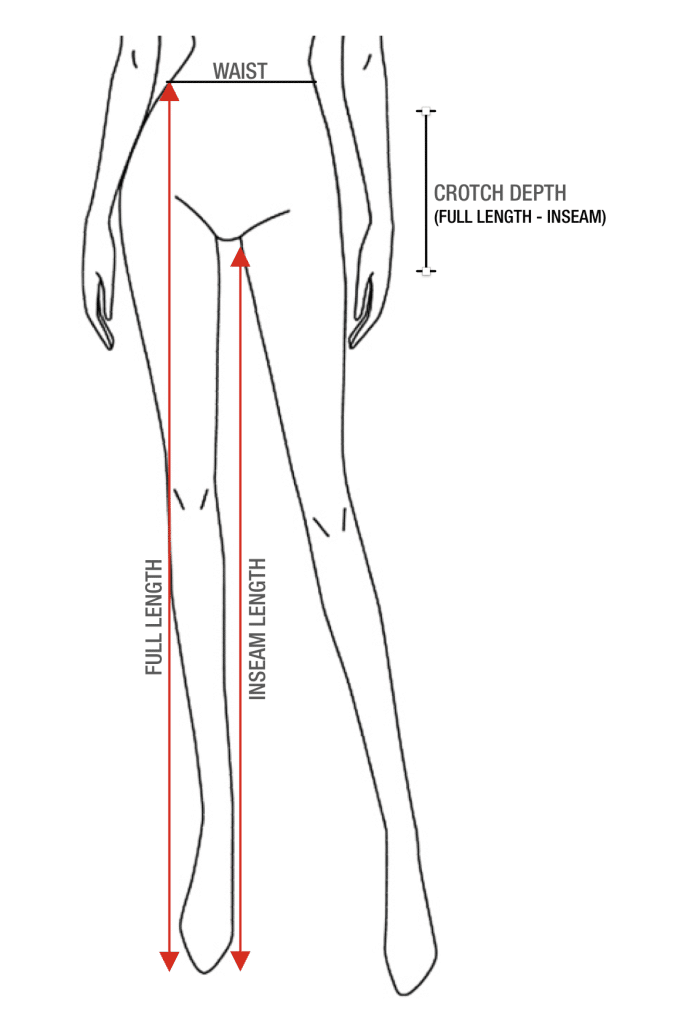
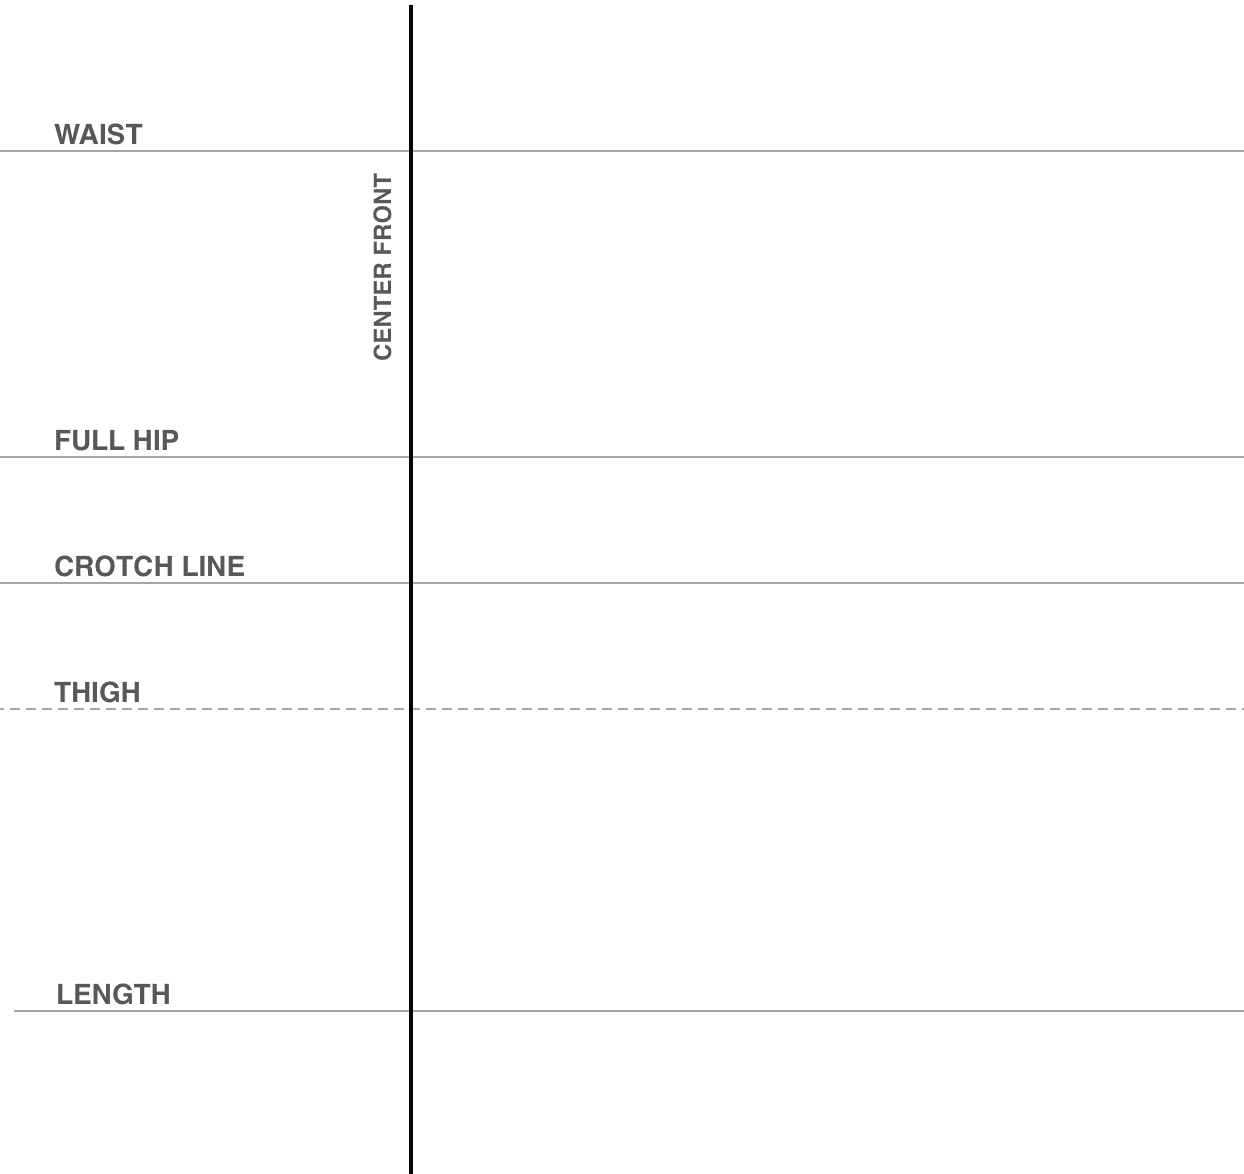
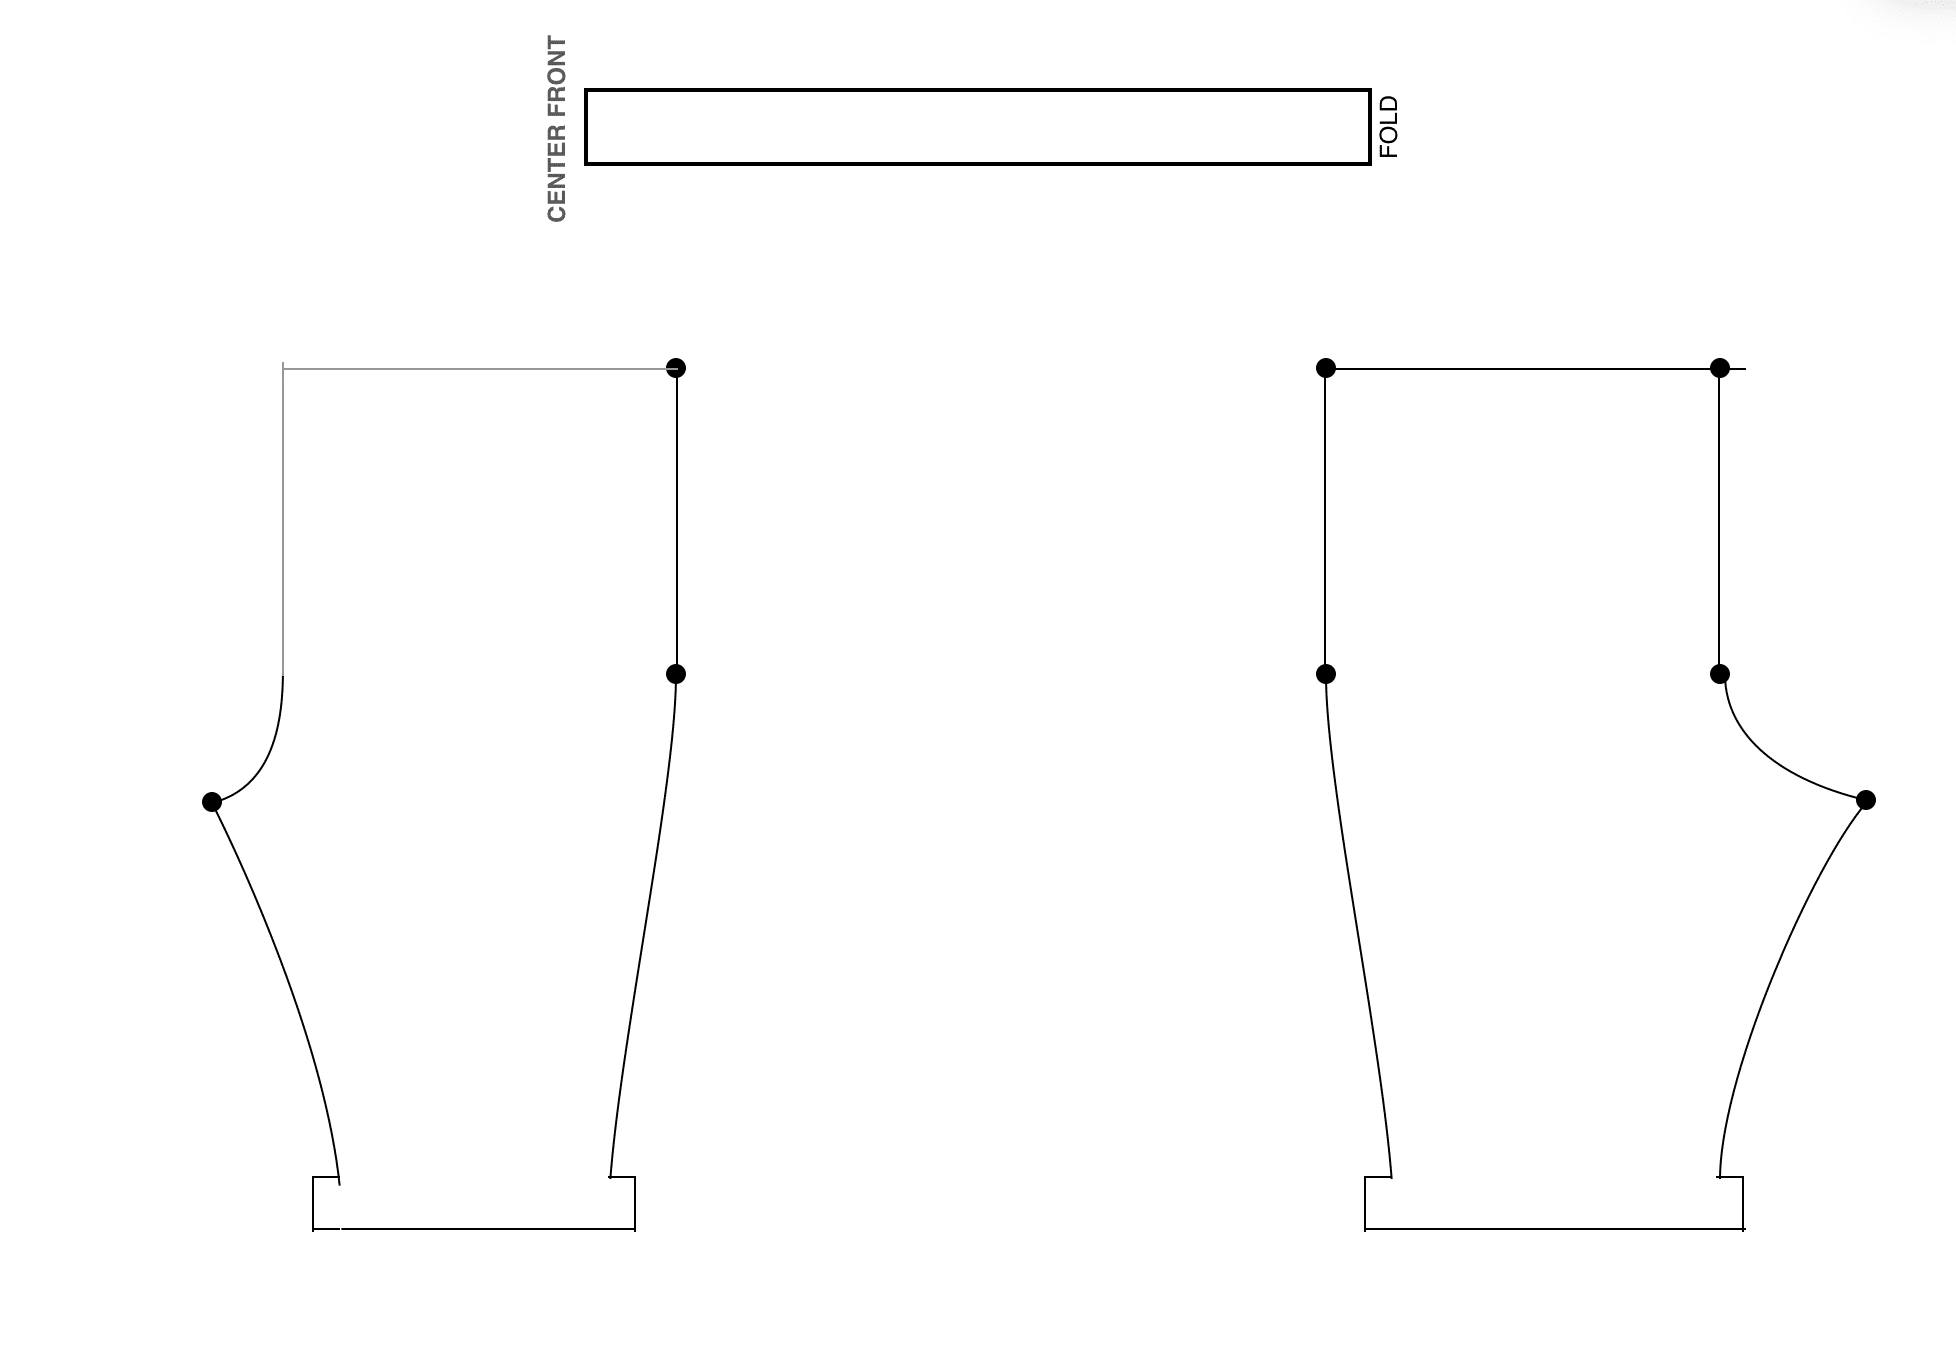
Make your grid. Use your length measurements from above to draw horizontal lines for the length between the waist, hip, crotch , thigh, and bottom length of the pants. Then draw a straight line down for your center front.
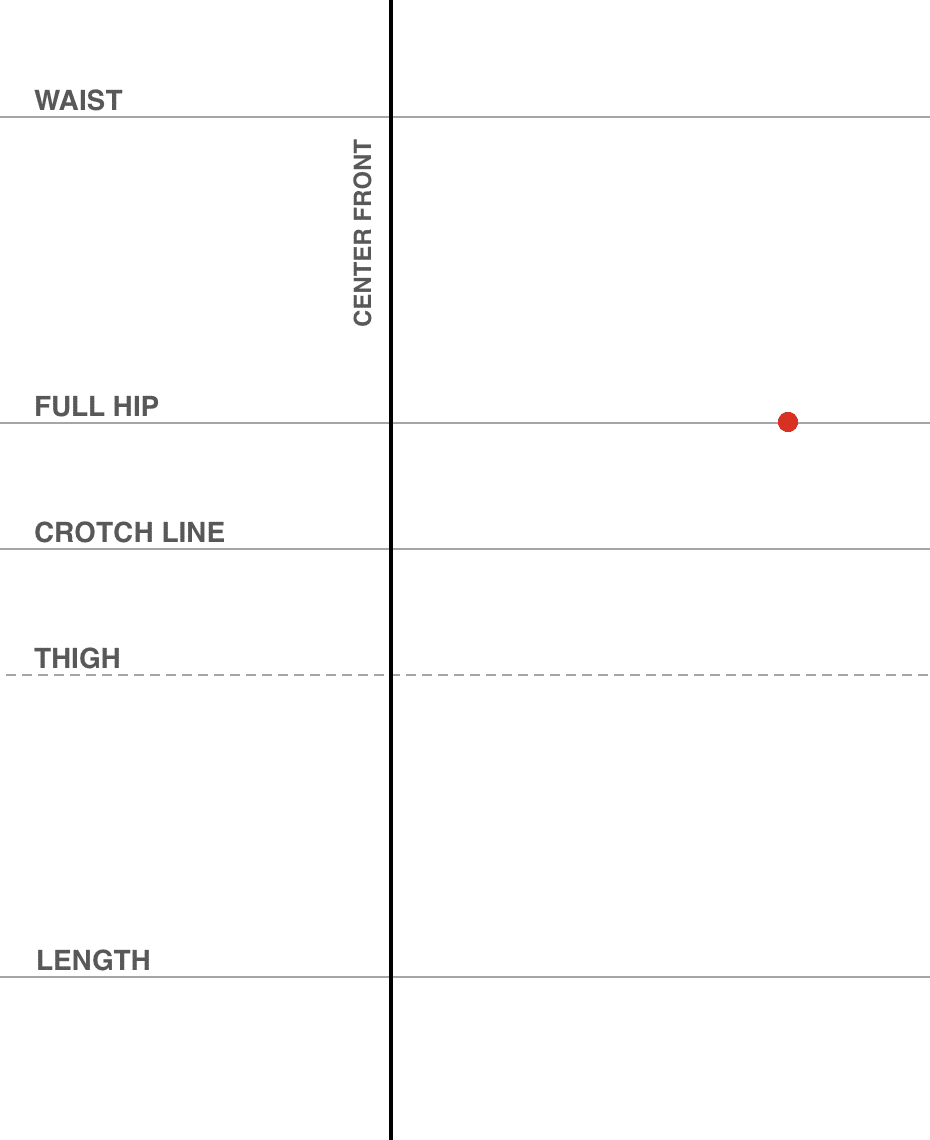
Add your full hip point according to your calculations above. The measurement around your hips divided by 4, then add 1.5 inches.
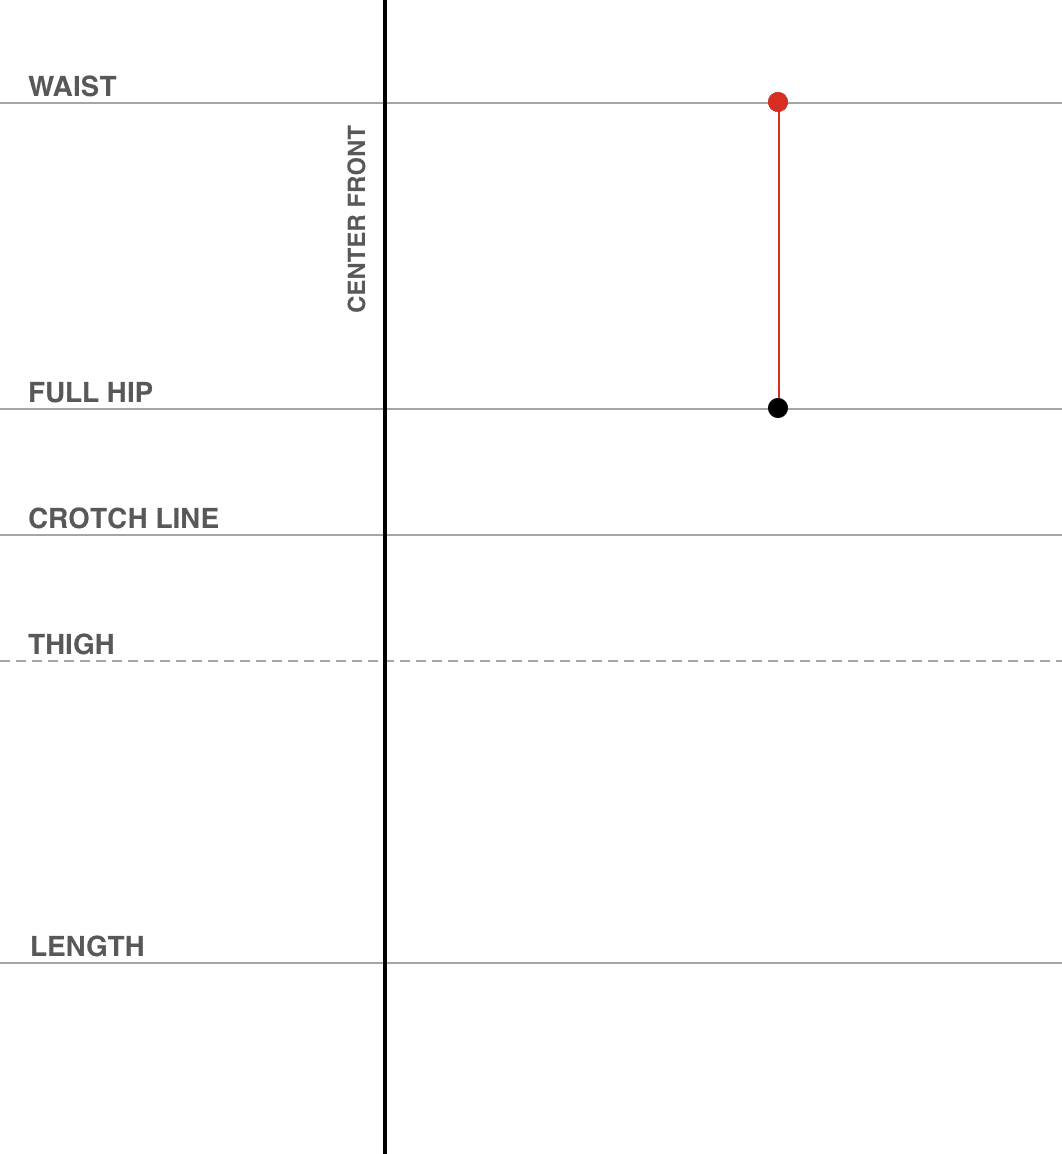
Draw a line straight up from the hip to the waist line.
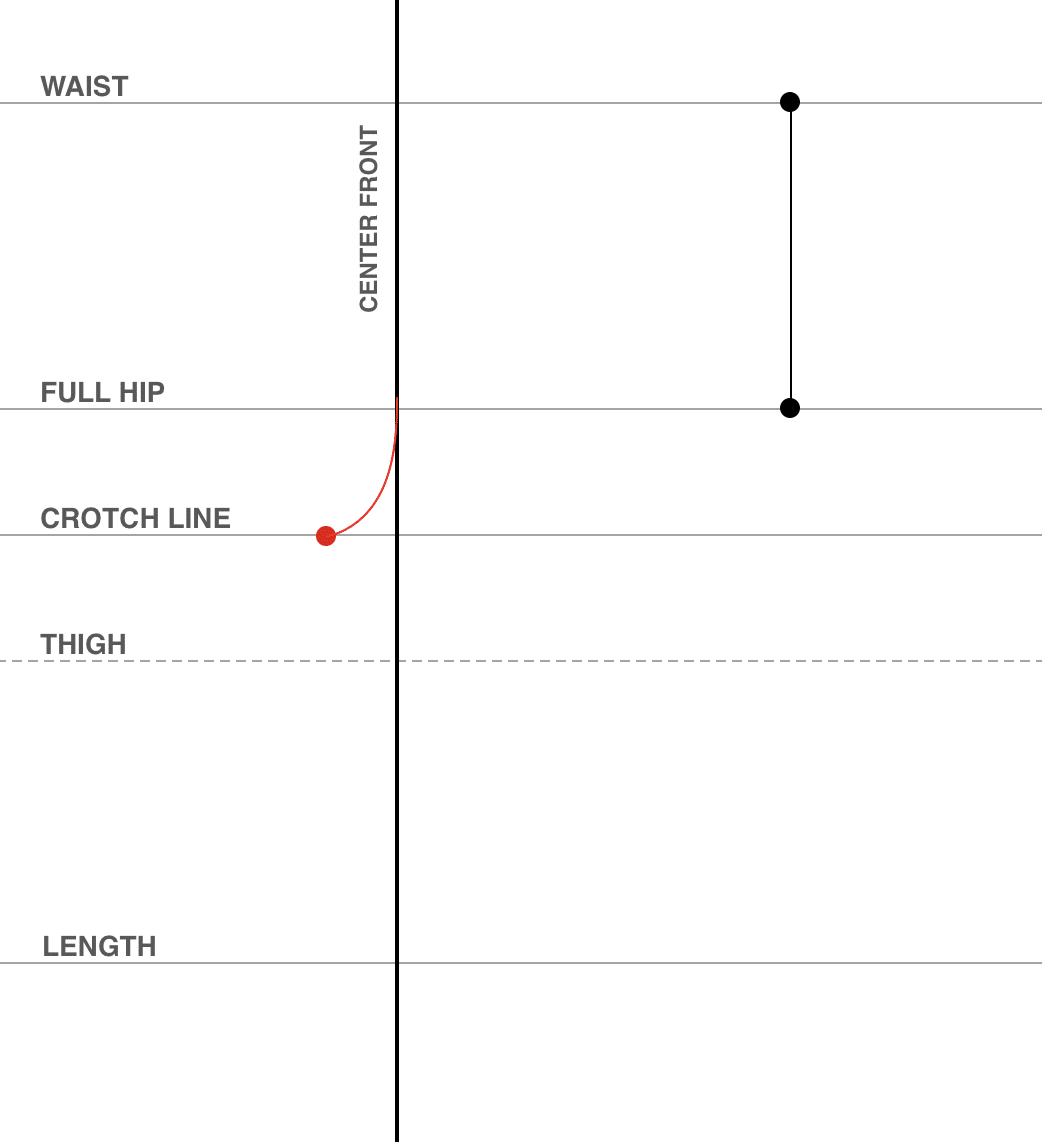
Draw the crotch line and connect it to the center front with a curve. Take your full hip measurement and divide it by 4 again. Then measure that distance out from the center front on the crotch line.
Don’t worry too much about this curve, you’ll can fine-tune it in a later step.
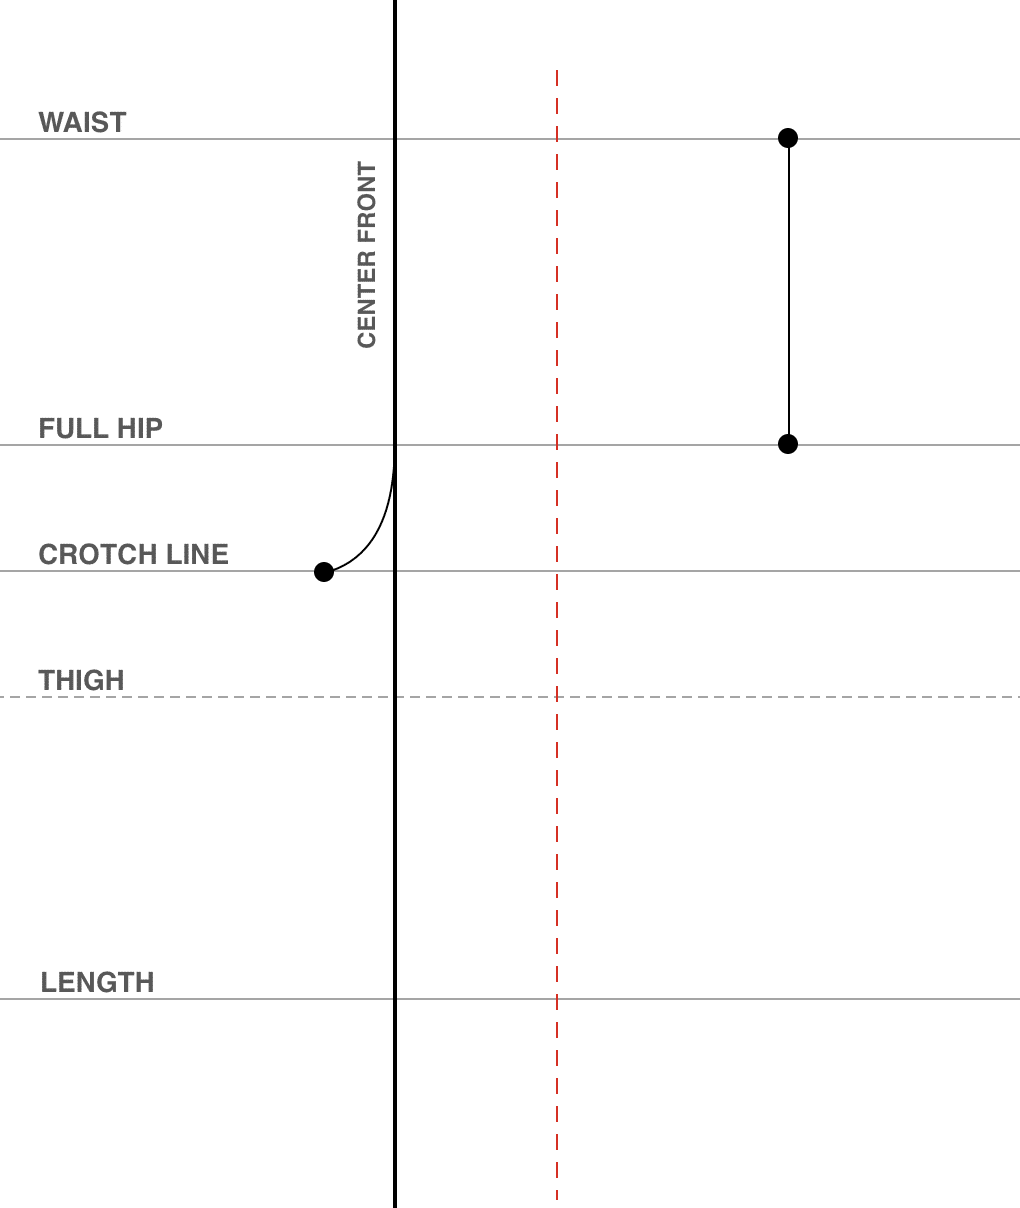
Draw a vertical guideline halfway in between the center front and the side of the pant leg.
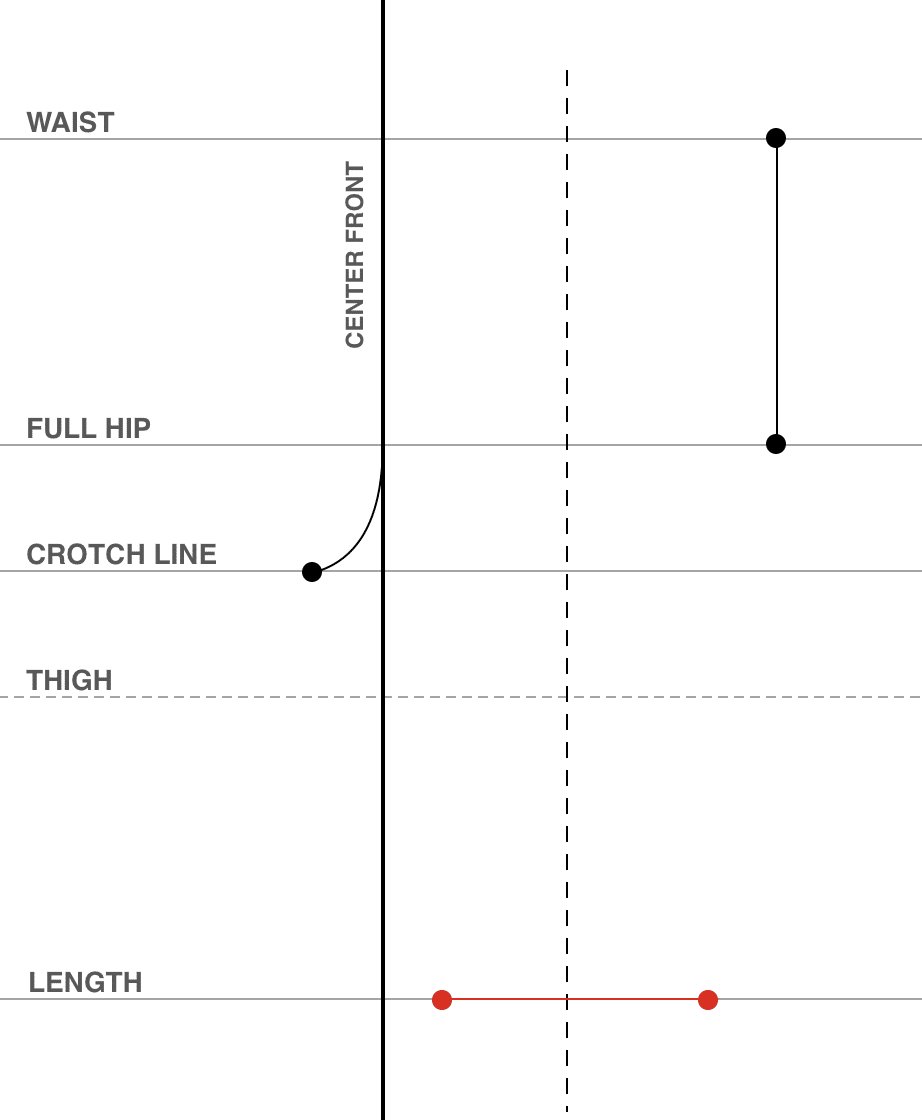
Draw the base of the pant leg (the front knee calculation from earlier). Make sure the center of this line connects with the guideline.
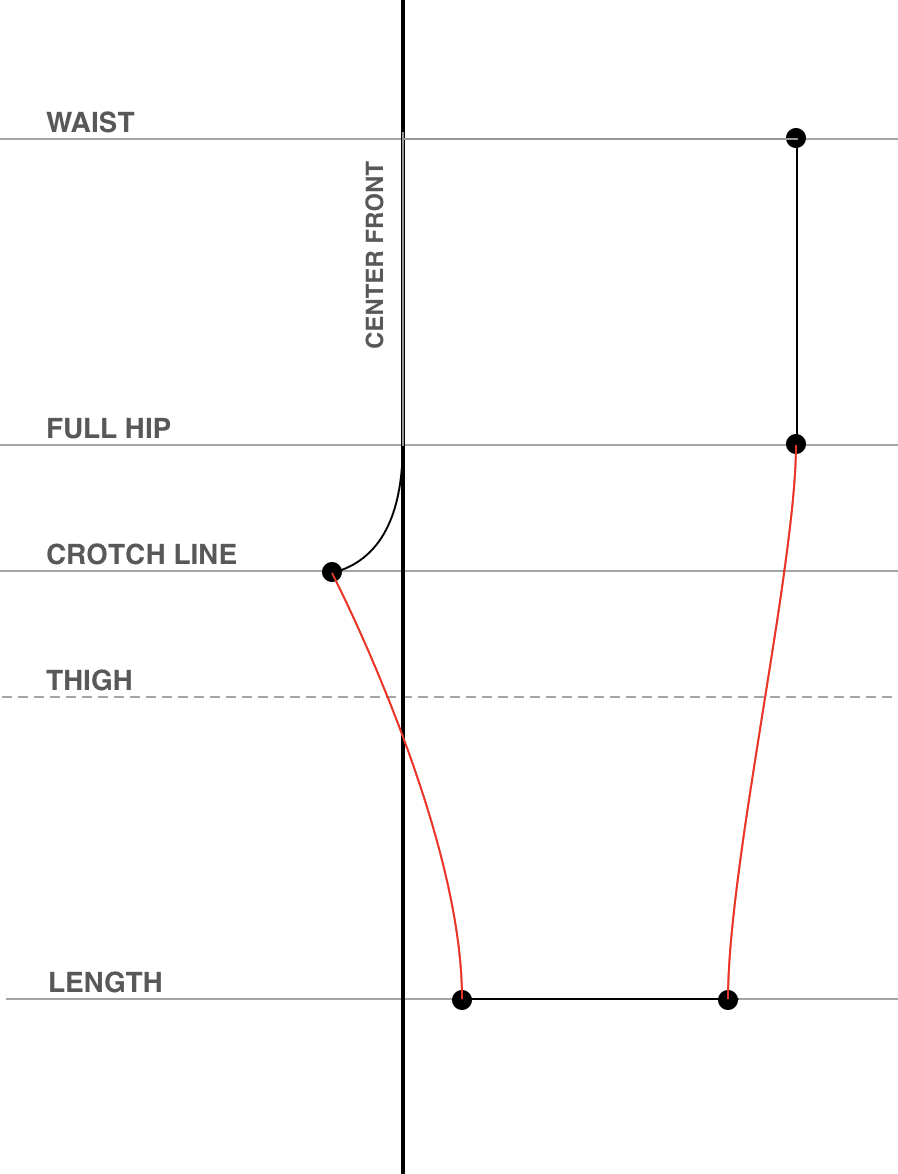
Connect the base to the sides of the pants. Try to make right angles at the bottom of the pant legs.
At this point, you also want to check the thigh measurement. Make sure the length from one side of the pant to the other on the thigh line is bigger than the calculation for the front thigh you made earlier.
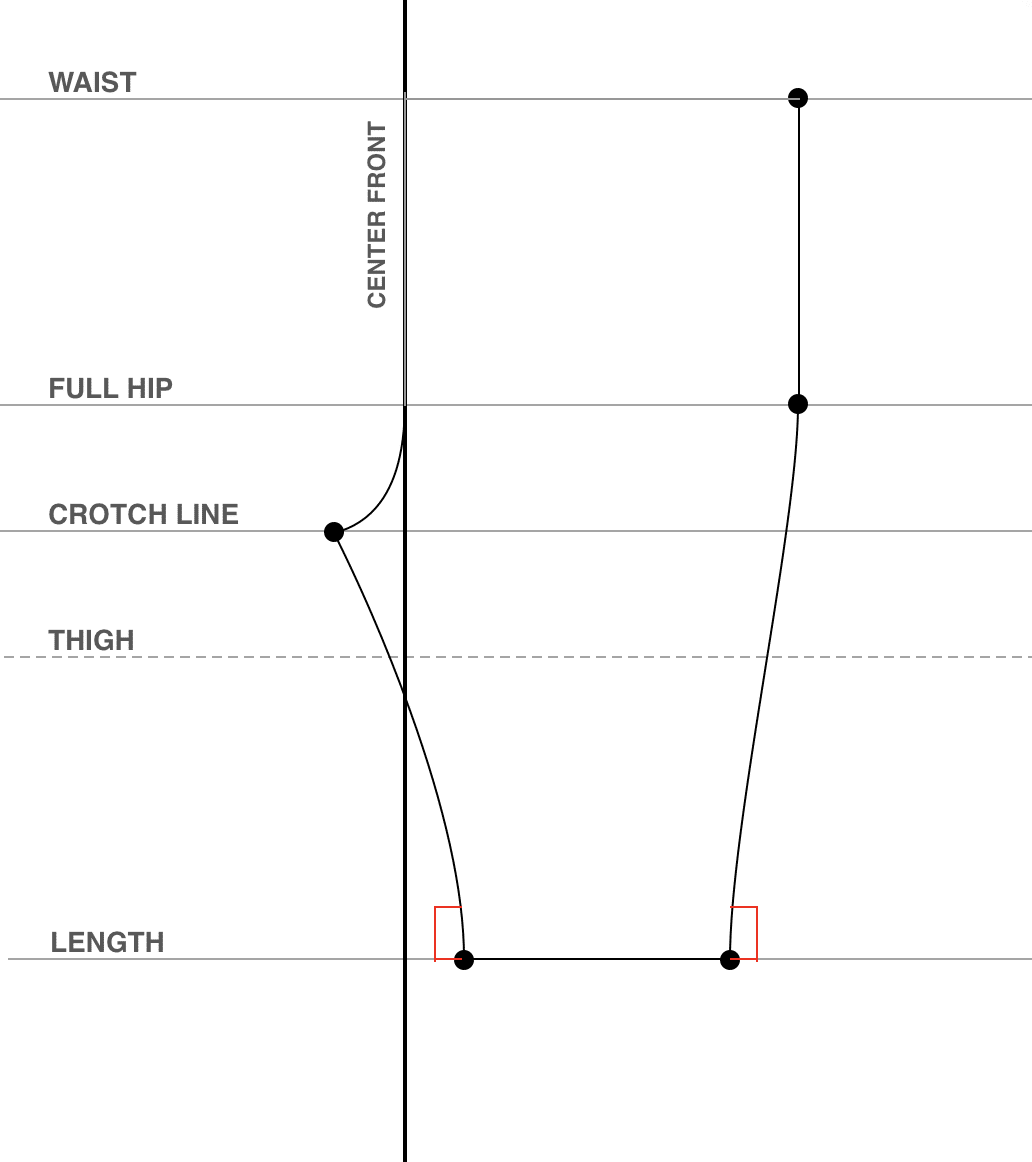
Optional: Add a vent to the base of the pant legs. For the bottom 2 inches of the pant add a rectangle protruding half an inch on both sides. You can skip this step if you want, the vent will give you more mobility when bending your knees.
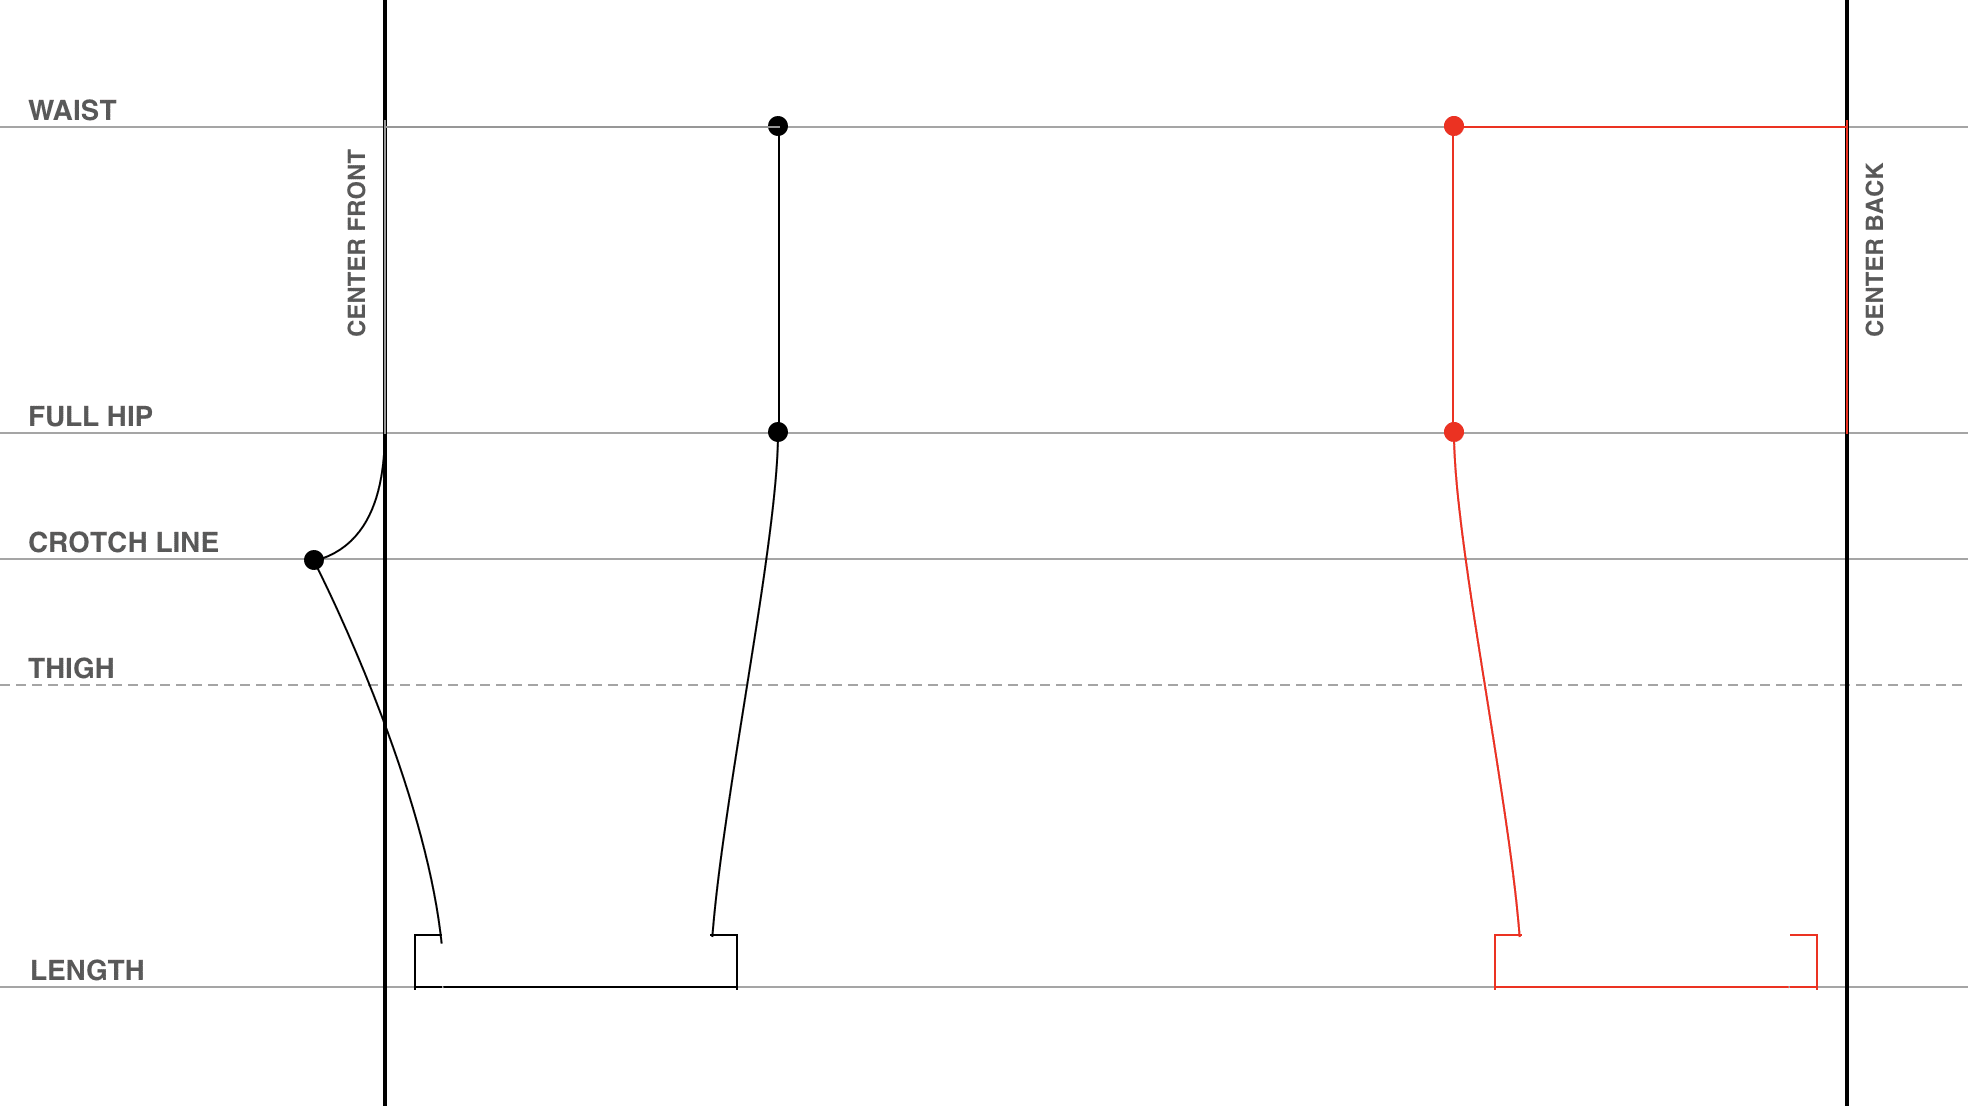
Trace the side and bottom of the front pant to the back.
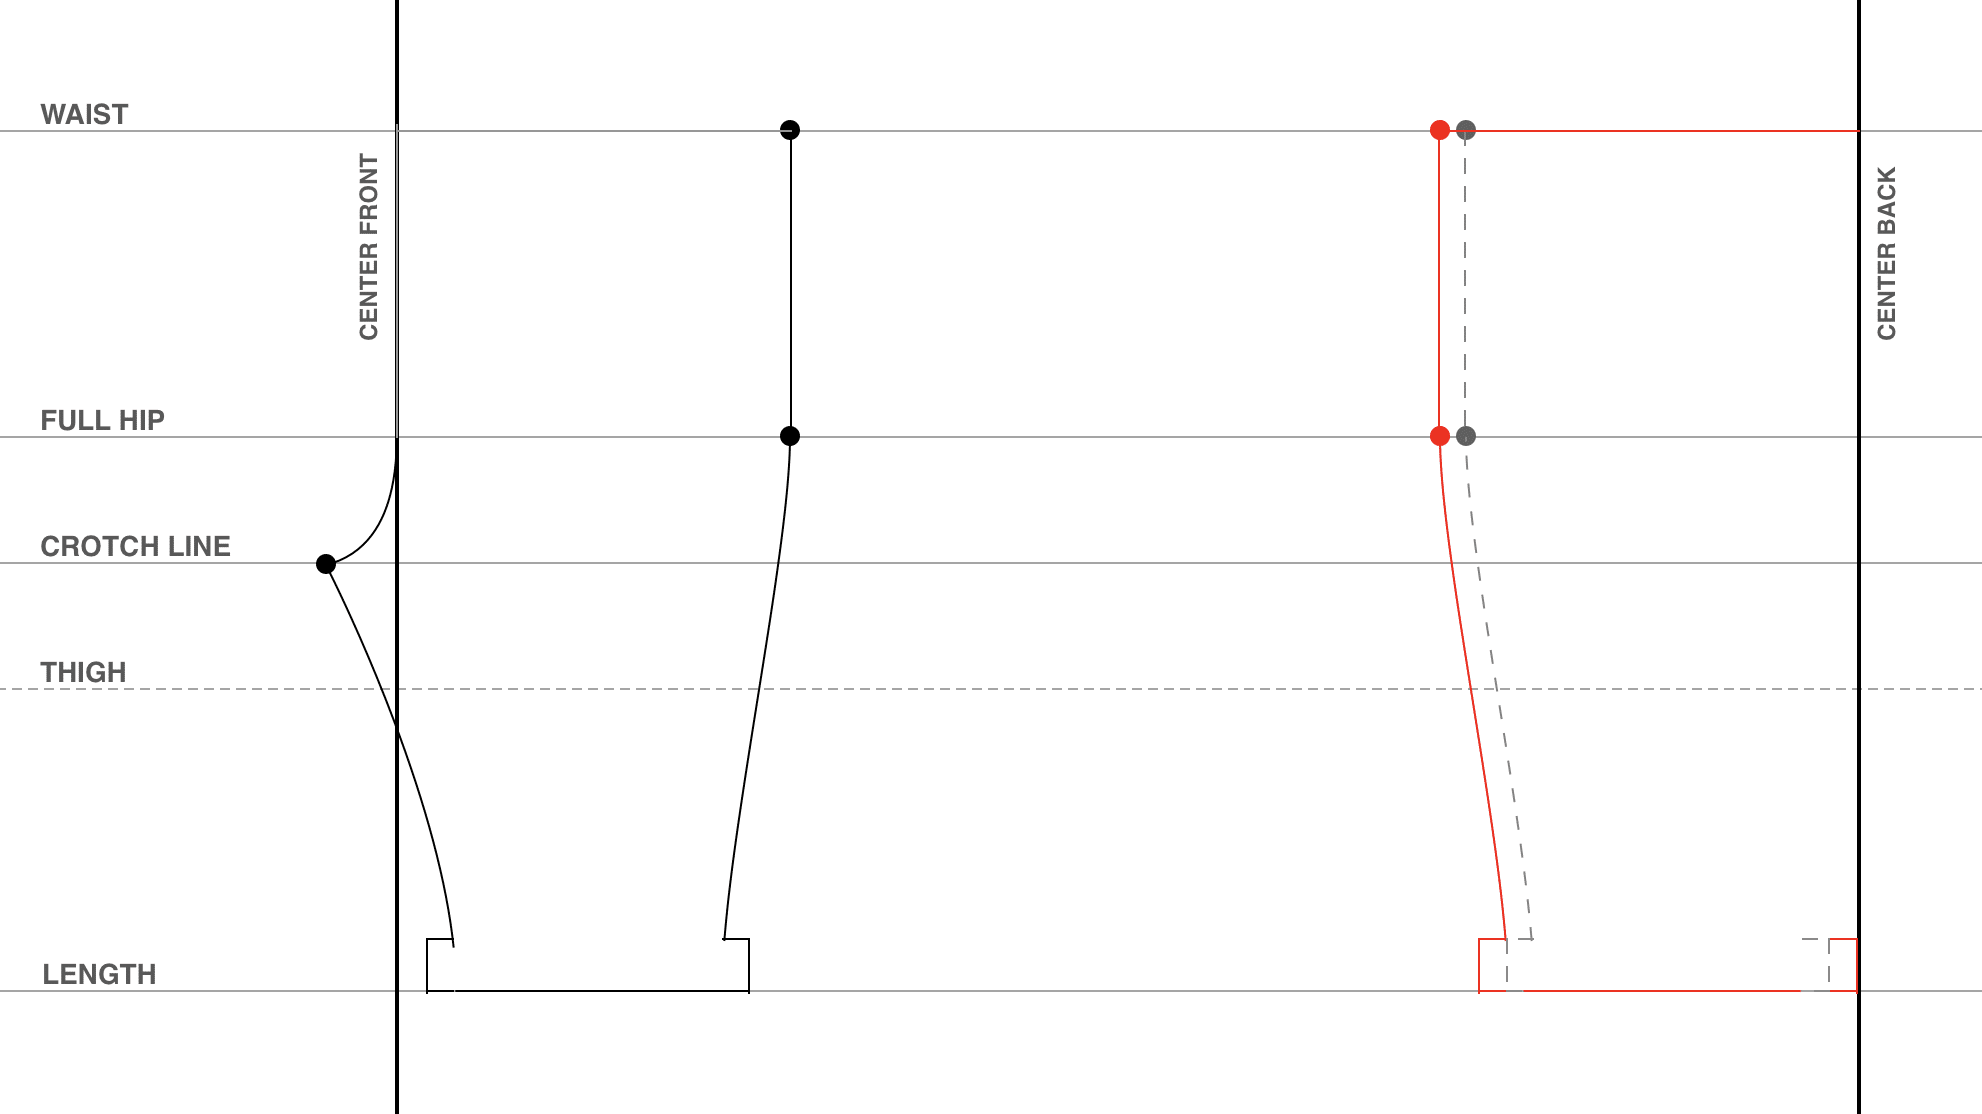
Move the side seams over half an inch. Keep the same shape, just scootch the side over half and inch on the outseam and inseam.
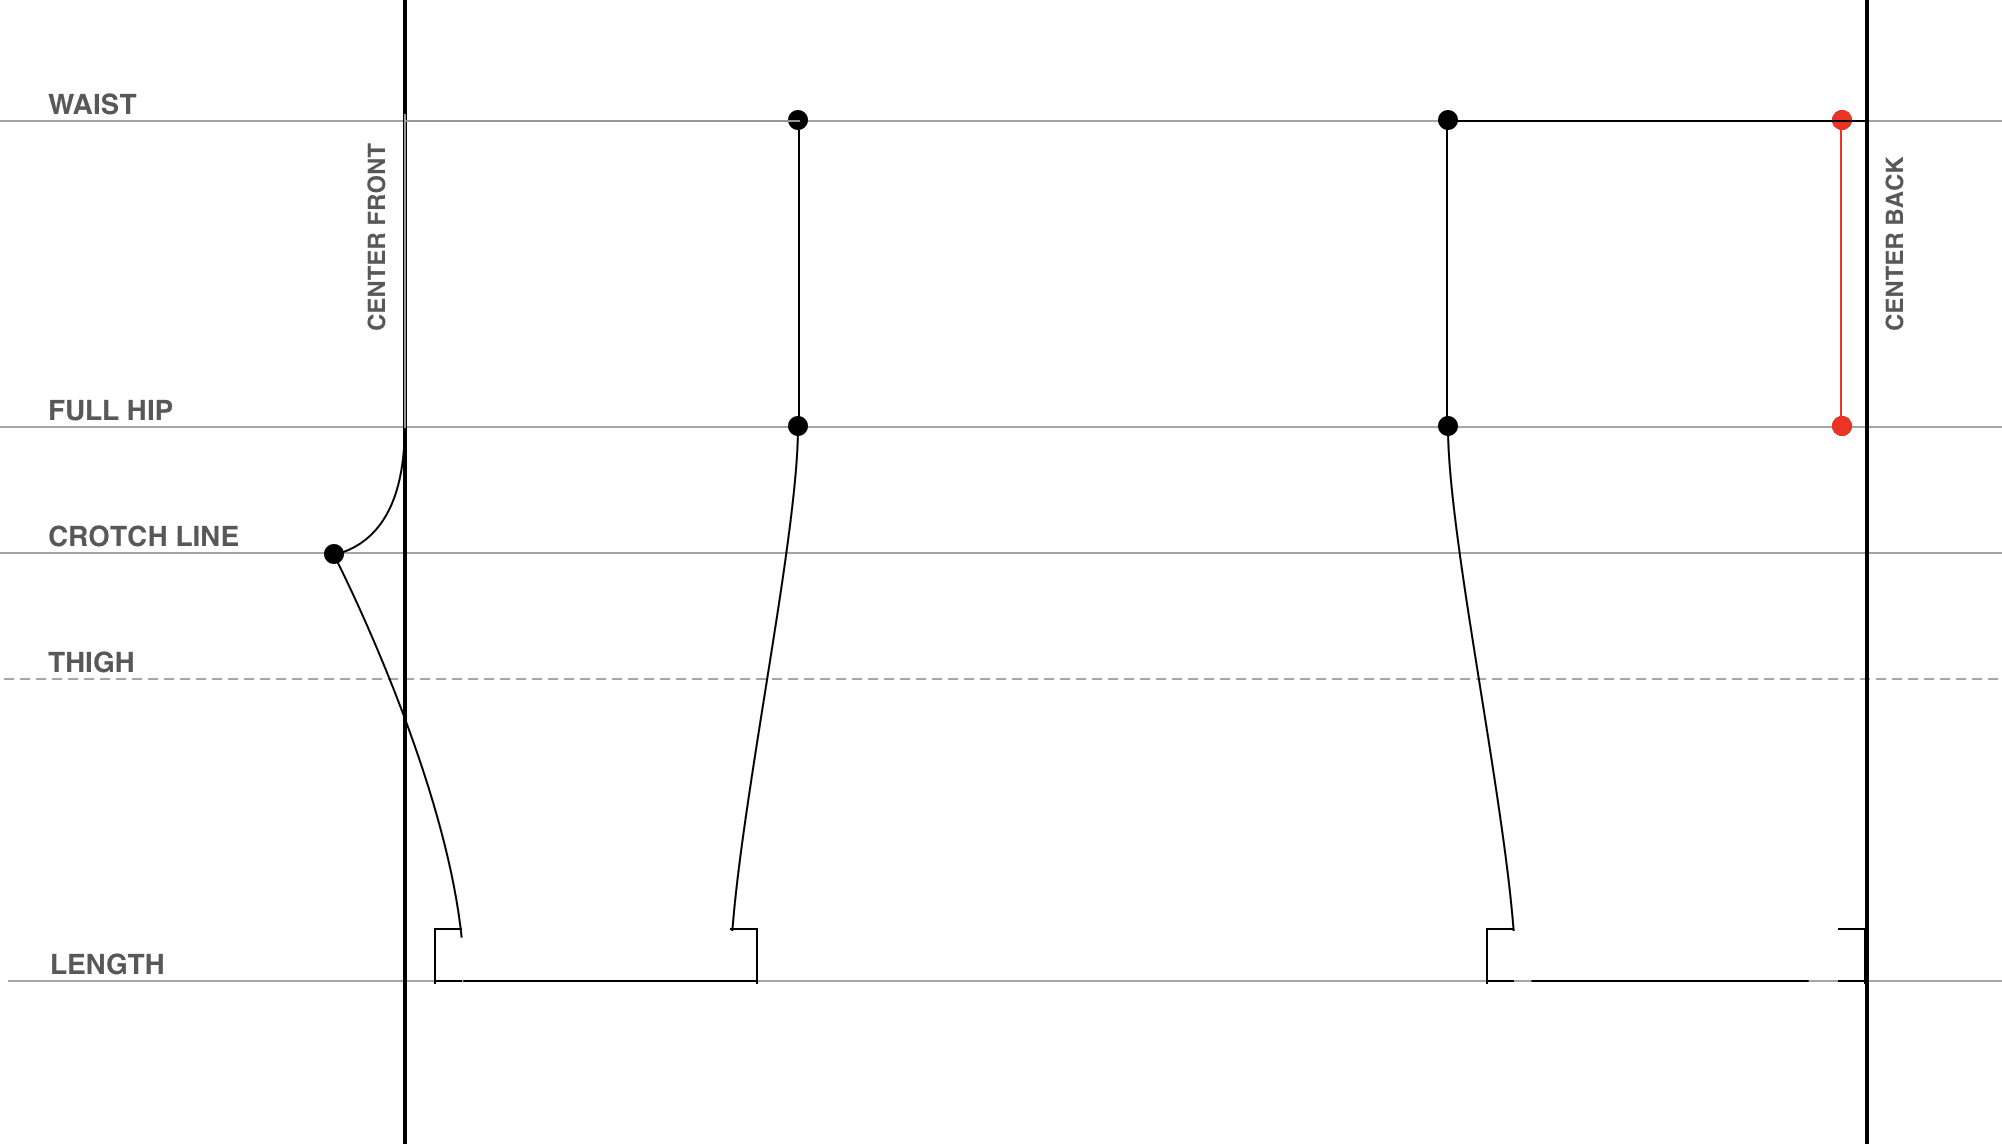
Make a line straight down from the waist to the hip half an inch in from the center back line.
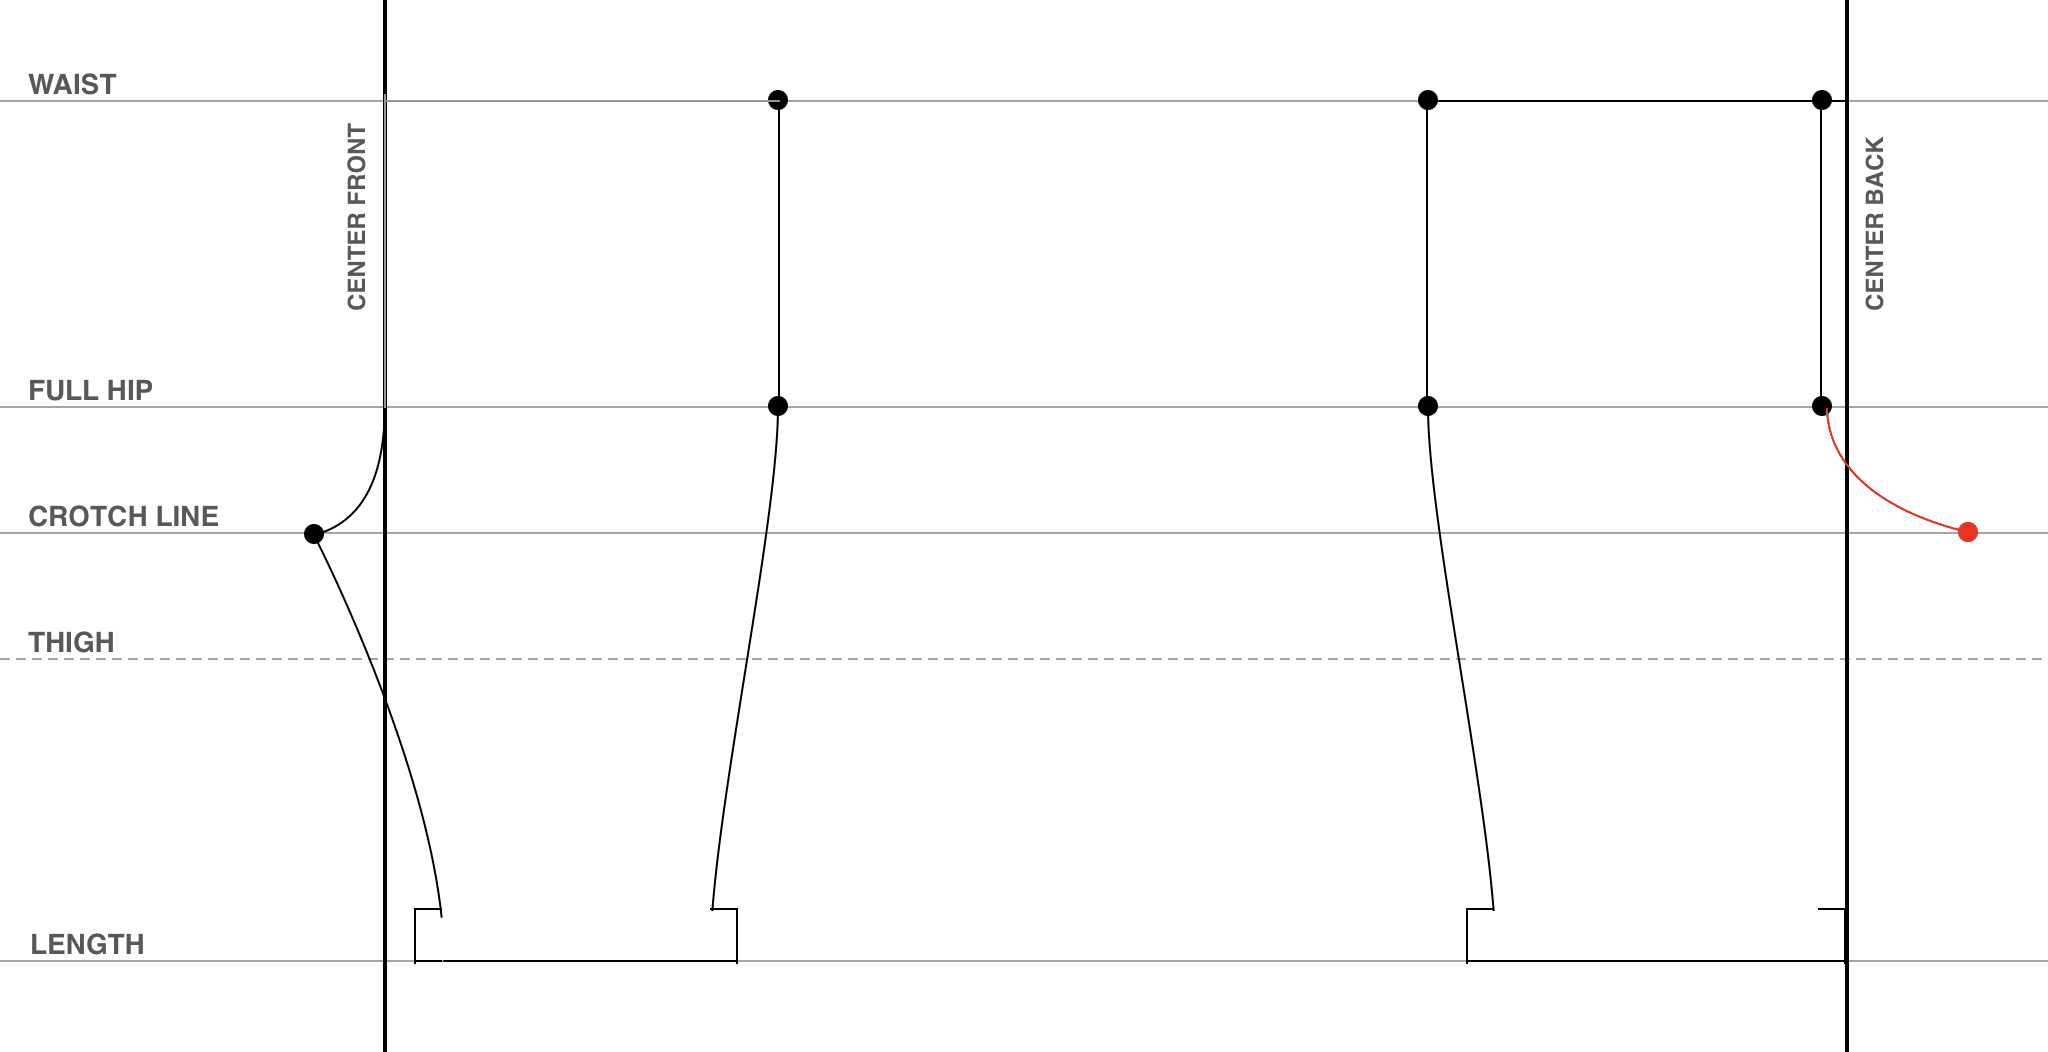
Draw the crotch line and connect it to the hip with a curve. Take your full hip calculation and divide it by 2 again. Then measure that distance out from the center back on the crotch line.
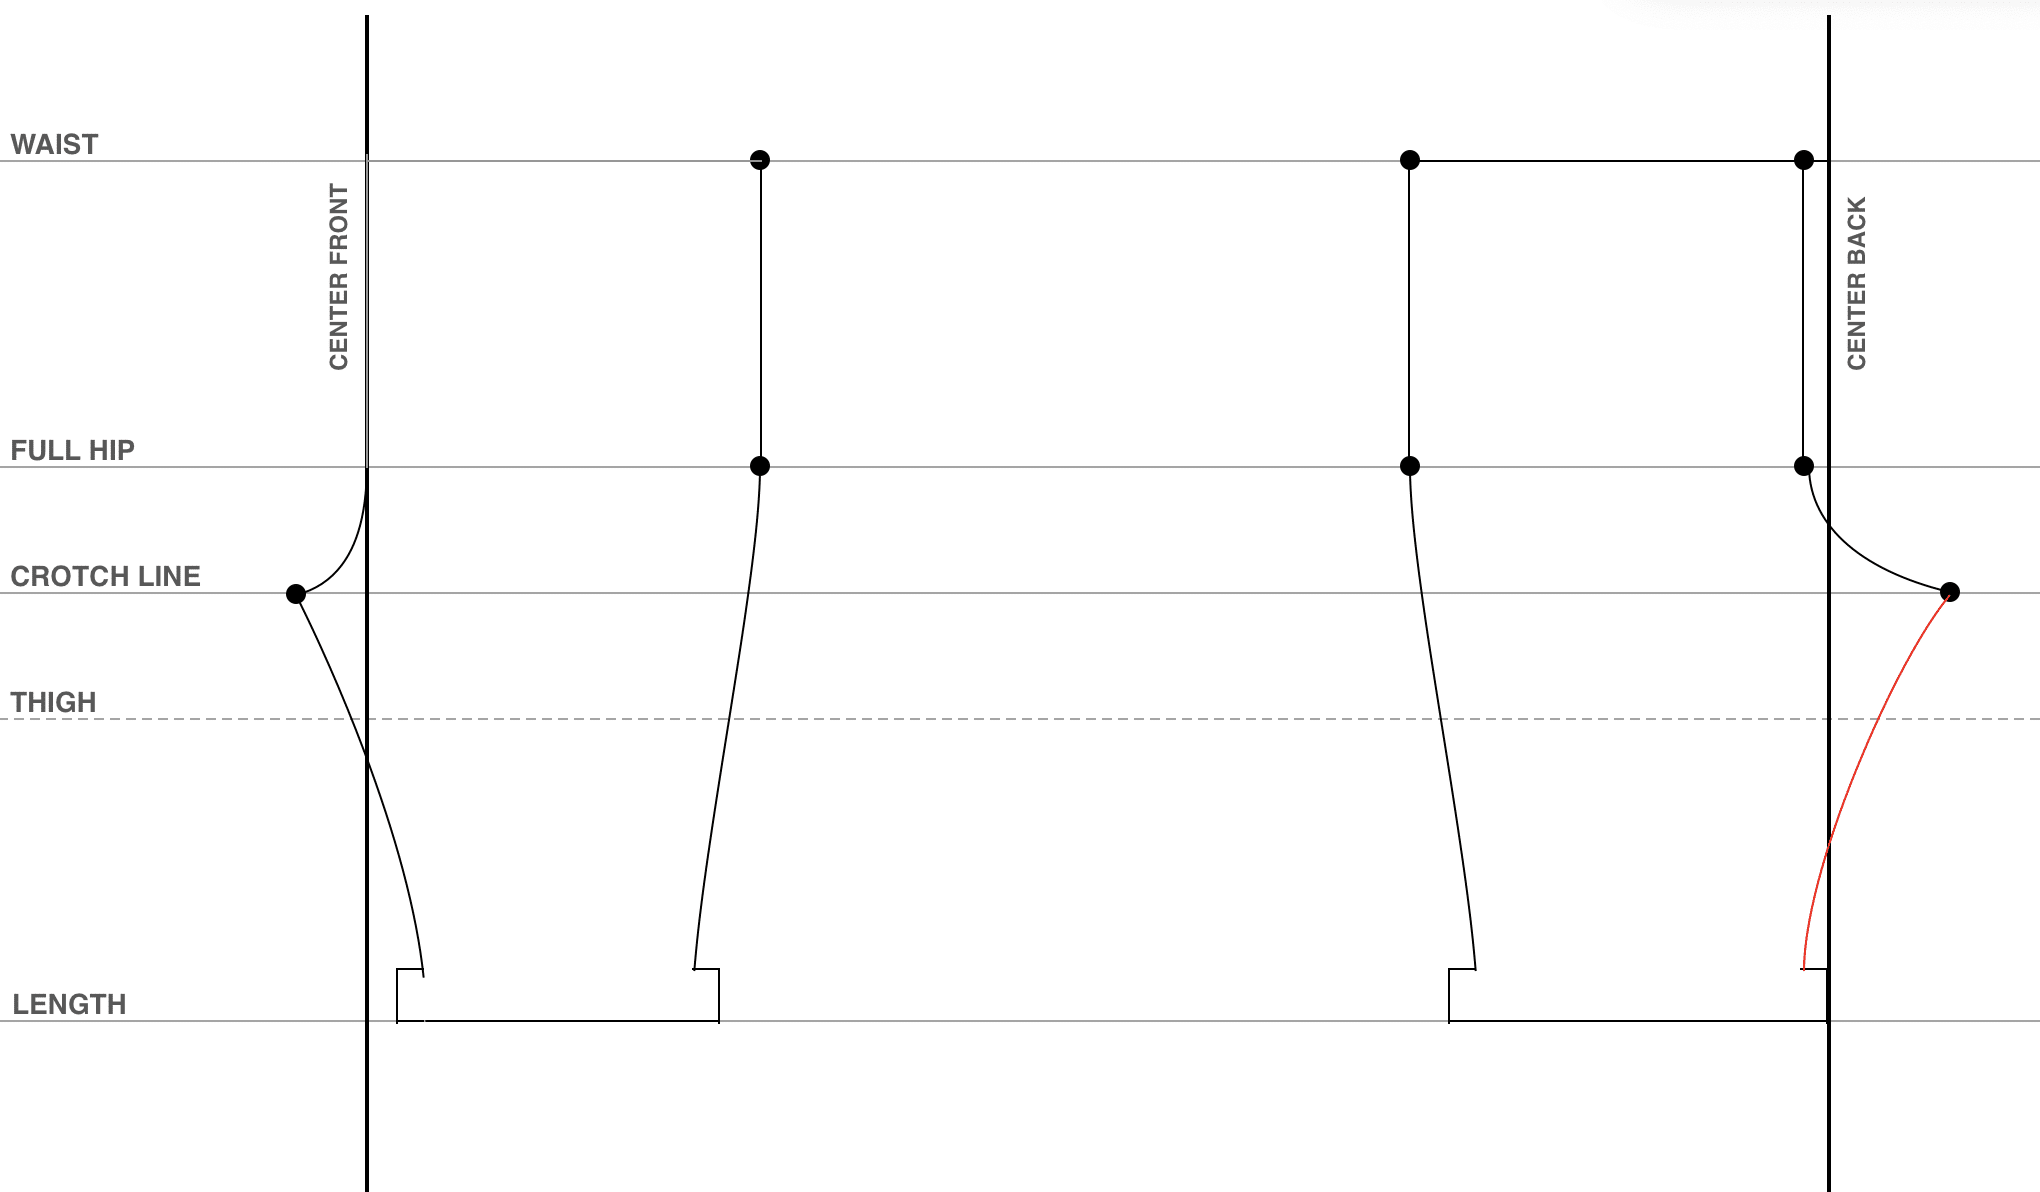
Draw the inseam on the back of the pants the same way you did on the front.
Check to make sure the thigh line from side seam to inseam is greater than your back thigh measurement from earlier.
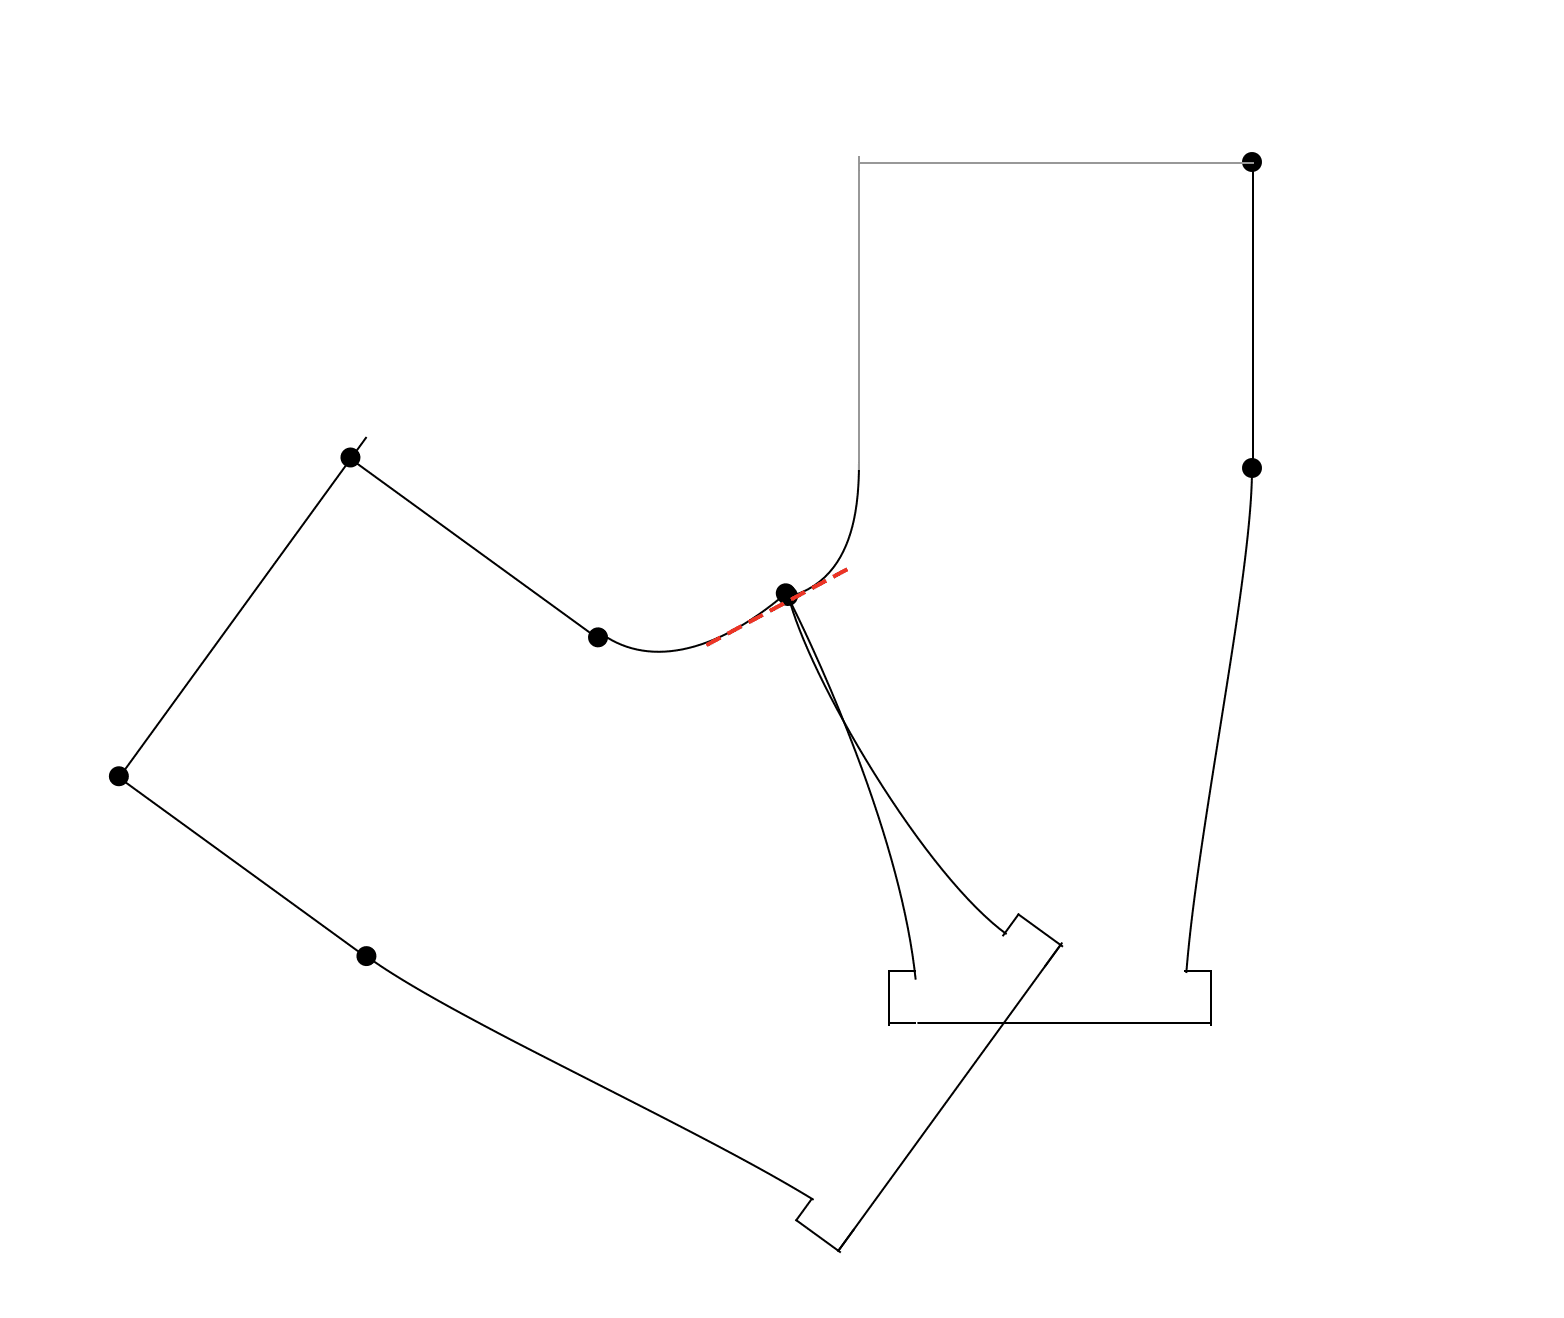
Check the crotch curve. This part is a little bit tricky, but you want the seam to create a straight line through the front and back crotch. Place the points of seams together as they would be if you are sewing them. If it’s not straight, just draw a straight line and adjust the point of both sides.
You’ll also need to make sure the inseams of the front and back are the same length. It’s totally normal if you need to adjust the crotch points a couple of times as measure, to make sure the front and back will fit together.
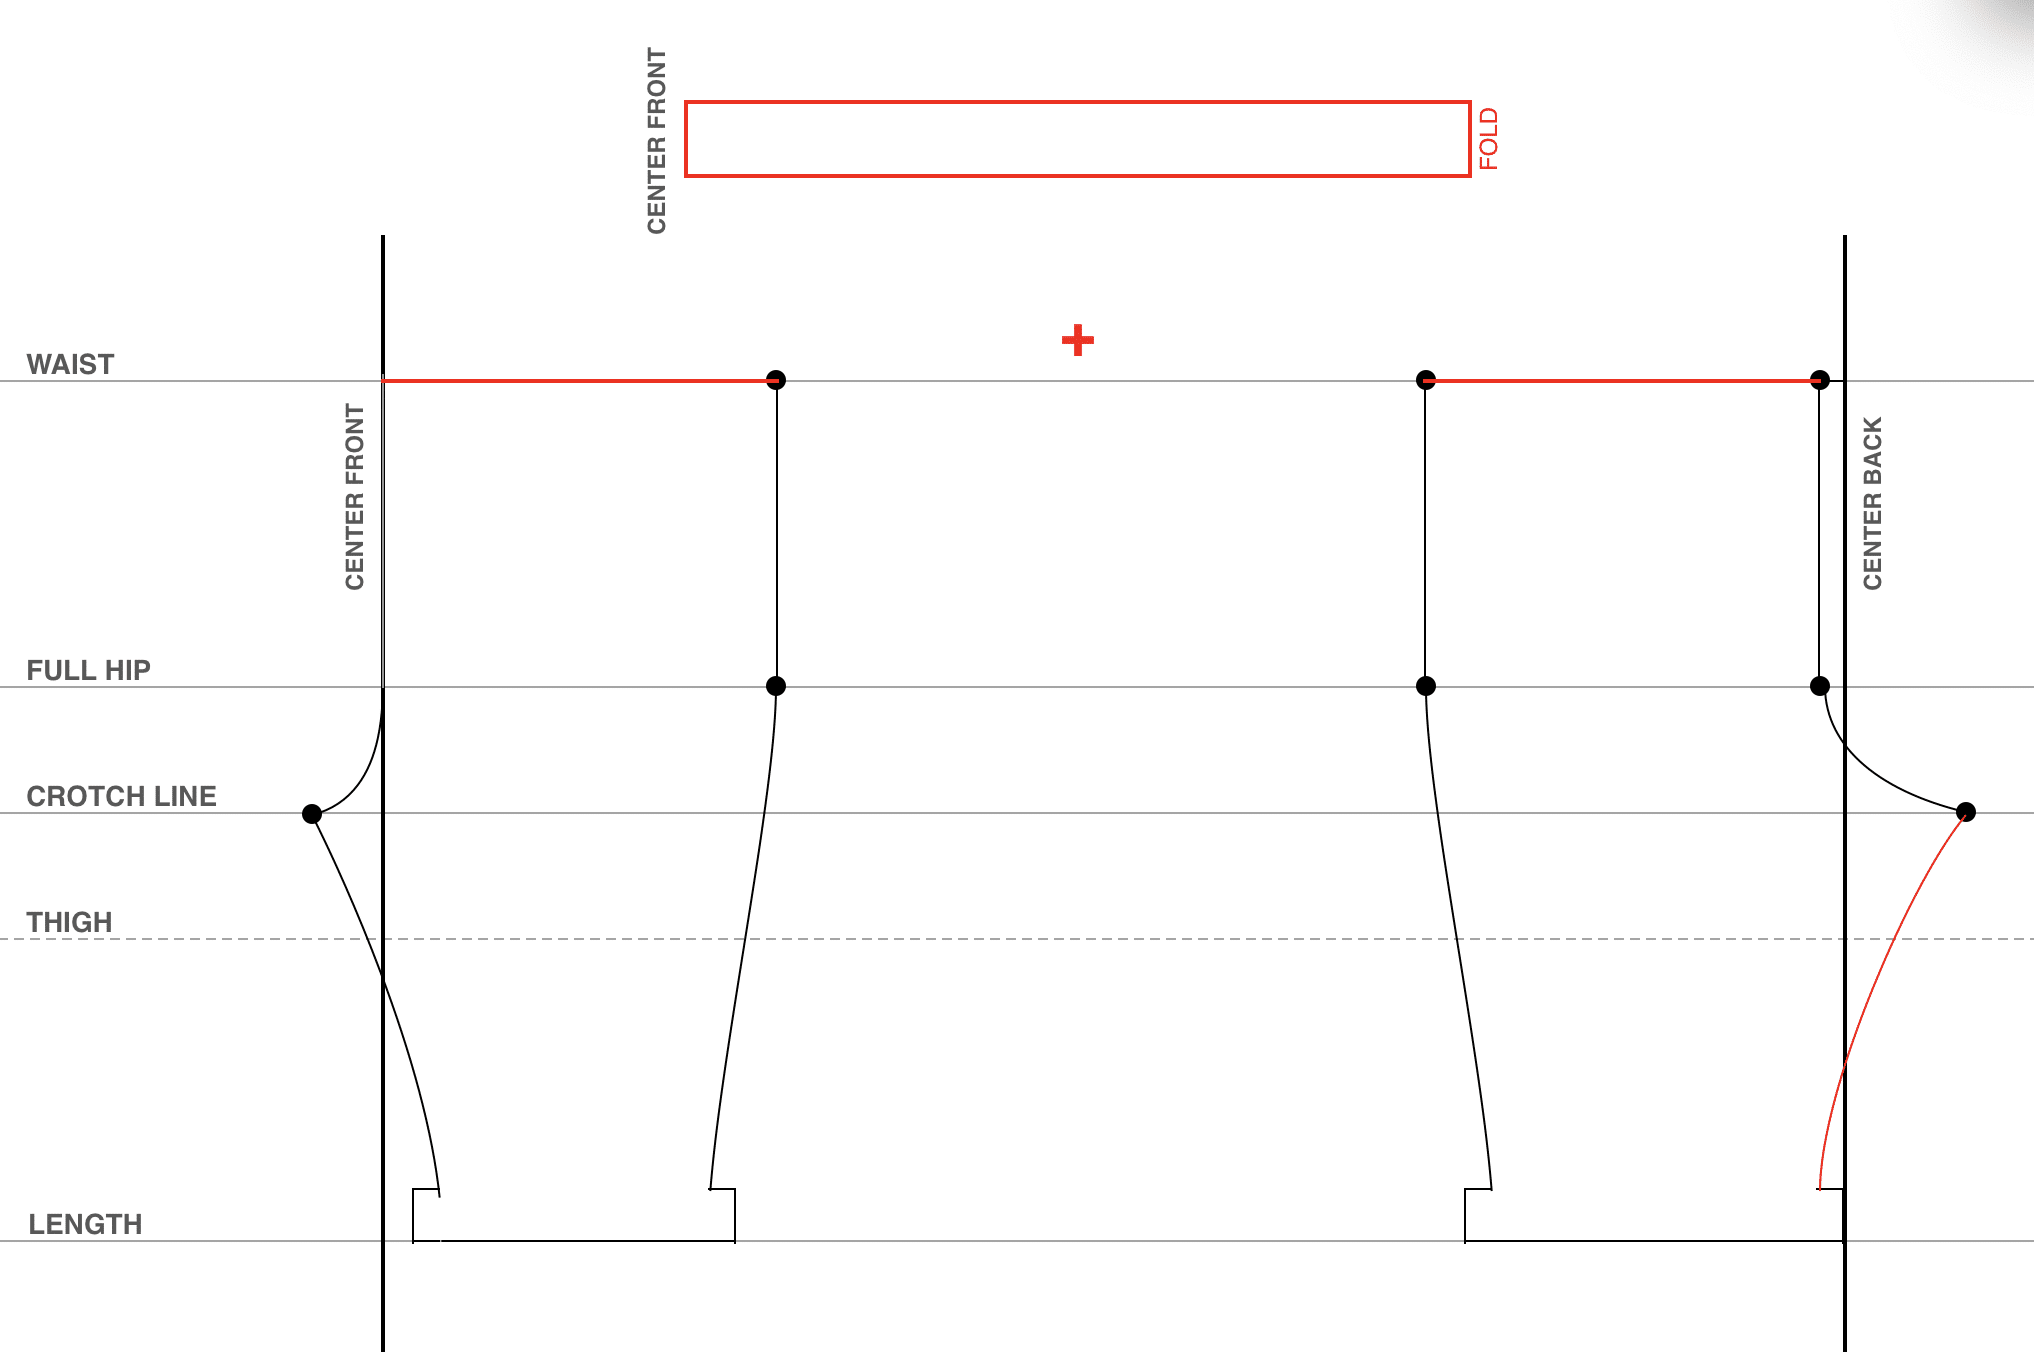
Measure the front and back waistlines of your pattern and add them together. Create a waistband using that measurement. Make the waistband 4 inches thick and cut it out with one side on the fold.
Don’t forget to add seam allowance to your pattern pieces!
Step 1
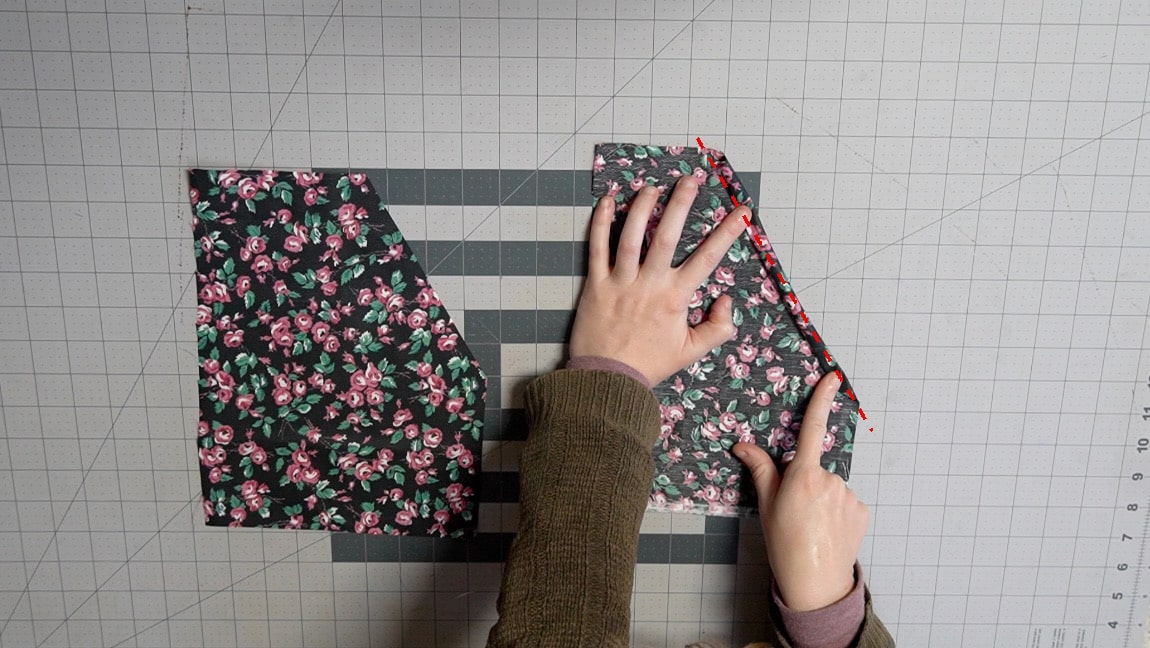
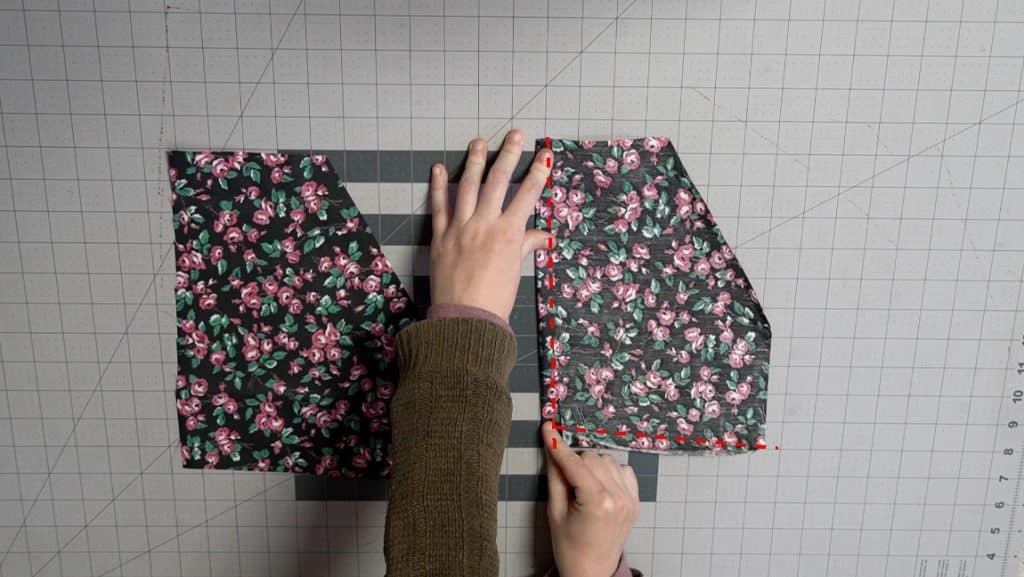
Get the pockets ready
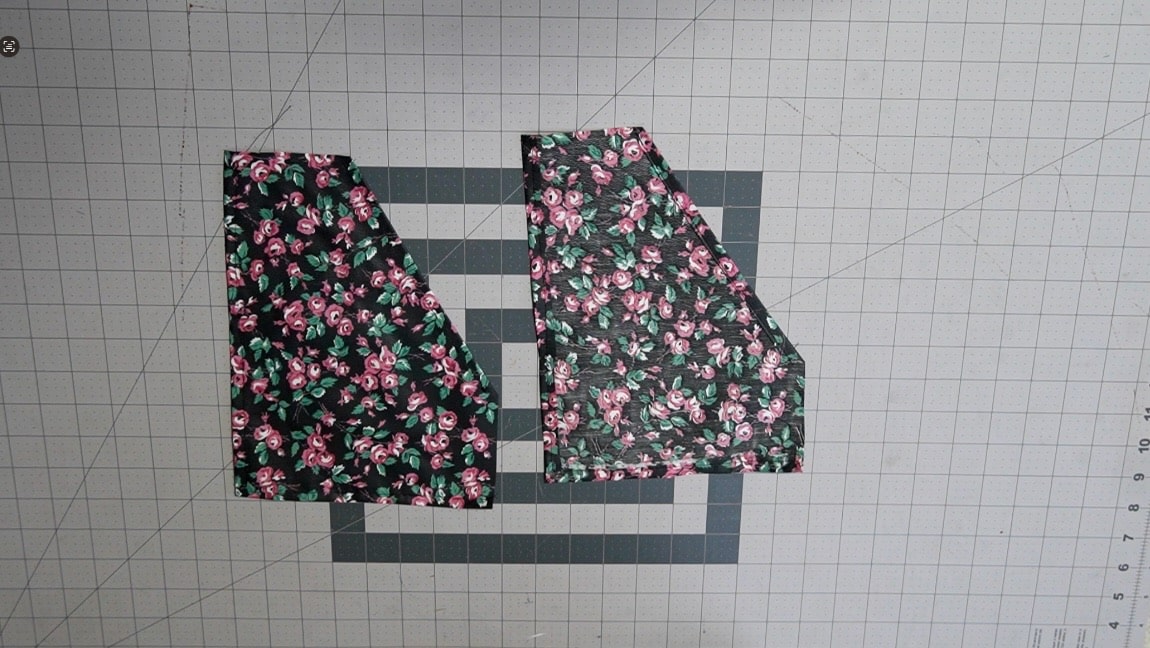
Hem the diagonal side of the pockets. Then fold and press the seam allowance (1/2″) on the two sides that are opposite the diagonal. You may want to baste them in place to keep them folded under.
Step 2
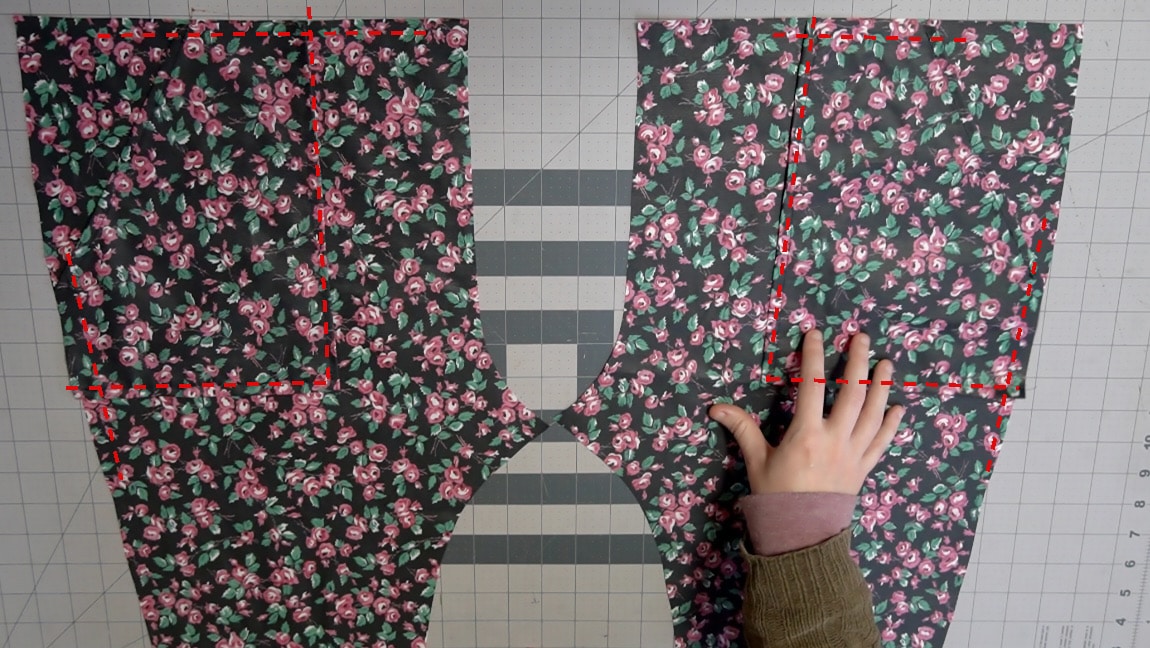
sew the pockets to the front pants
Place the pockets face up on the front shorts pieces. Line up the top of the pocket with the top of the pants. Line up the side of the pocket with the side of the pants (it’s okay it some pocket hangs over the edge).
Topstitch the pocket along the bottom and inner side. Then baste the pocket to the top and side of the pants. Only the diagonal side is left open.
Step 3
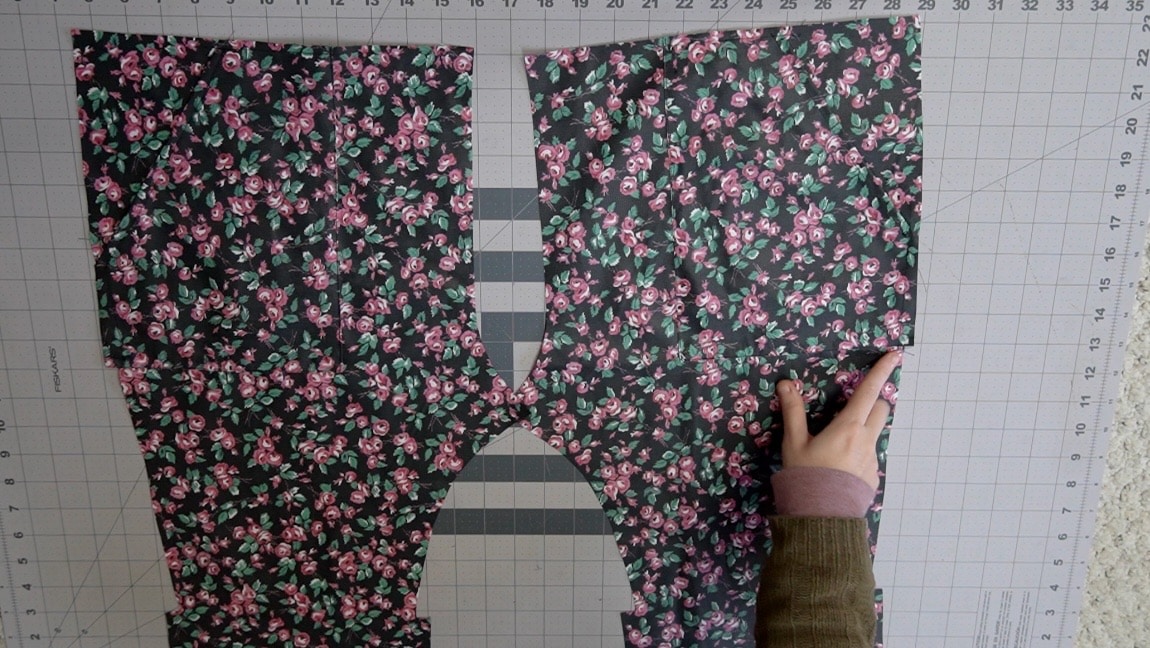
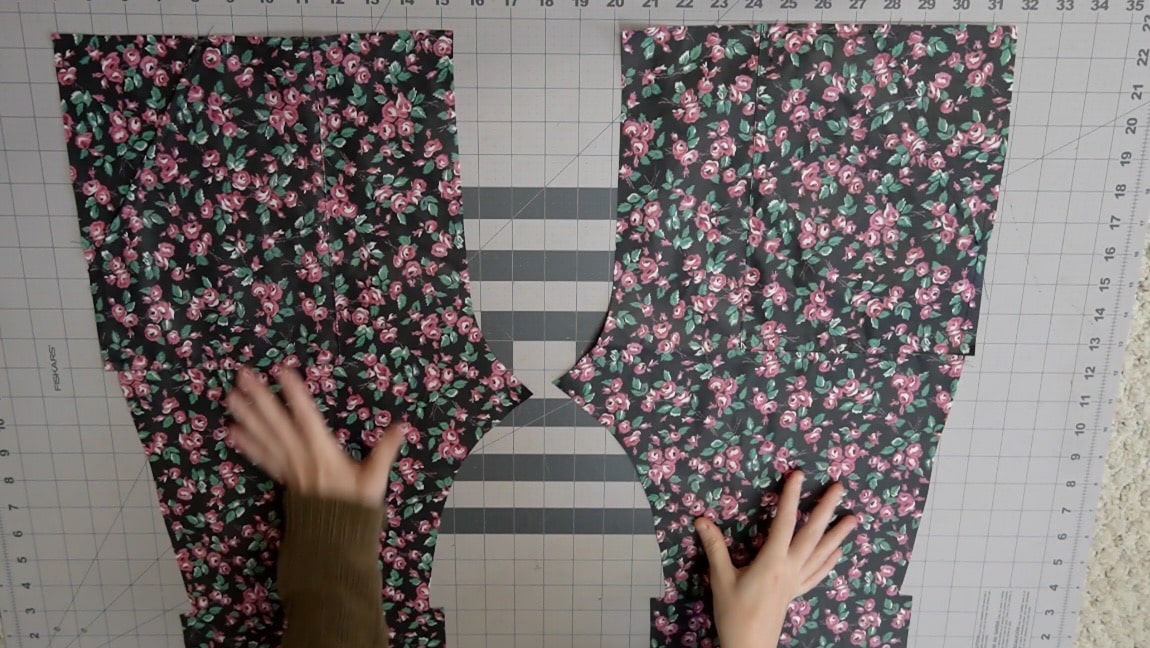
clip the overhanging part of the pocket
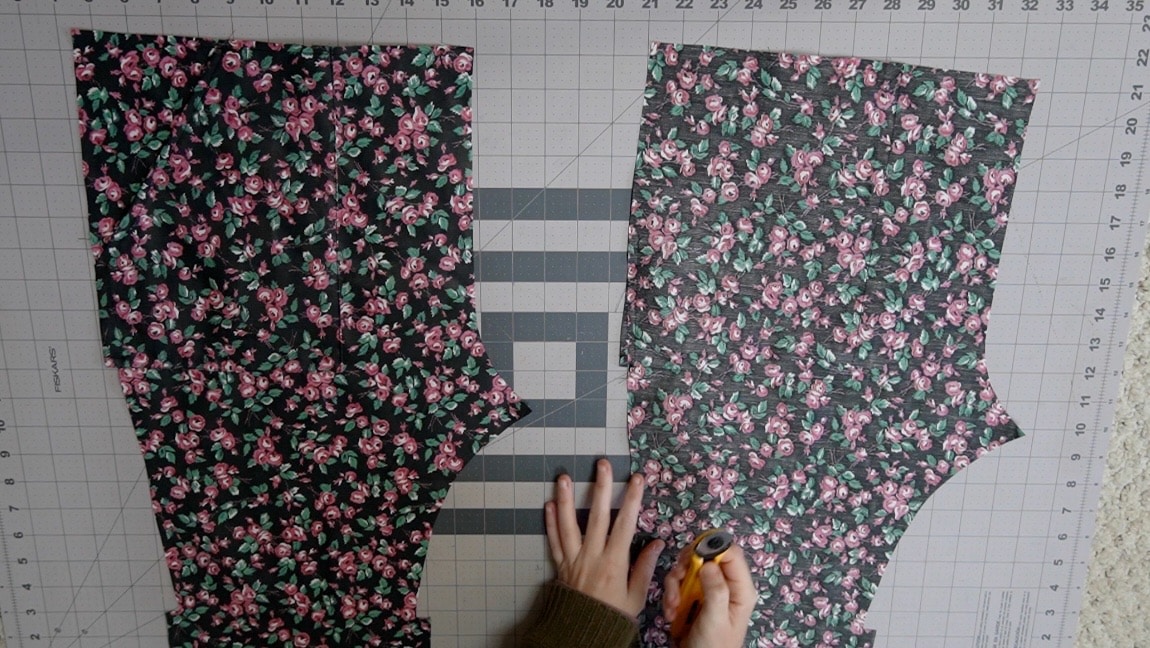
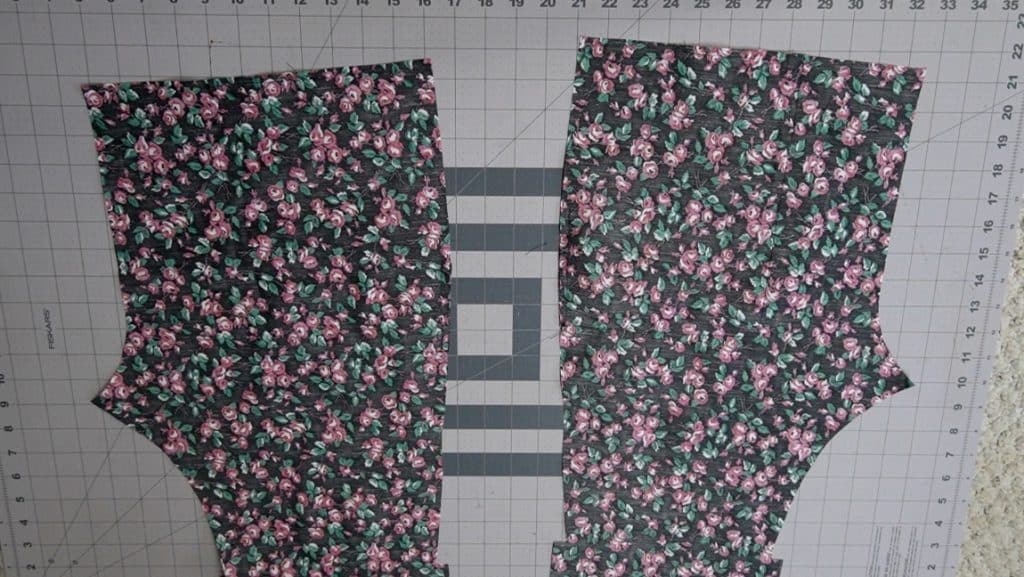
The side of your capris probably won’t line up with the side of the pocket. Just clip off any excess overhanging parts of the pocket so it lines up with the side of your pants.
Step 4
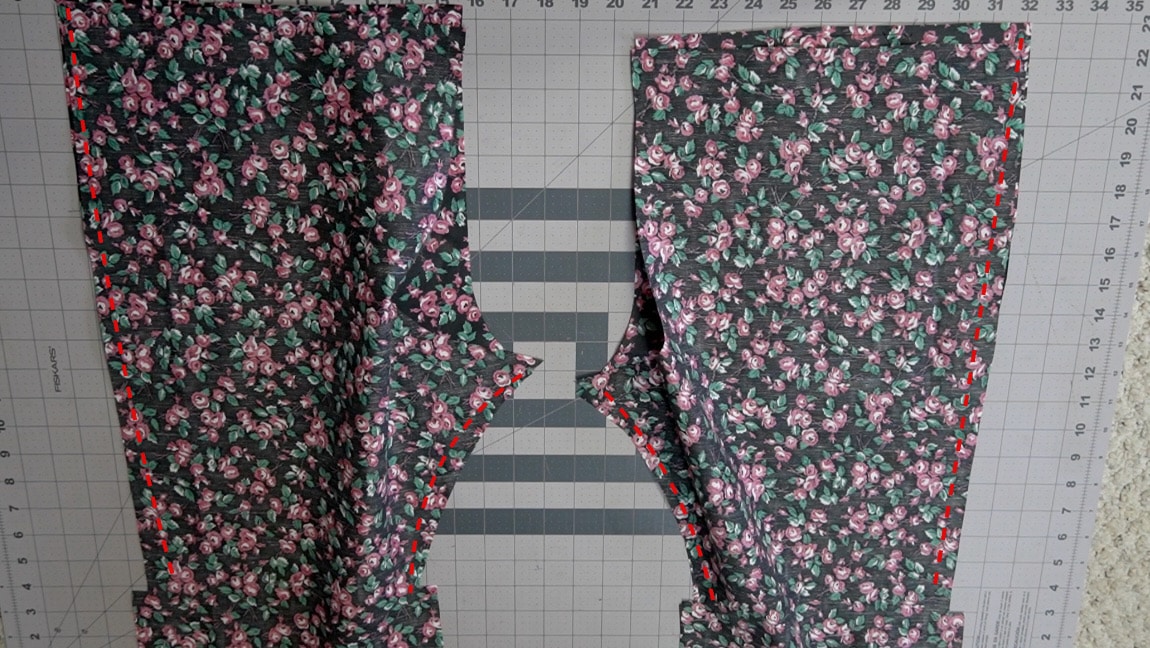
Sew front and back of capris
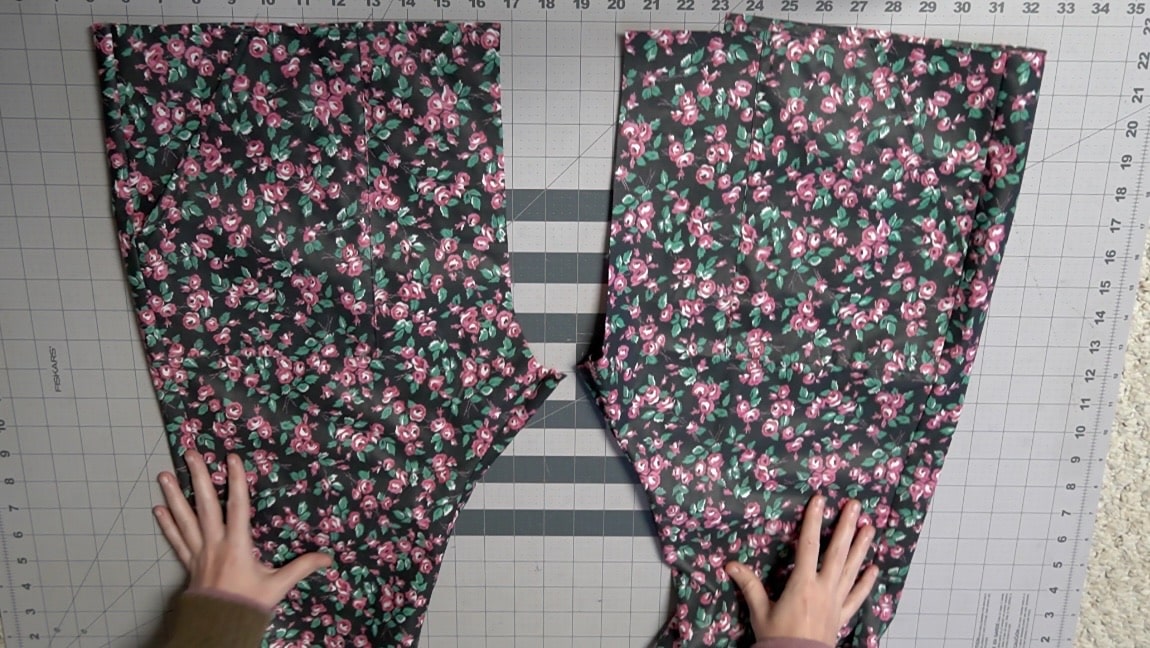
With right sides together, sew the front shorts and the back capris together on both side seams.
Step 5
Optional: Sew the vents
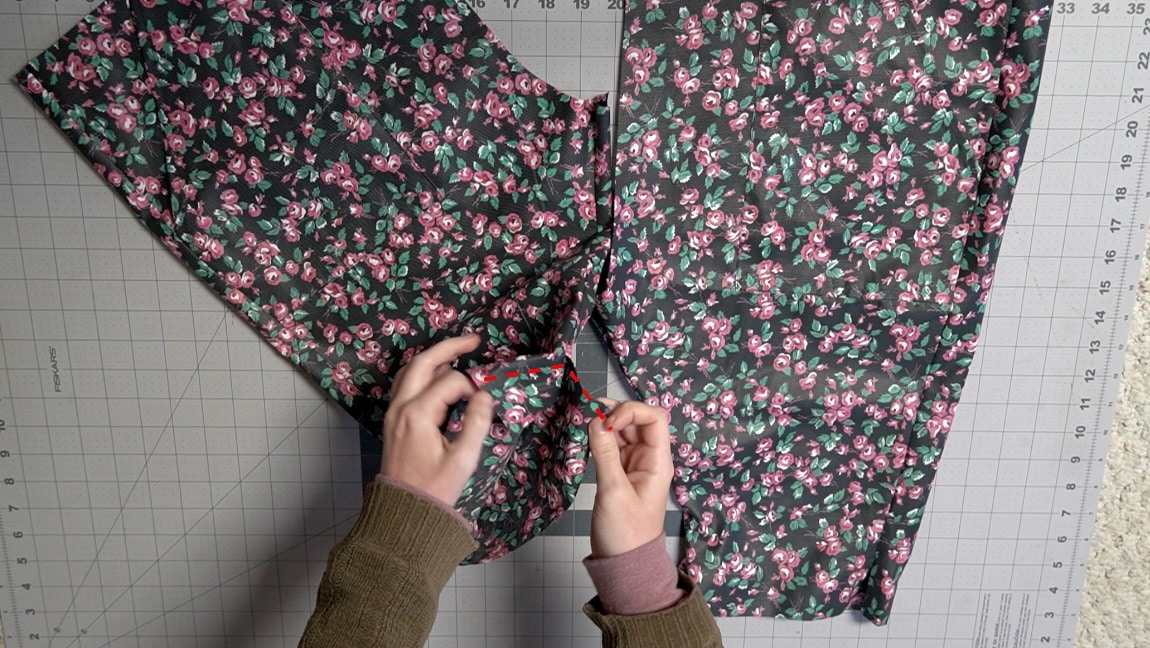
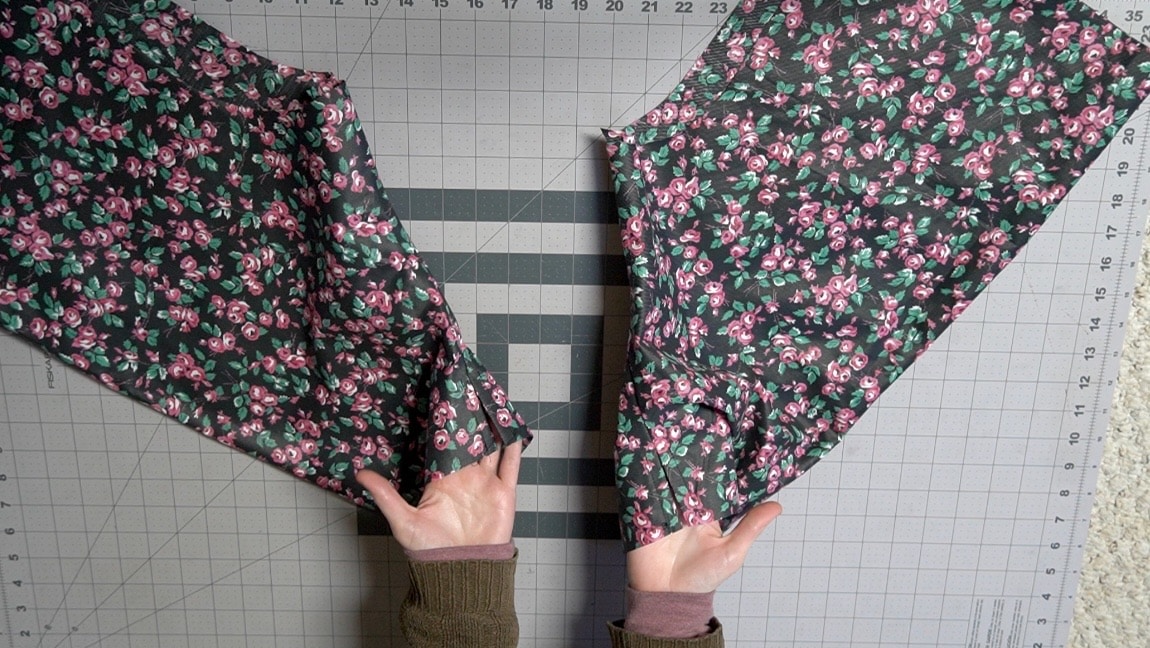
If you included the vents on the sides of the pant legs, double fold them for hem the edges. This will give you a bit more room for moving and bending your knees.
Step 6
hem the bottom of the capris
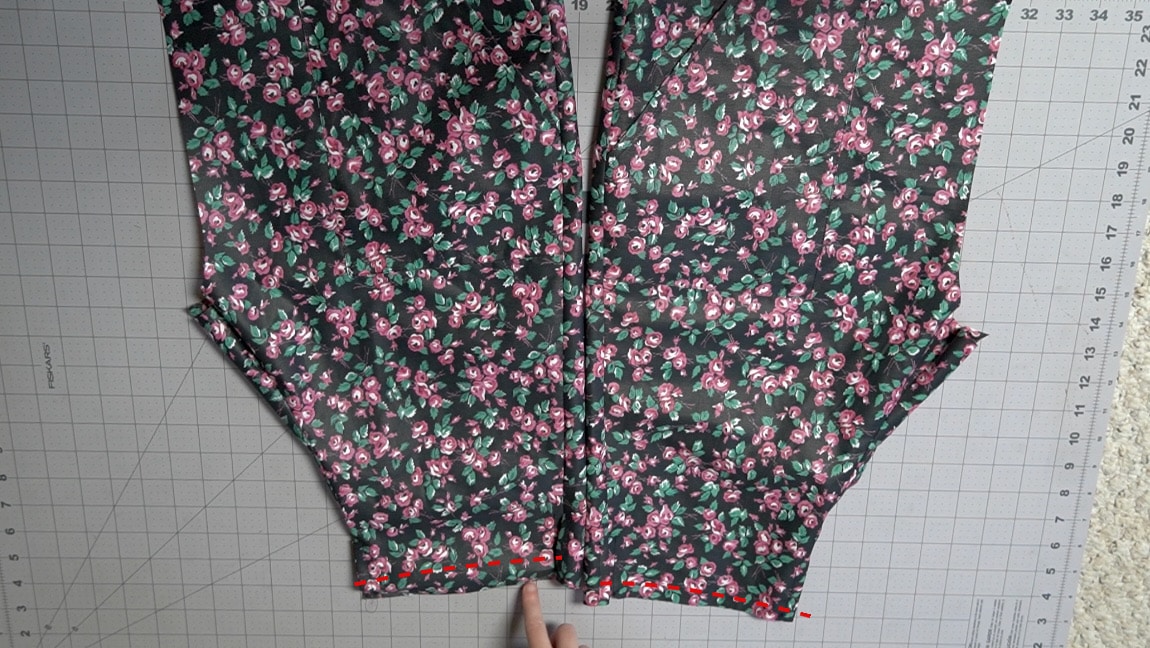
Double turn the bottom of the shorts to hem them along the bottom of both pant legs.
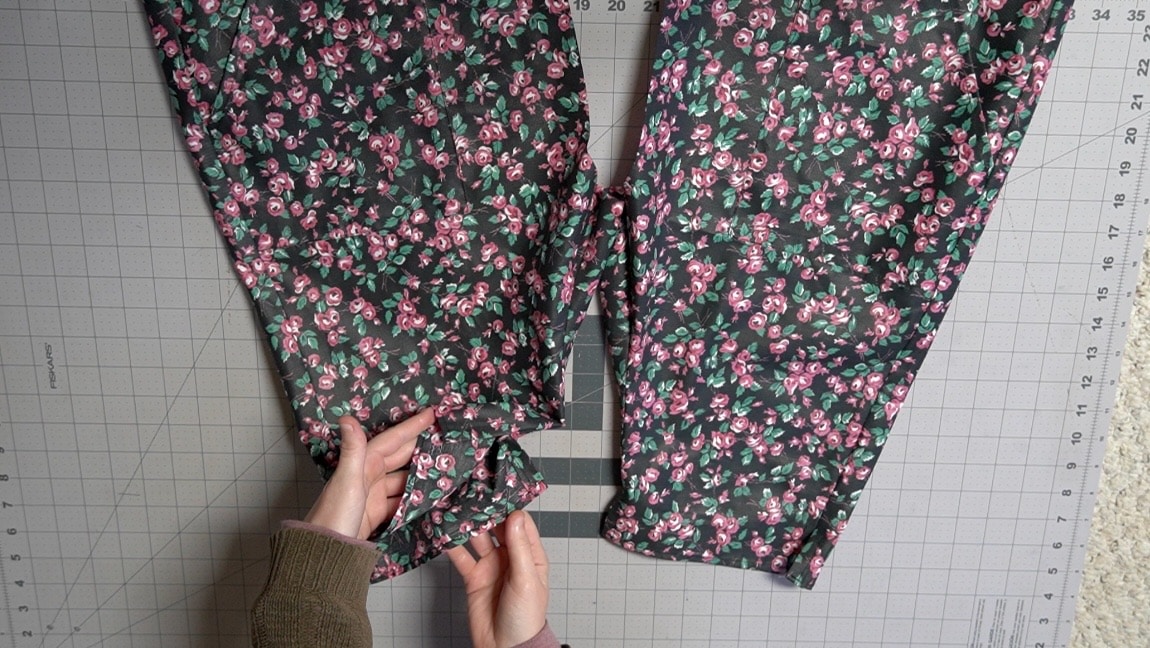
Step 7
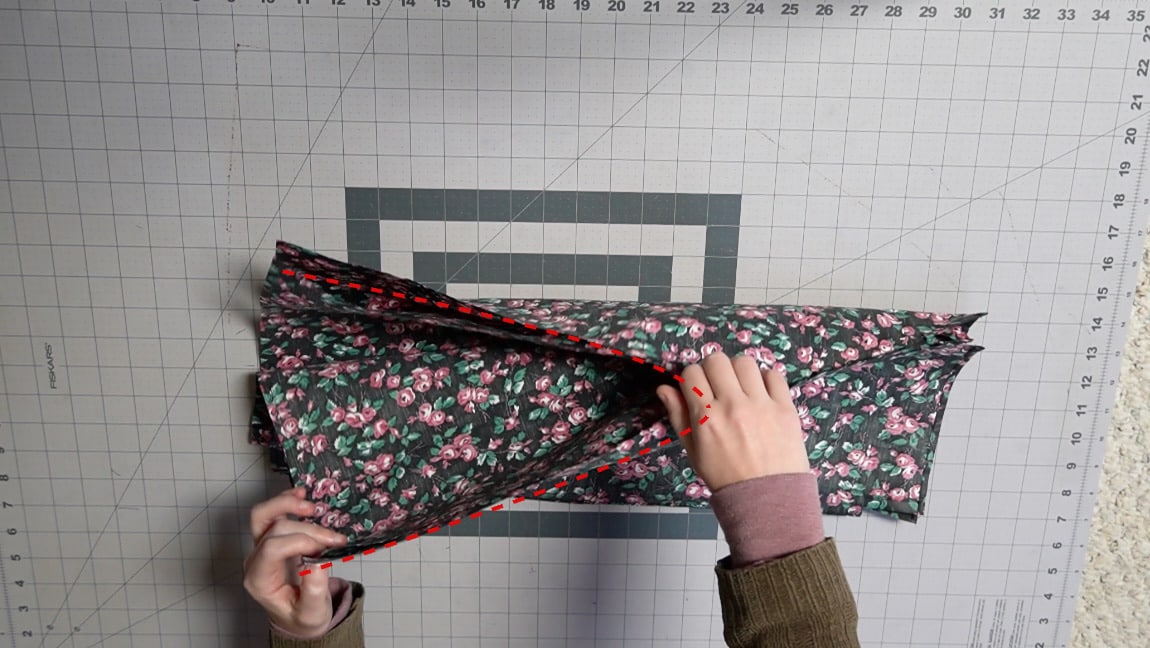
sew the crotch seam
Turn one pant leg inside out and place the other inside it so they have right sides together. Then sew the crotch seam. Turn the capris to the right side.
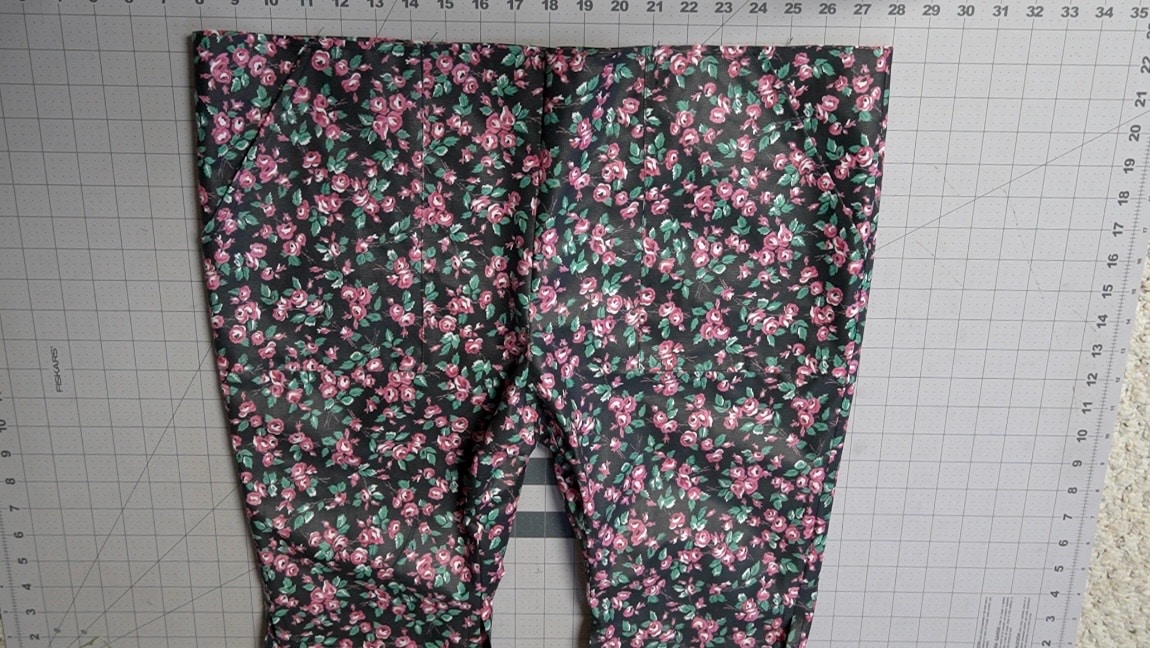
Step 8
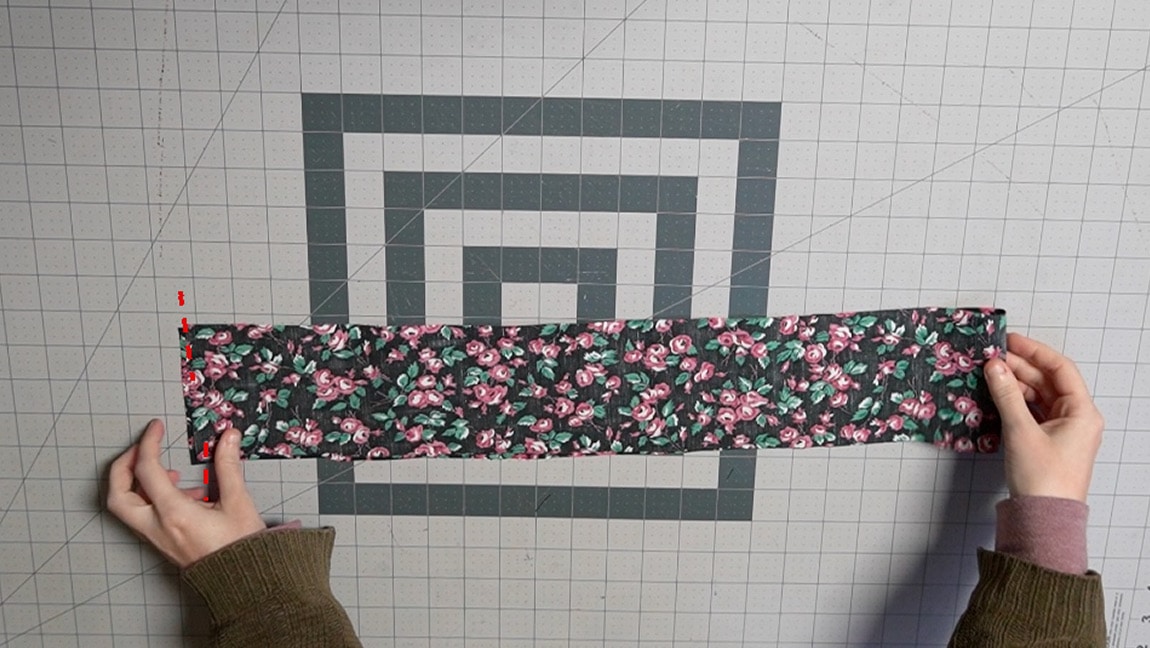
fold the waistband in half and sew into a loop
Fold the waistband in half with right sides together. You want to sew the short side to form a loop, but you also want to leave a gap for inserting the elastic into the waistband later. To do this, sew only half of the waistband. Leave the other side unsewn, except for the seam allowance.
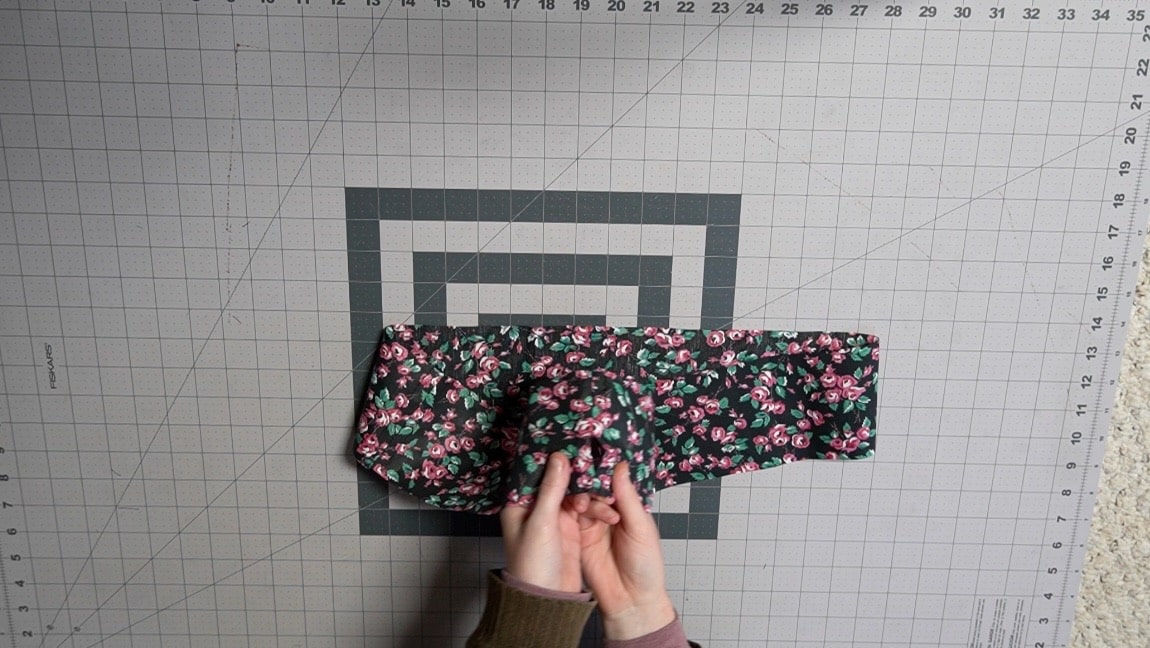
Step 9
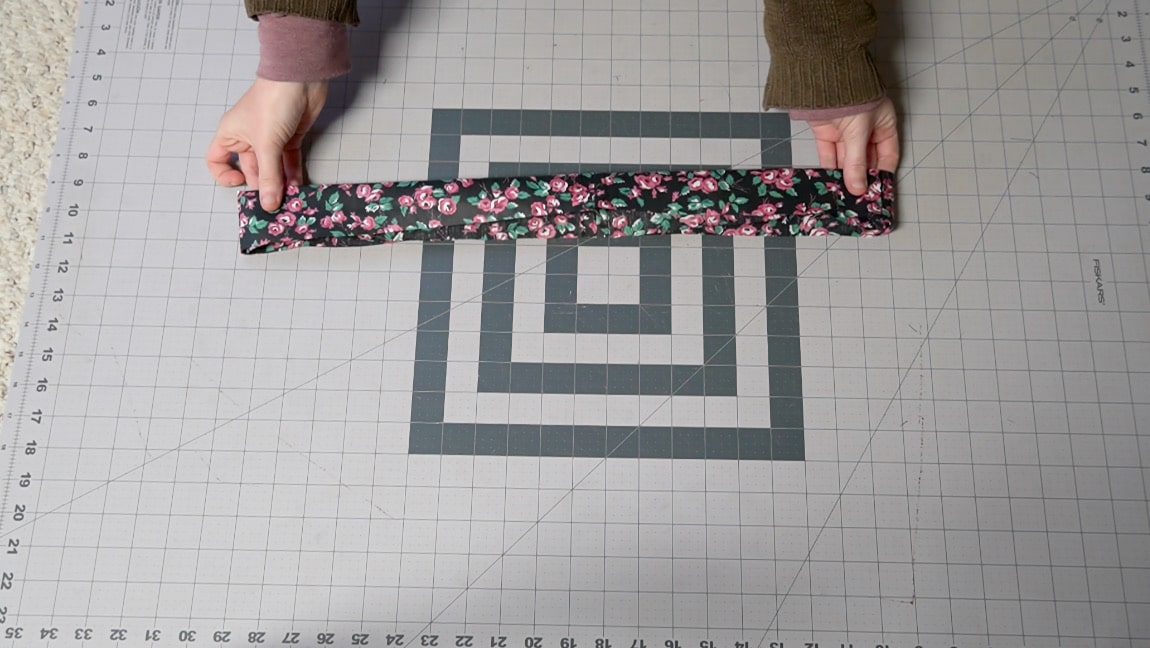
fold the waistband in half
Fold the waistband in half lengthwise. The side without the gap at the seam is the ‘right side’
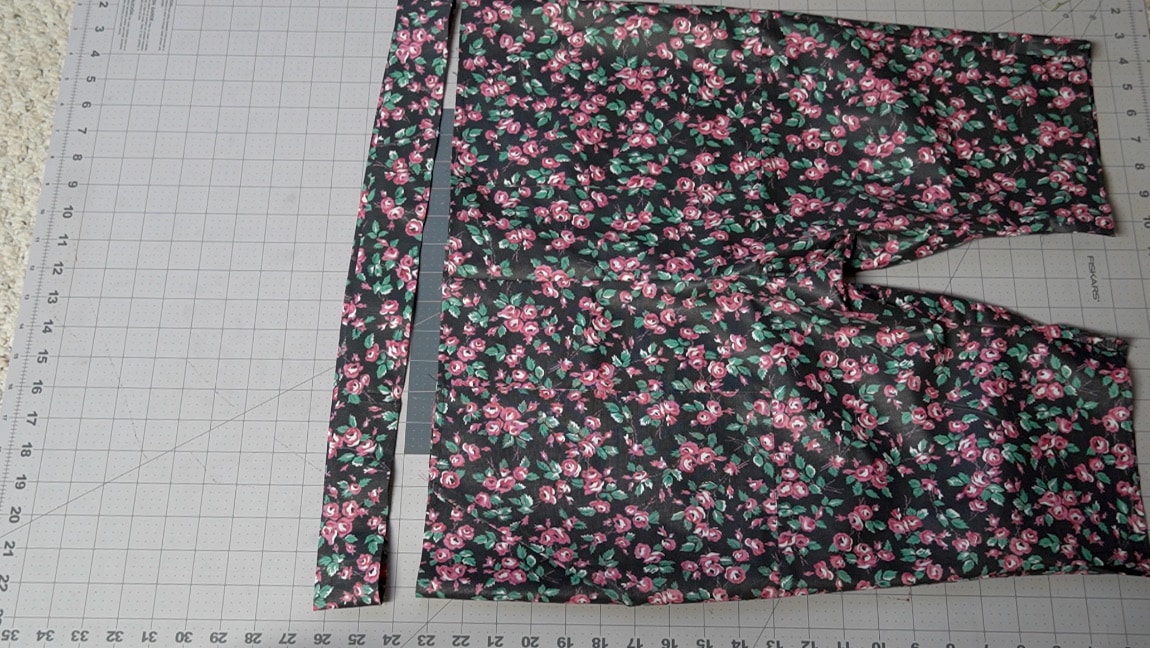
Step 10
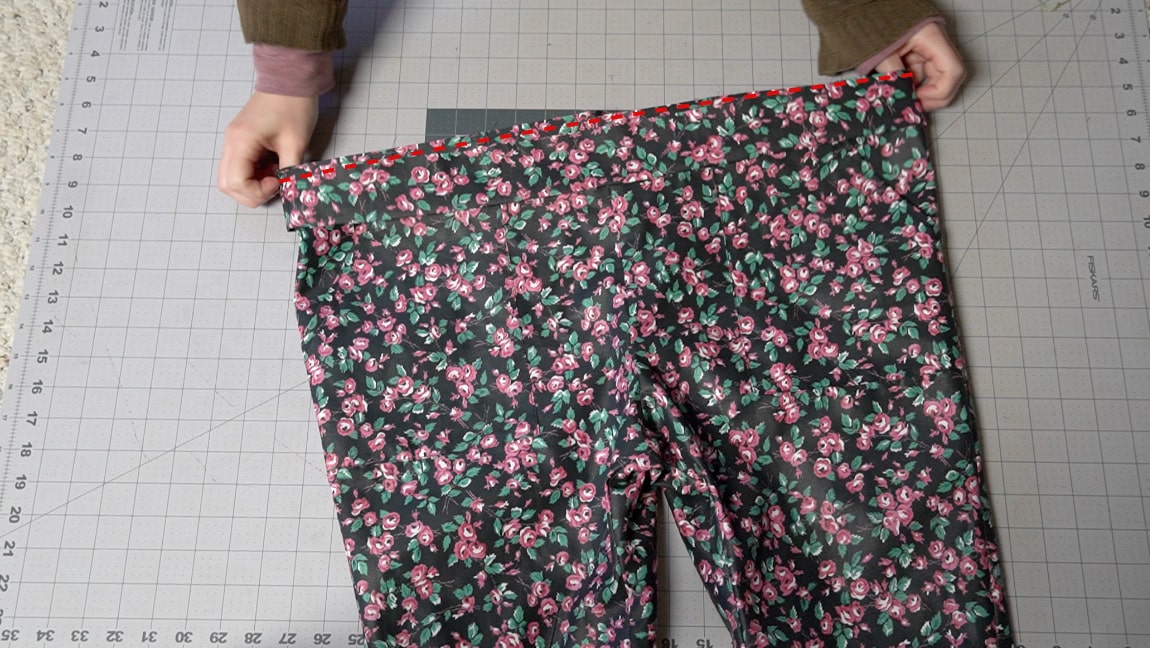
sew the waistband to the capris
Place the raw edges of the waistband in line with the raw edges of the capris, then sew all the way around. Sew with right sides together, so the small gap in waistband will end up on the inside of the capris.
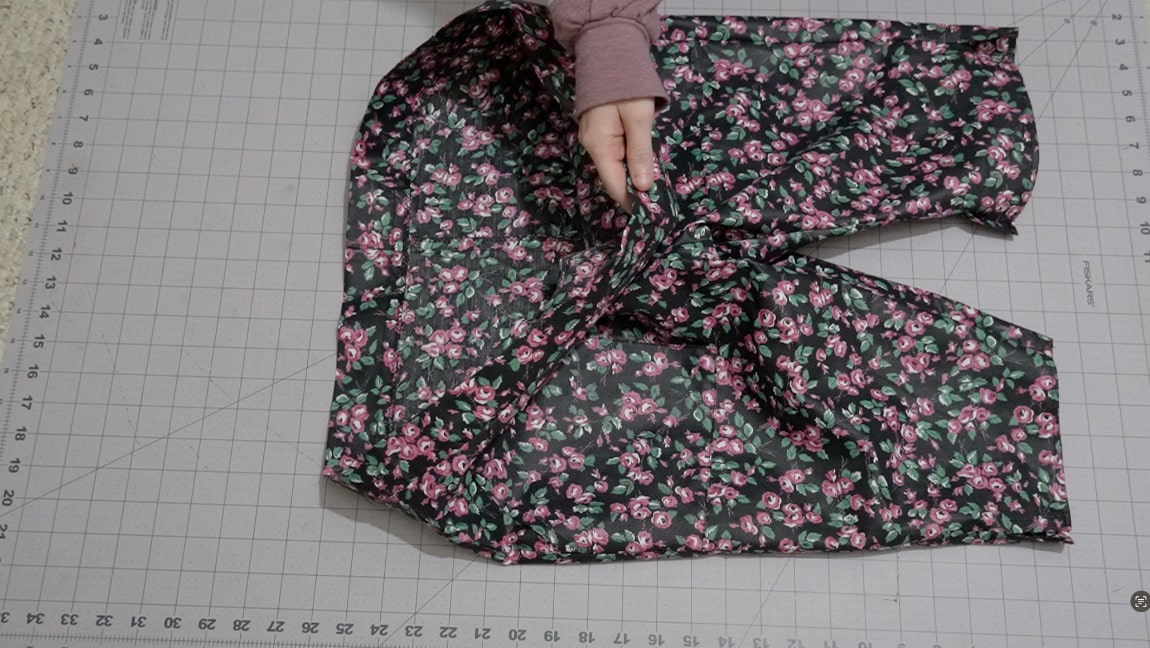
Step 11
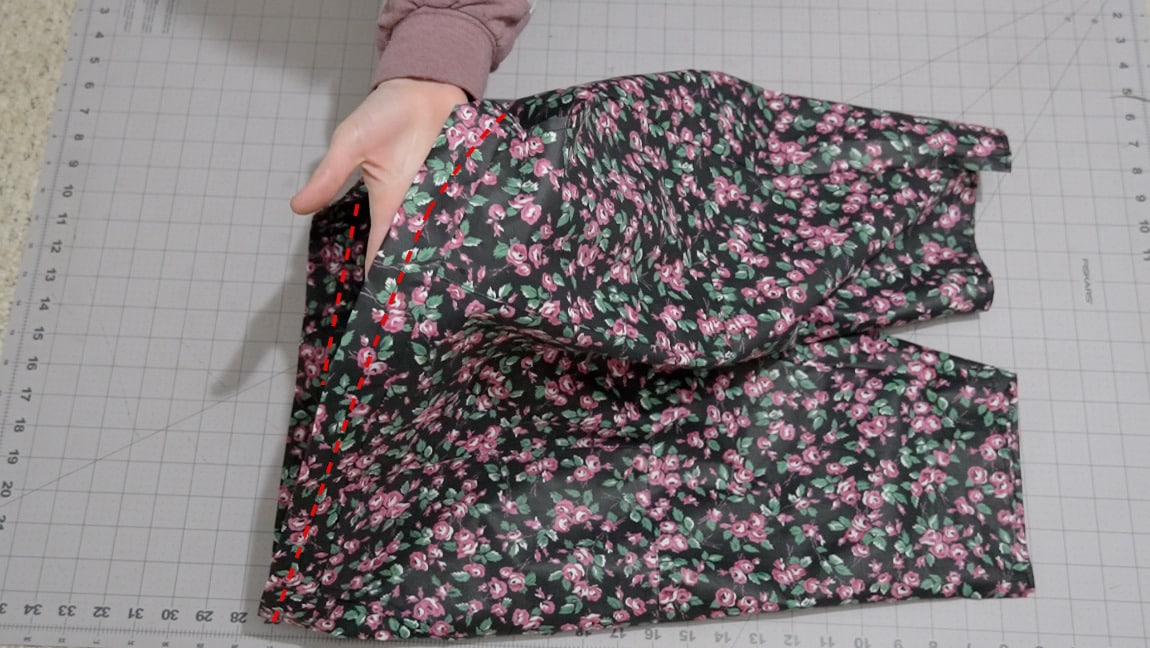
Stitch around the waistband to create elastic casings
Make a line of stitches all the way around the center of the waistband. This will create to channels to use as casings for your elastic.
Step 12
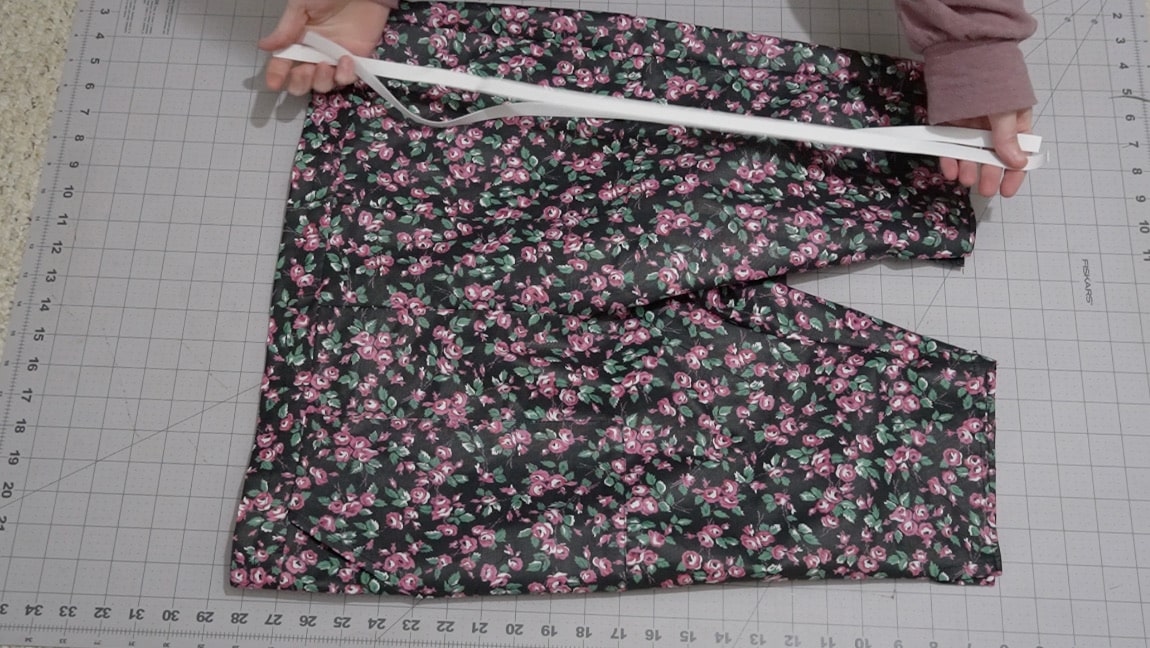
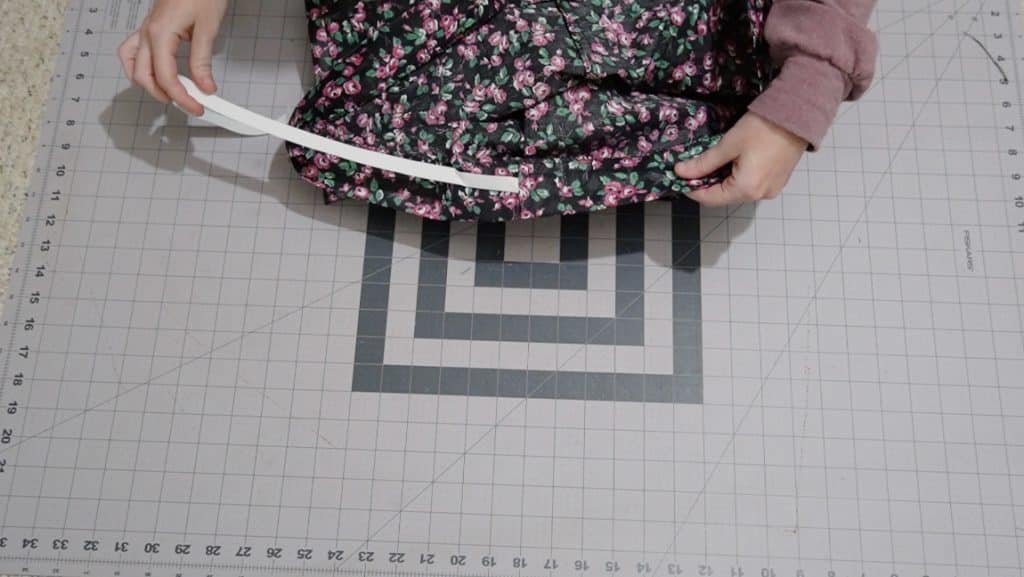
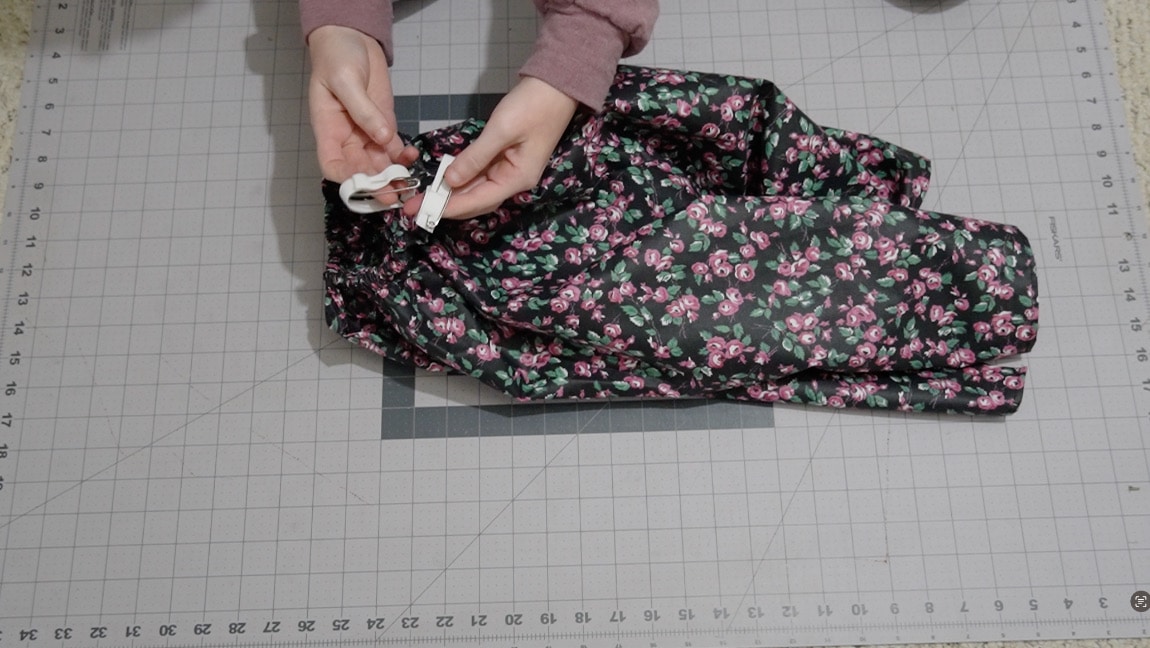
insert the elastic
Cut 2 pieces of elastic that are a couple inches longer than the size of your waist. Using the gap in the back of the waistband, insert the elastic through the top and bottom casings. Try on the pants and pull the elastic until the waistband feels secure and comfortable. Then cut off any excess elastic and sew it into a loop. Once you’re finished, hand sew the gap in the back of the waistband closed.
Finished!