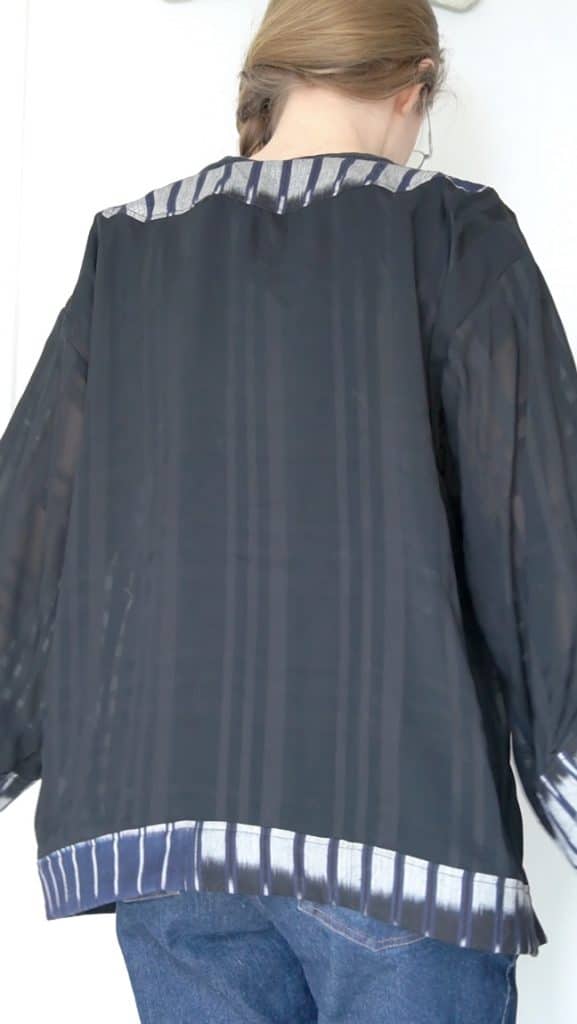
Tutorial: How to Make a Basic Jacket for Costumes

Learn how to make a basic jacket for your next cosplay. This costume piece is made with mostly rectangles, making it easy to create without a pattern. I’ll also walk you through how to create that contrast band along neckline and at the ends of the sleeves. This is a great tutorial for advanced beginners who want to start making their cosplay costumes completely from scratch.
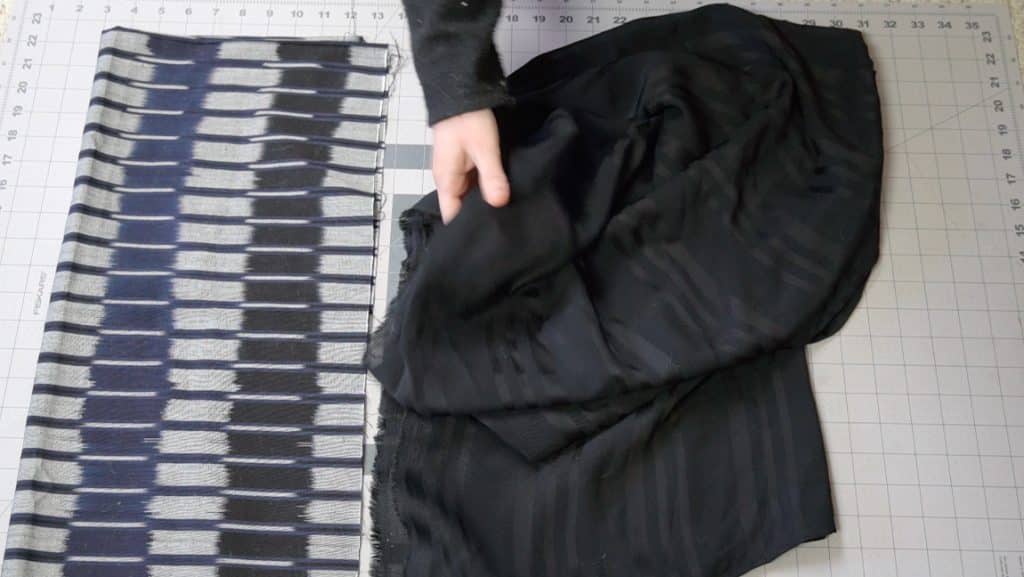
Supplies Needed:
How to Make Your Pattern (using rectangles)
Measurements:
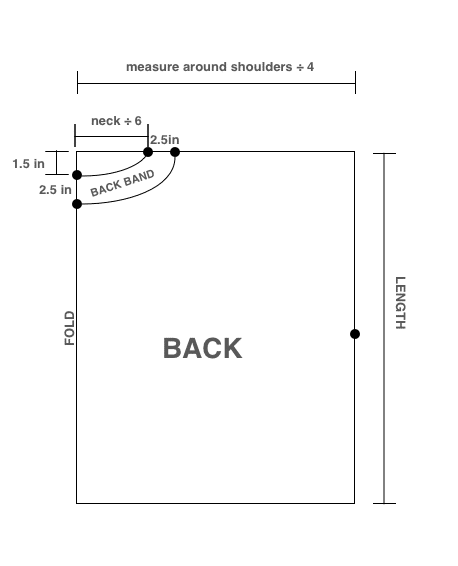
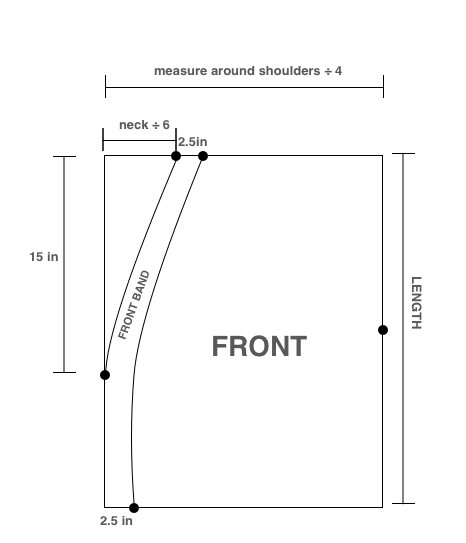
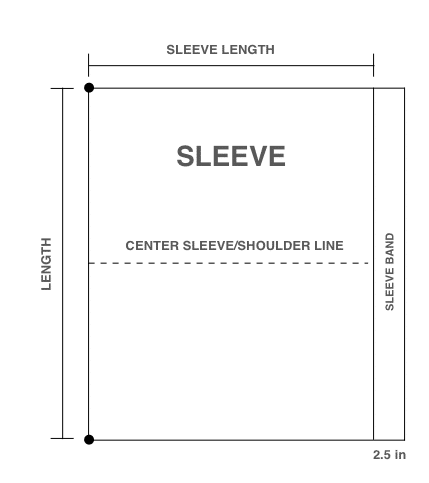
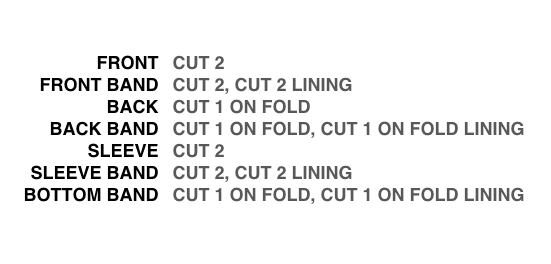
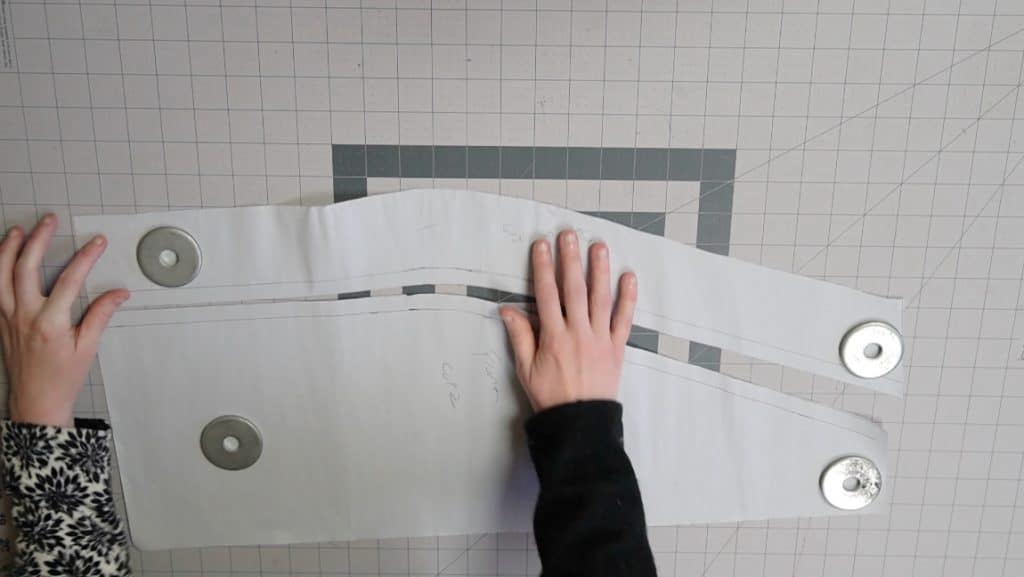
You will need 7 pattern pieces to follow this tutorial (see images below):
Draw your pieces using your measurements and then cut them apart. Don’t forget to add seam allowance before cutting your fabric.

Step 1
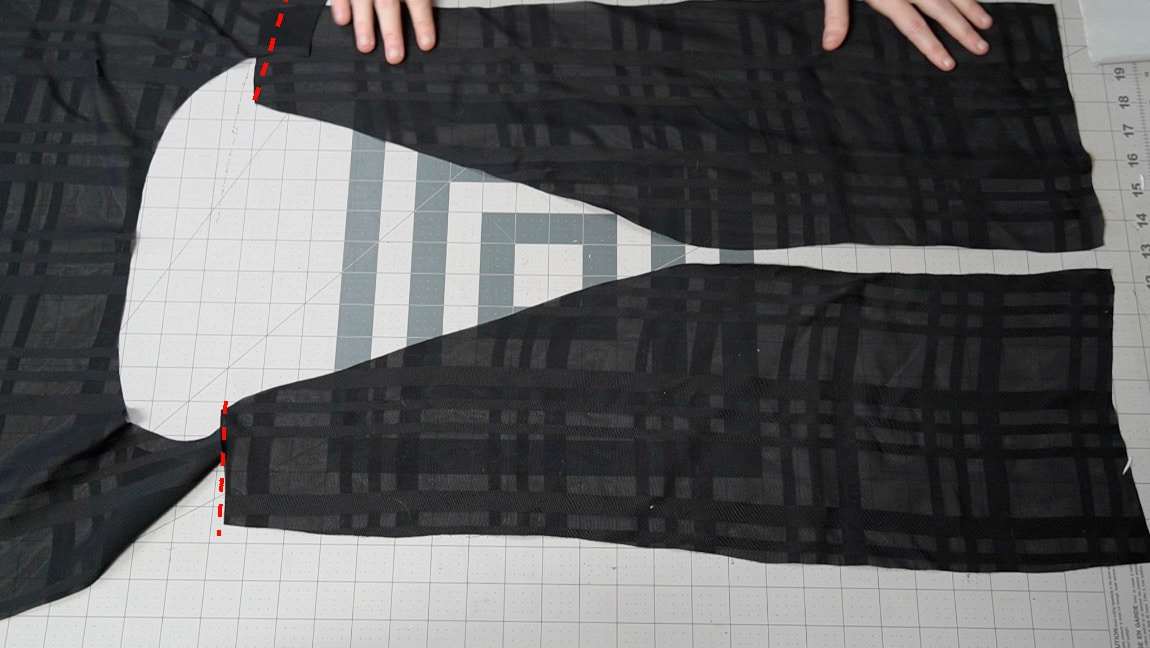
Sew the front and back together at the shoulder seam
With right sides together, sew the front and back together at the shoulders
Step 2
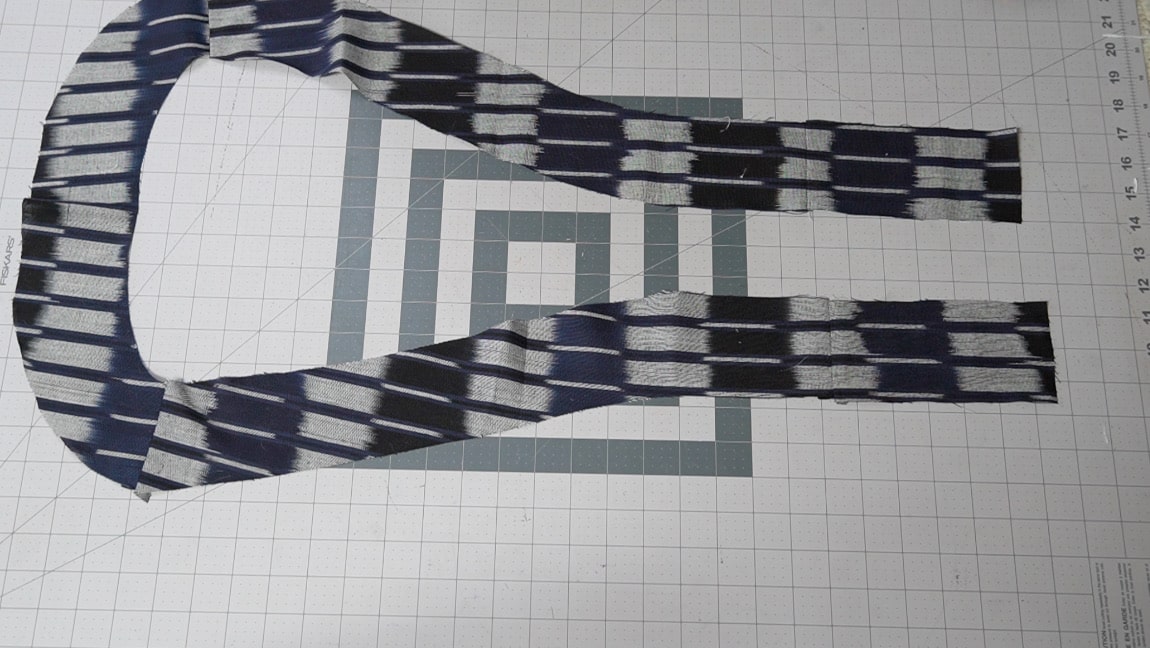
sew the front and back neckband together
with right sides together, sew the neckband pieces
Step 3
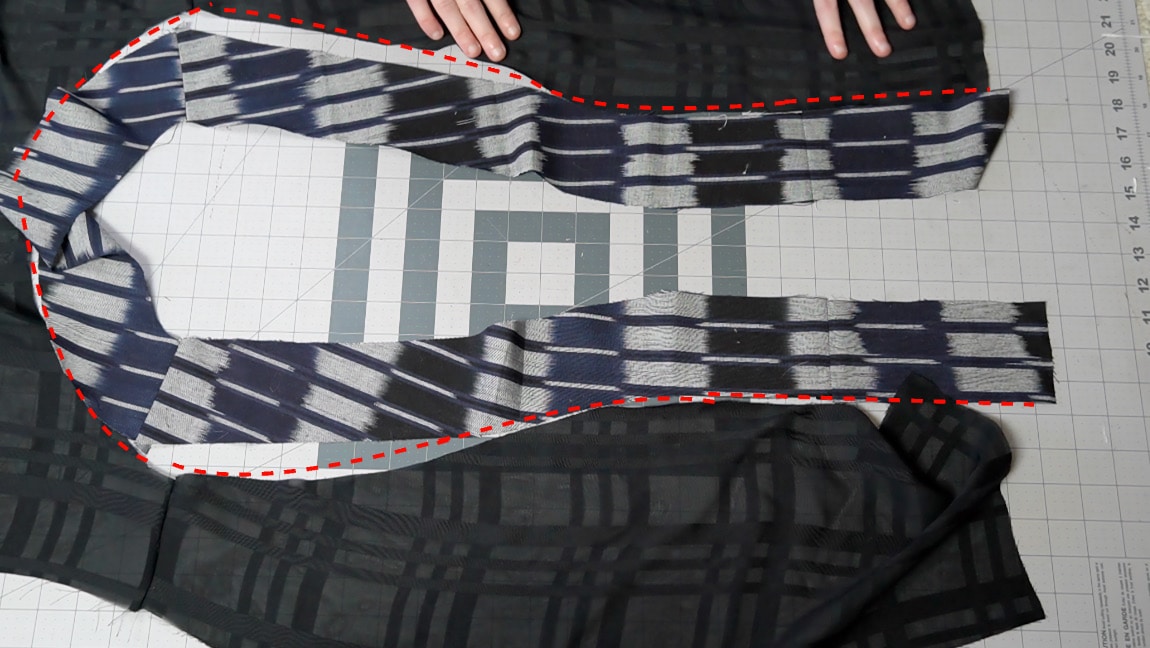
sew the band to the jacket
sew the neckband to the jacket along the inner edge (right sides together)
Step 4
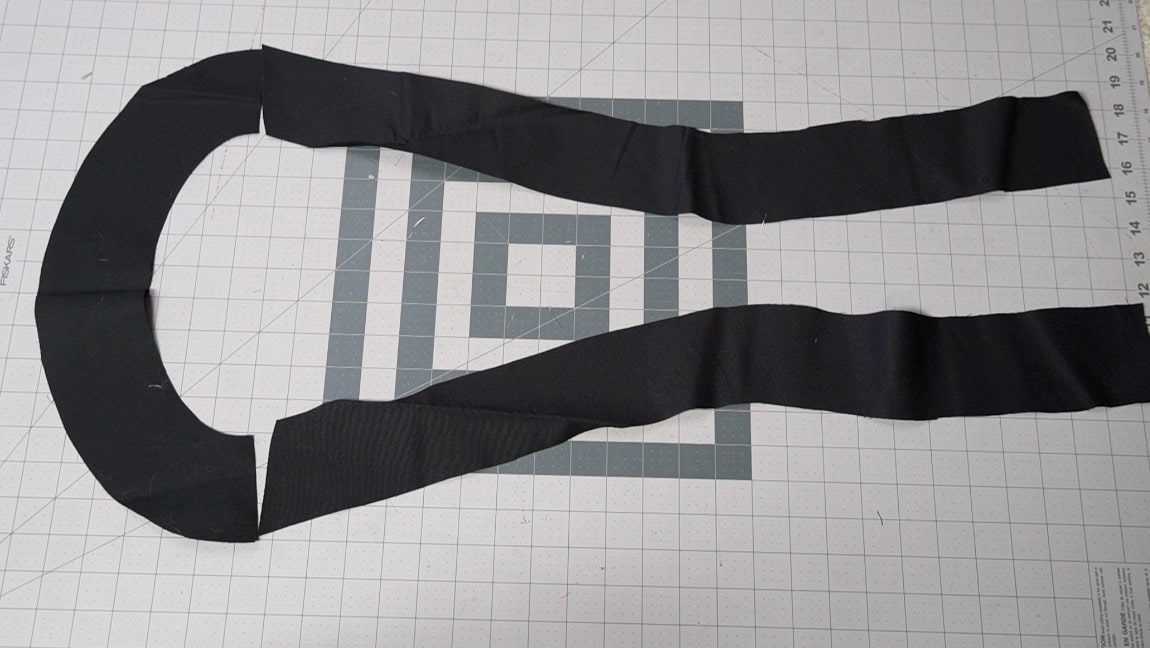
sew the band lining together
Sew the band lining pieces together.
Step 5
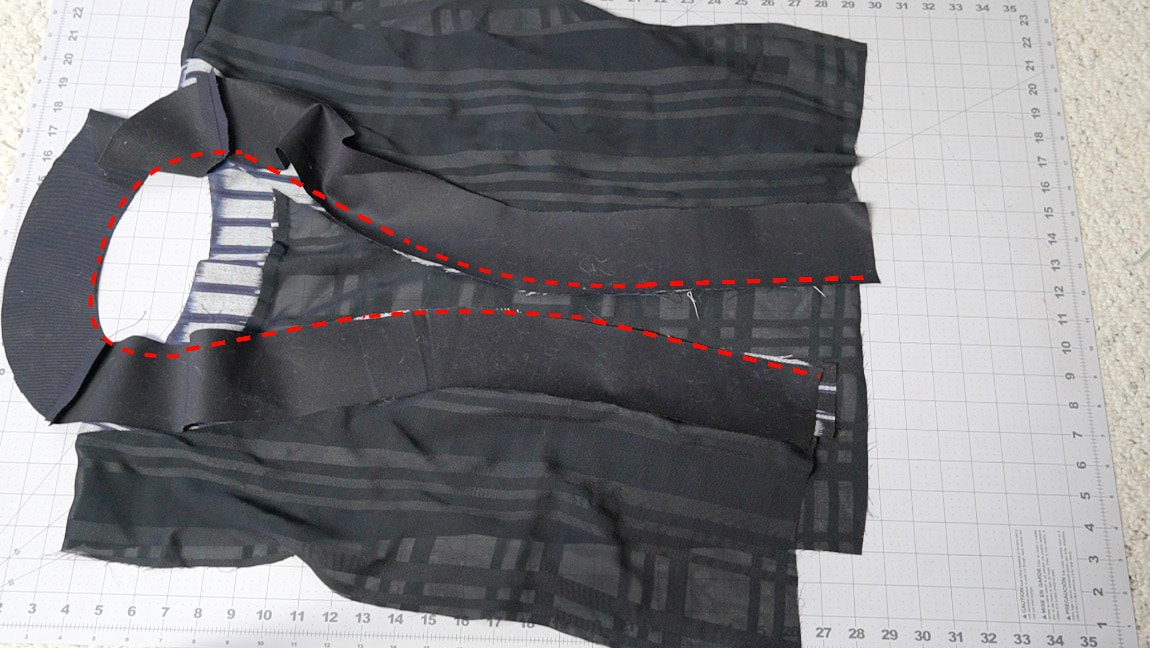
sew the lining to the jacket
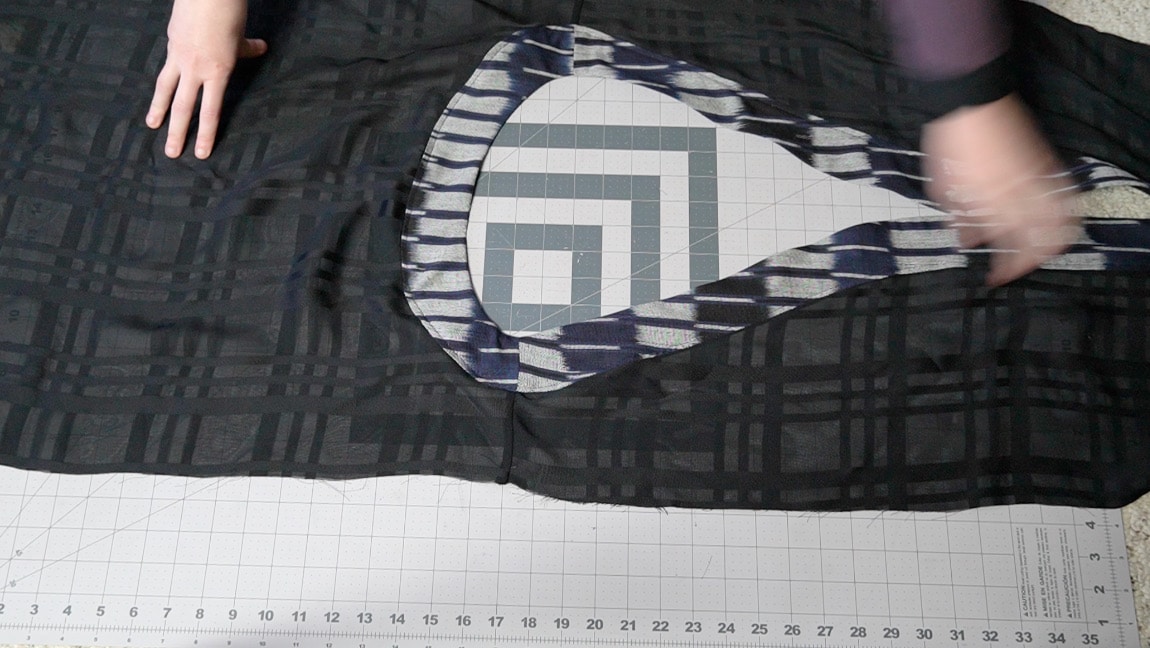
With right sides together, sew the inner edge of the lining to the inner edge of the band. Then fold the lining over to the reverse side and topstitch it to hide the raw edges of the fabric.
Step 6
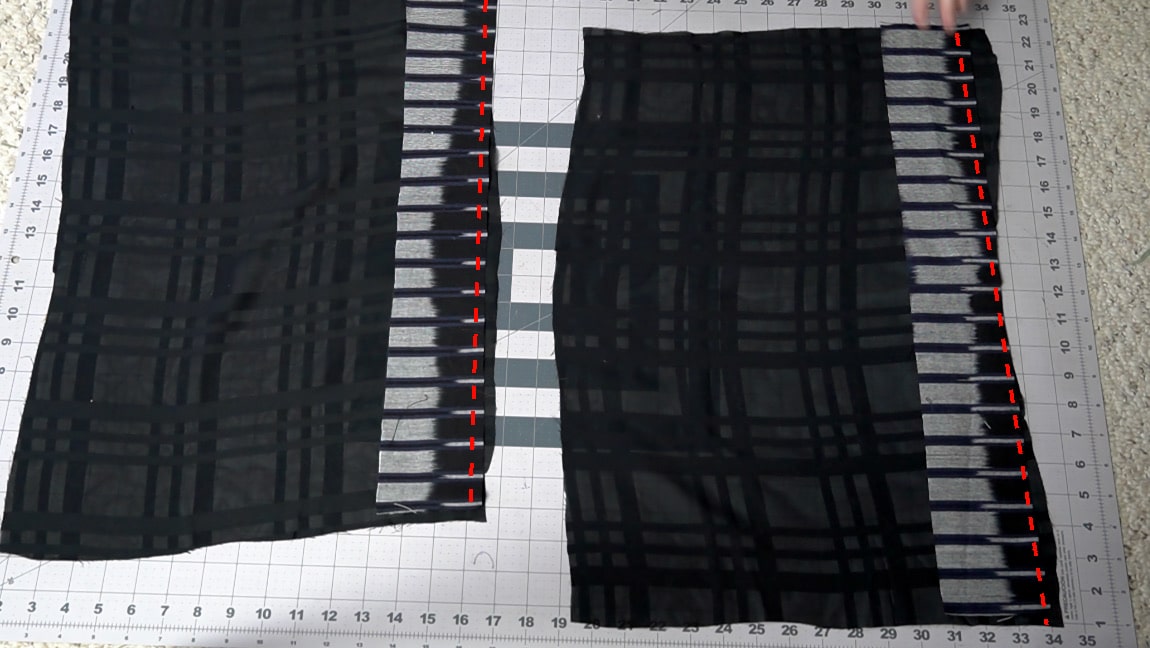
sew the sleeve band to the sleeve
With right sides together, sew the sleeve to the sleeve band along the length.
Step 7
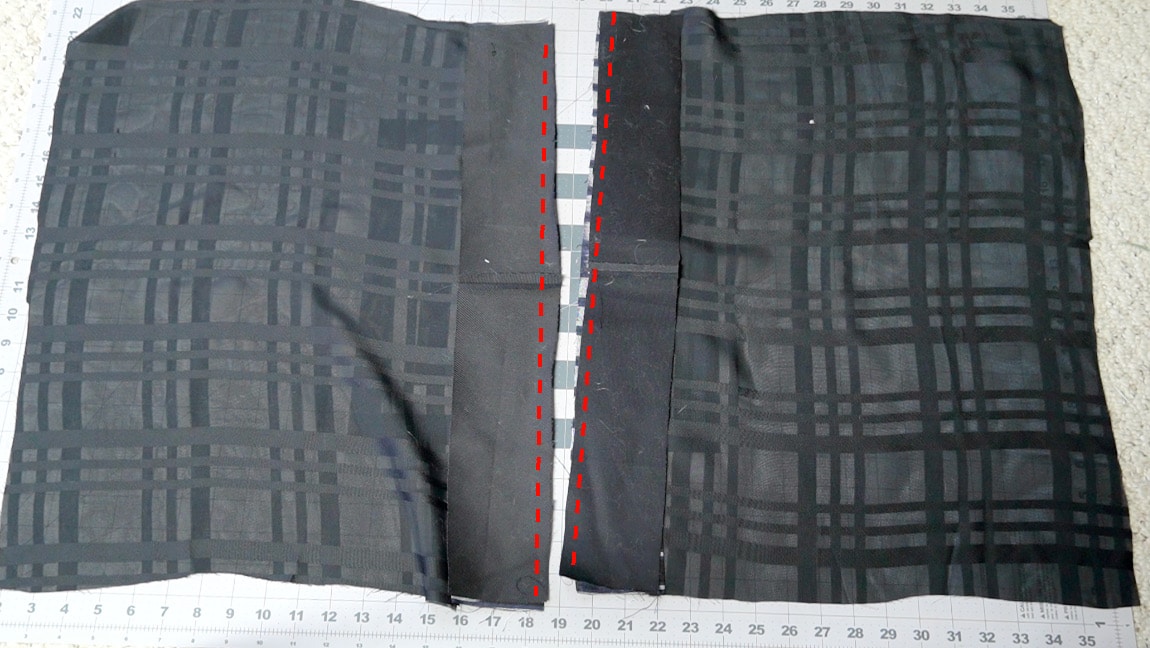
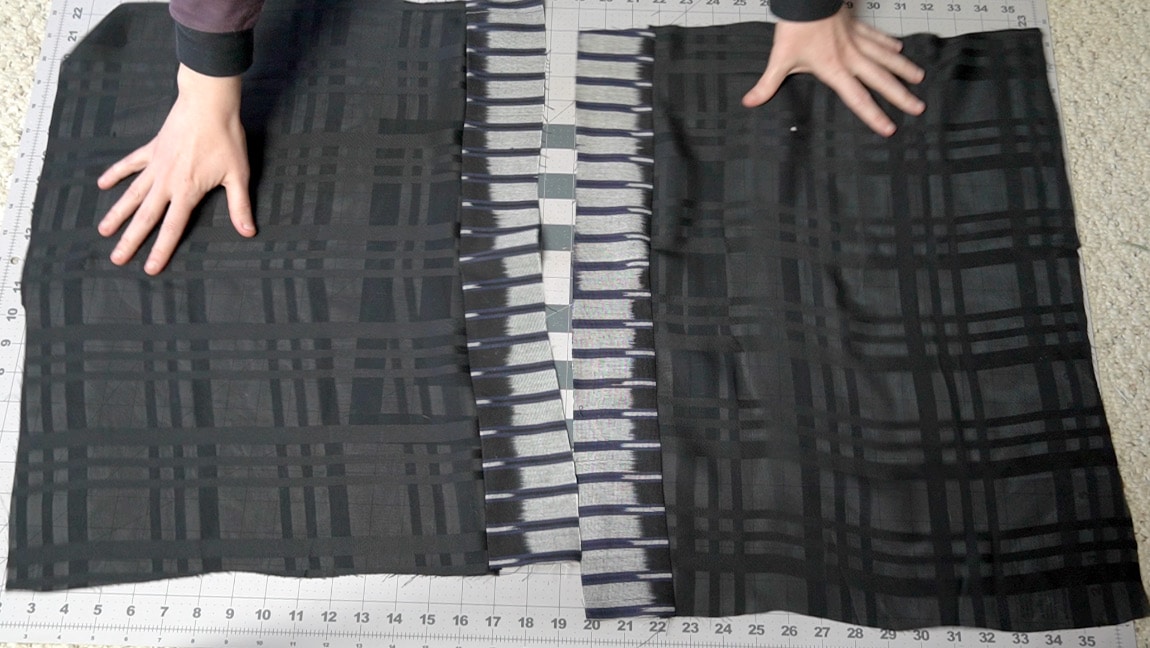
sew the sleeve band lining to the sleeve
With right sides together, sew the lining to the end of the sleeve band. Then fold the lining over to the reverse side and topstitch it to hide the raw edges of the fabric.
Step 8
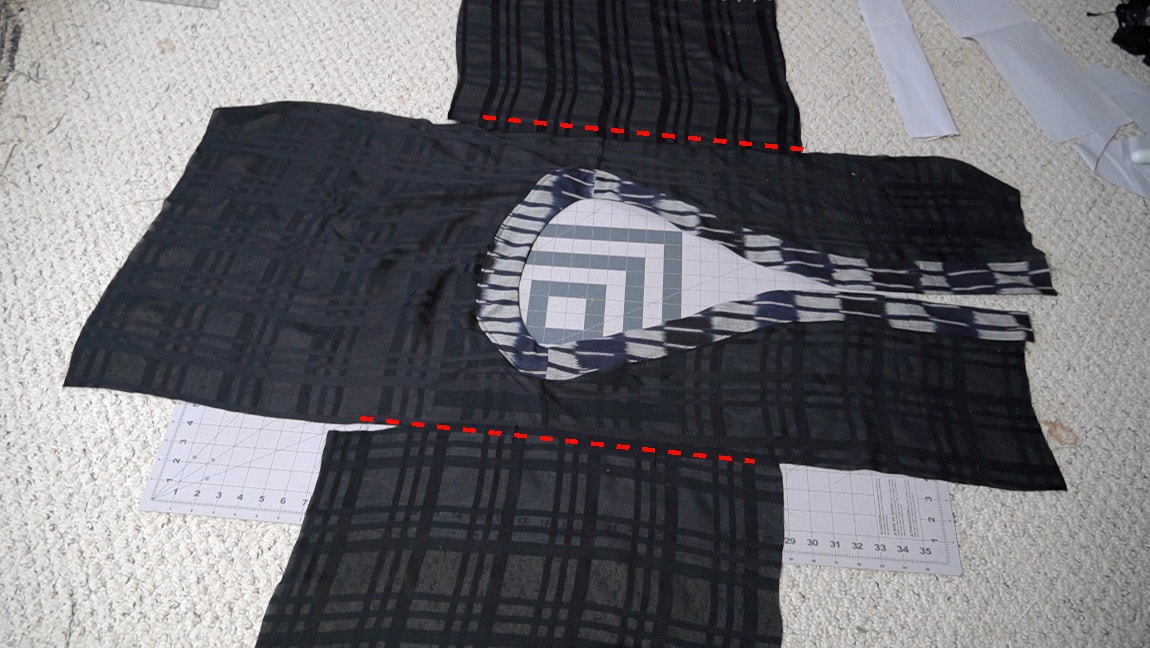
sew the sleeves to the jacket
Line up the center of the sleeves with the shoulder seam of the jacket. Then sew them together with right sides together. The sleeves should come halfway down the front and halfway down the back of the jacket.
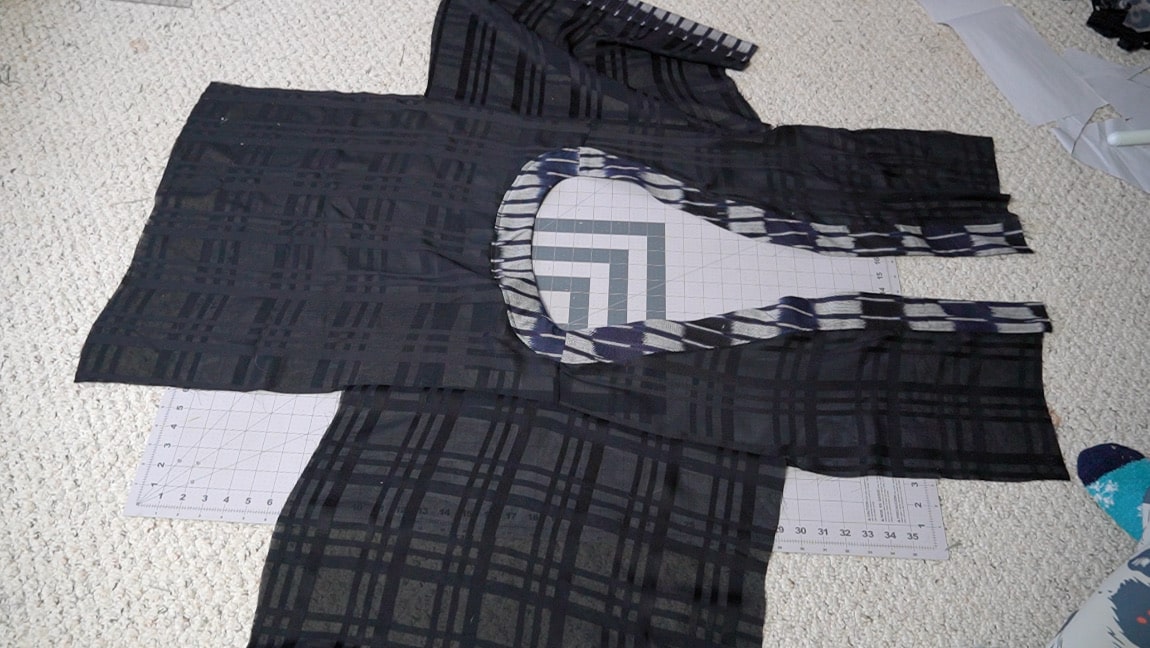
Step 9
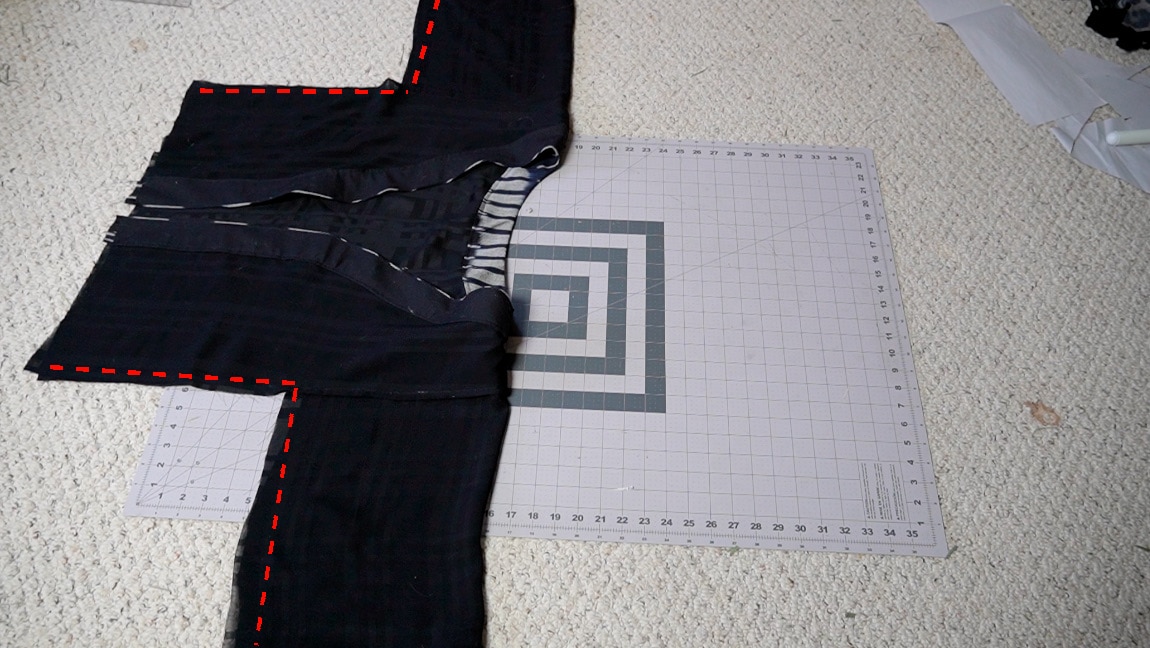
fold the jacket in half and sew the side seam
With right sides together, fold the jacket in half and sew the side seam and sleeve together.
Step 10
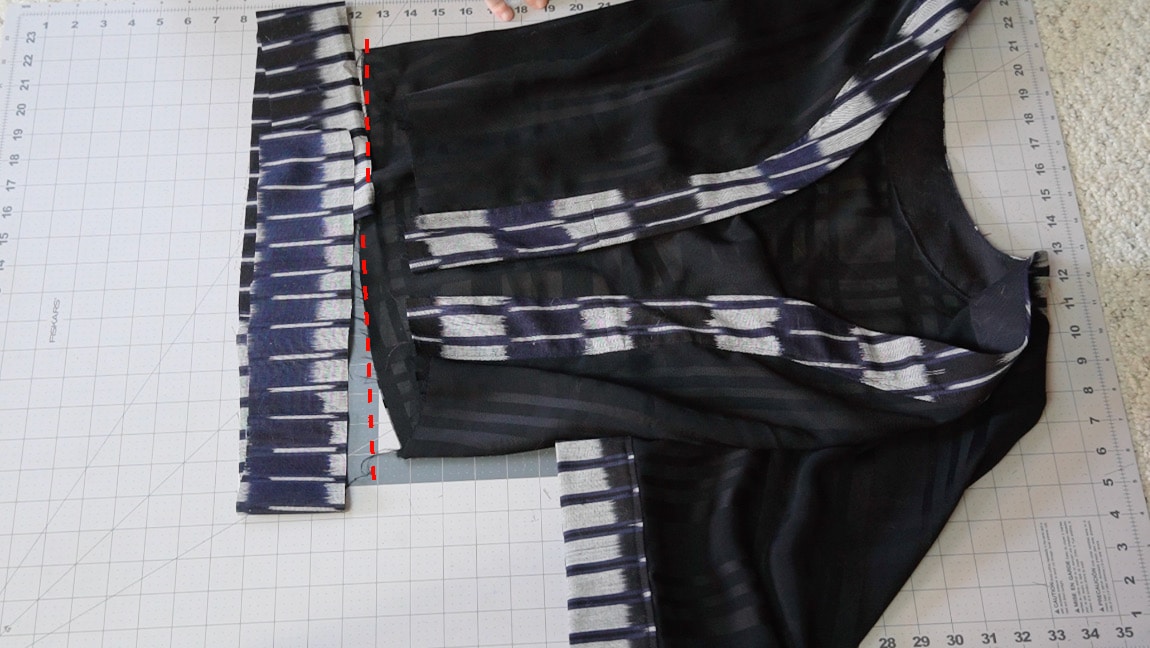
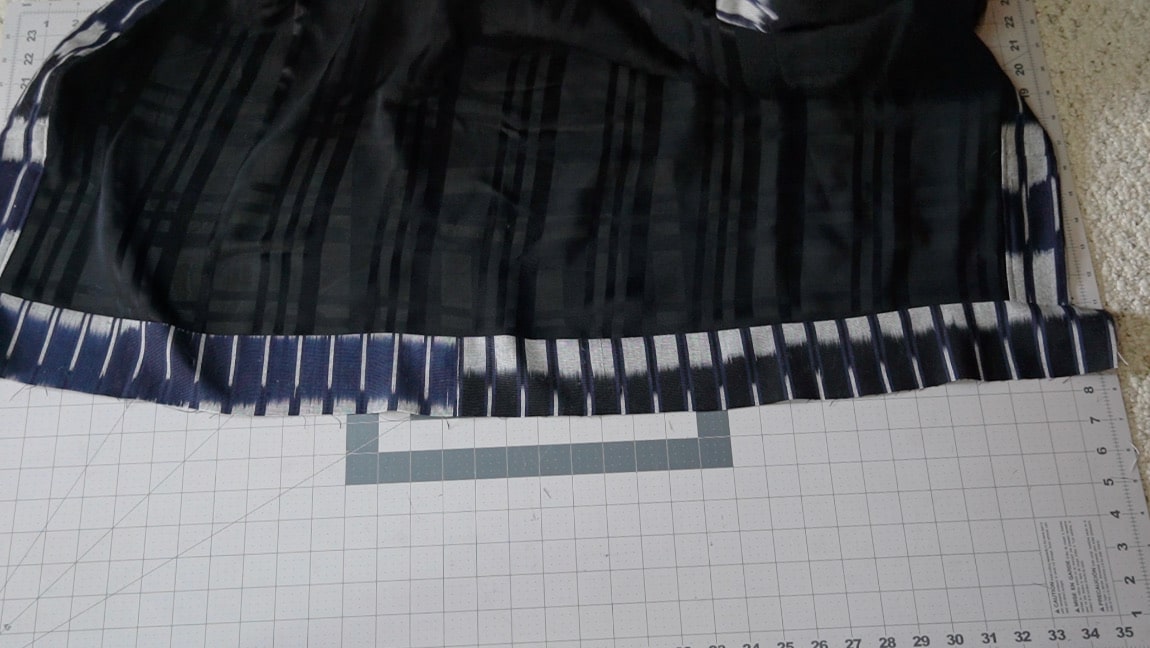
sew the bottom band to the jacket
With right sides together, sew the bottom band all the way around the bottom of the jacket.
Step 11
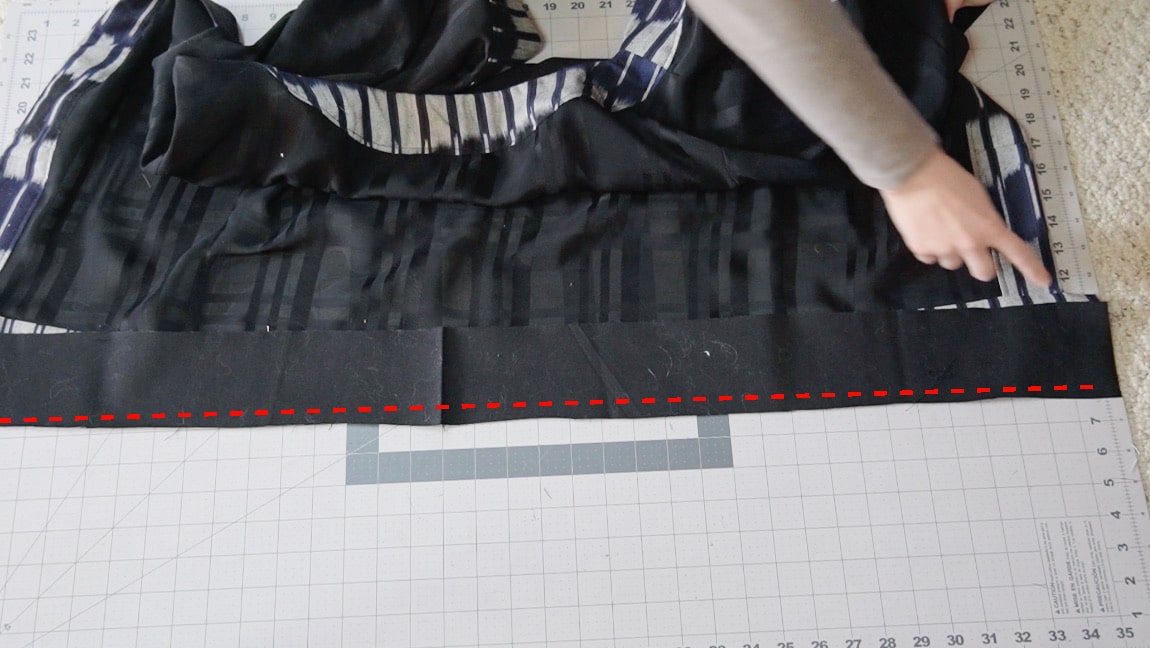
sew the bottom band lining to the jacket
Again, sew the lining to the bottom of the jacket band, then turn it to the reverse side and topstitch it in place.
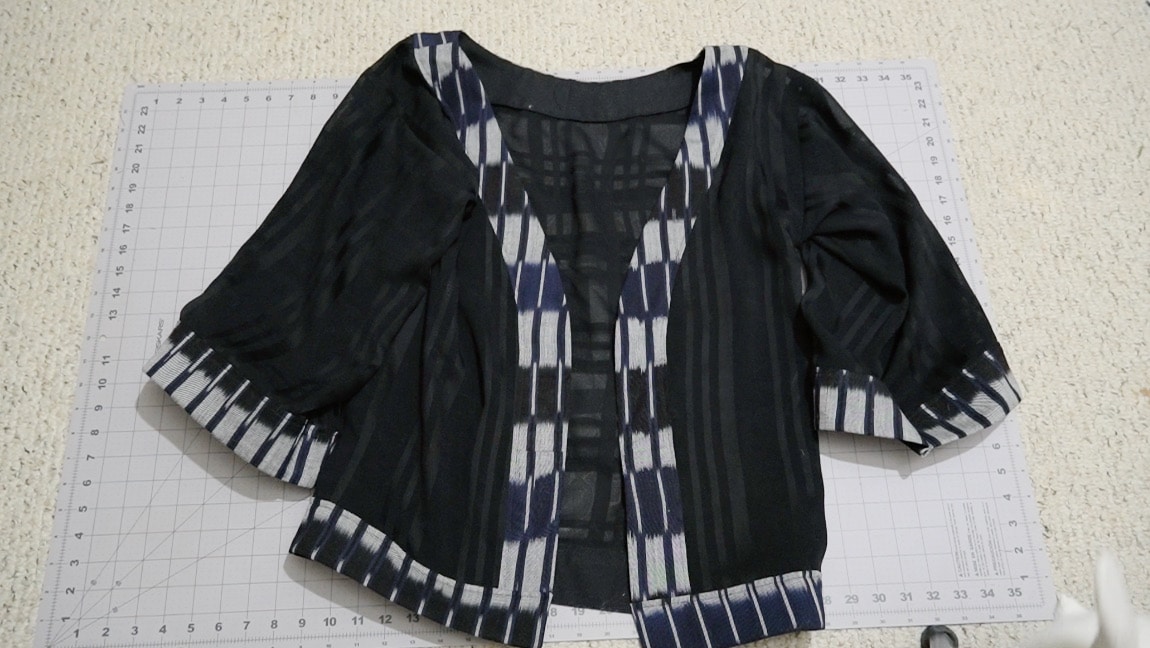
Finished!