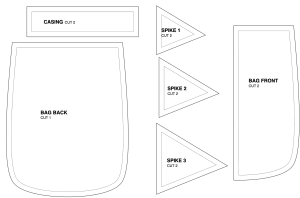
Tutorial: Dinosaur Drawstring Bag

Supplies Needed:
(all of my patterns include 1/2″ seam allowance)
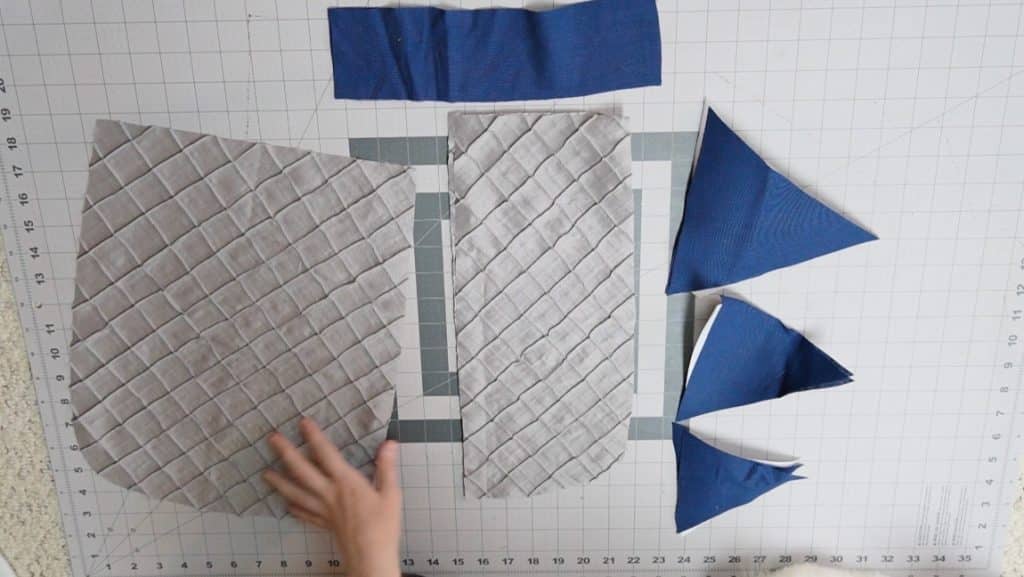
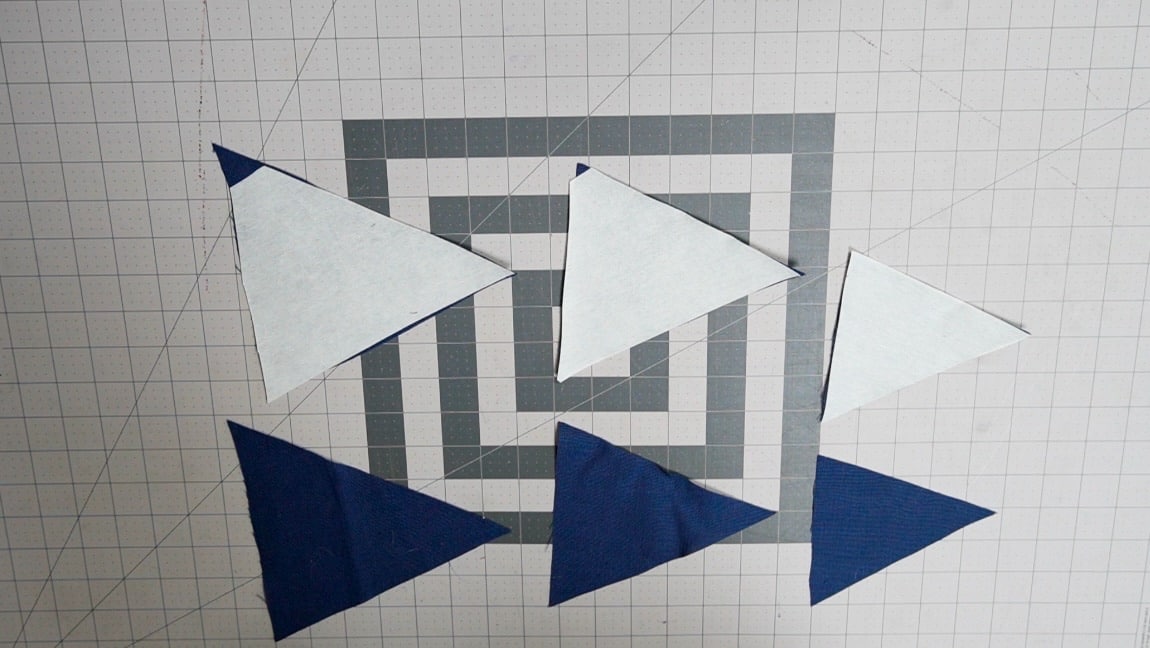
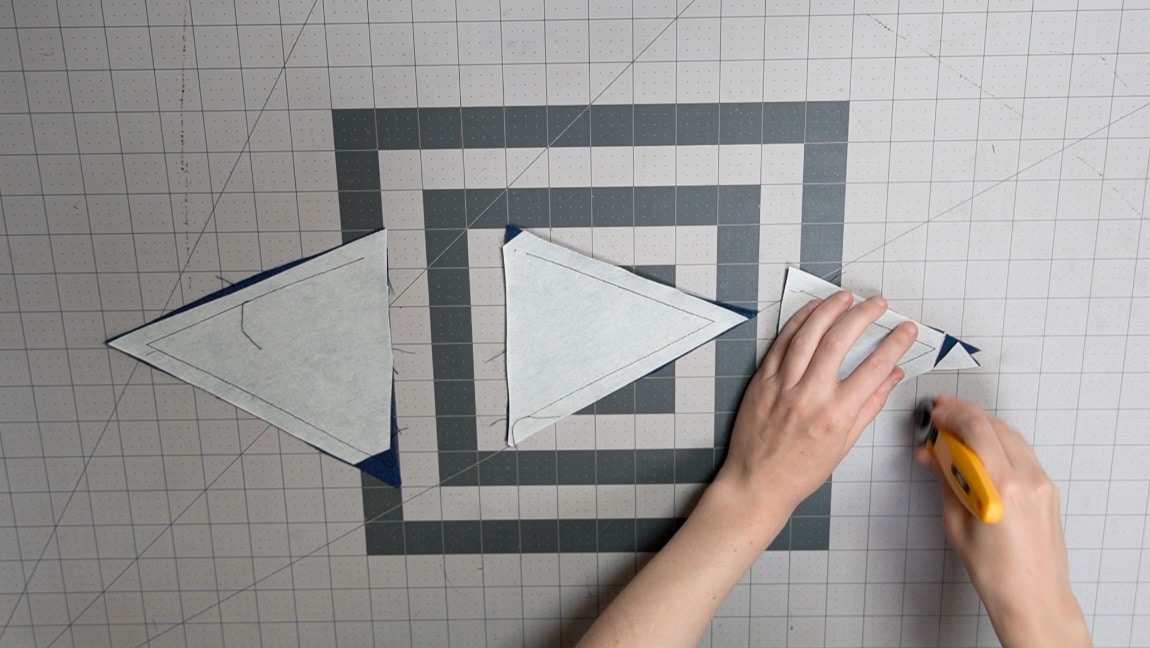
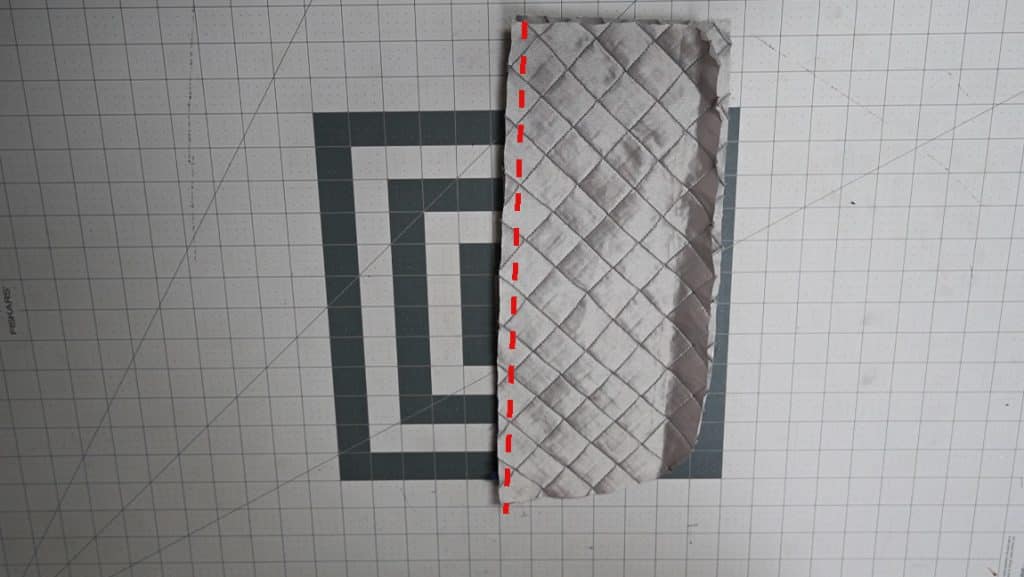
Step 1
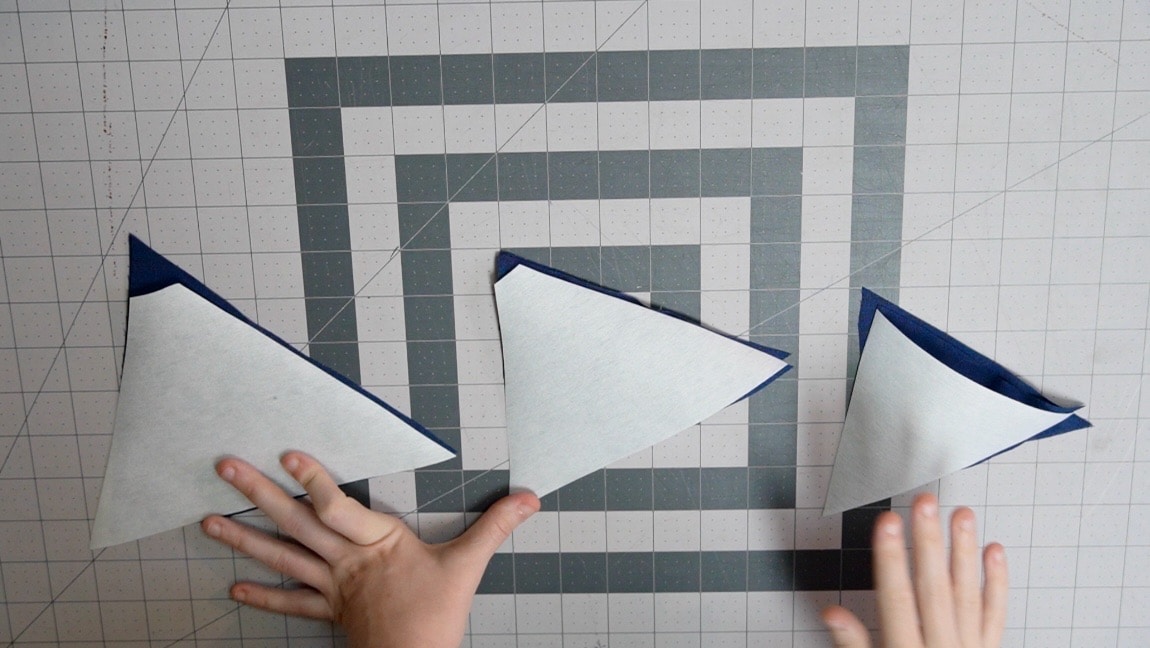
Apply interfacing to the spikes
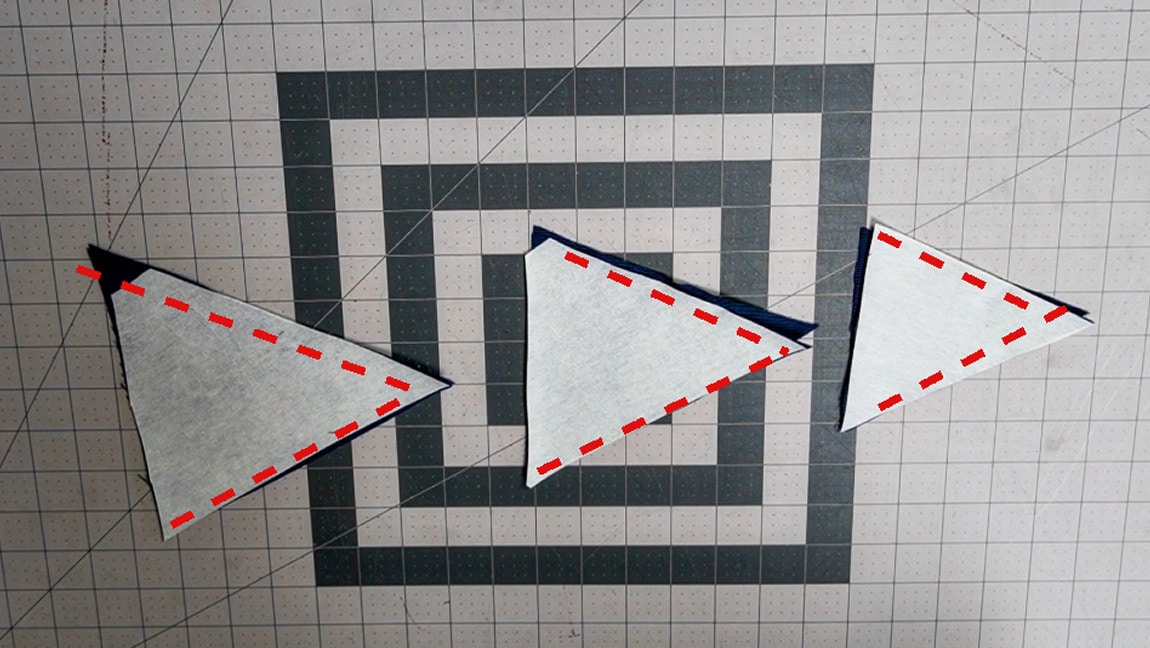
Step 2
sew the spikes together
with right sides together sew each spike. Start and end sewing at the seam allowance (1/2″ from the end)
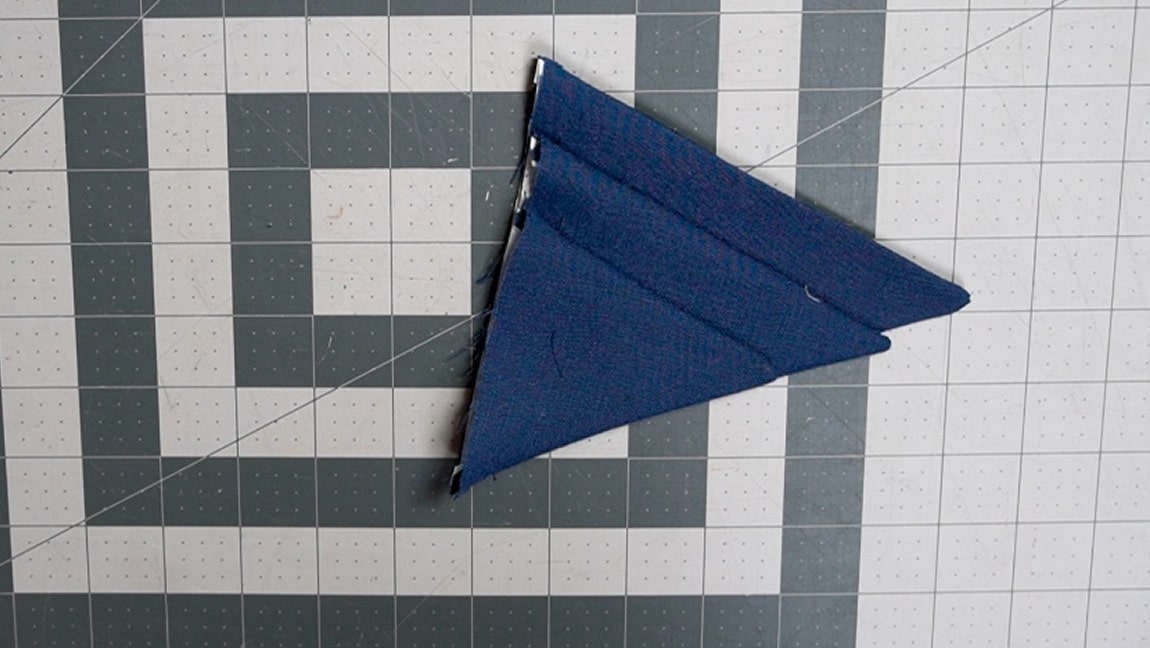
Step 3
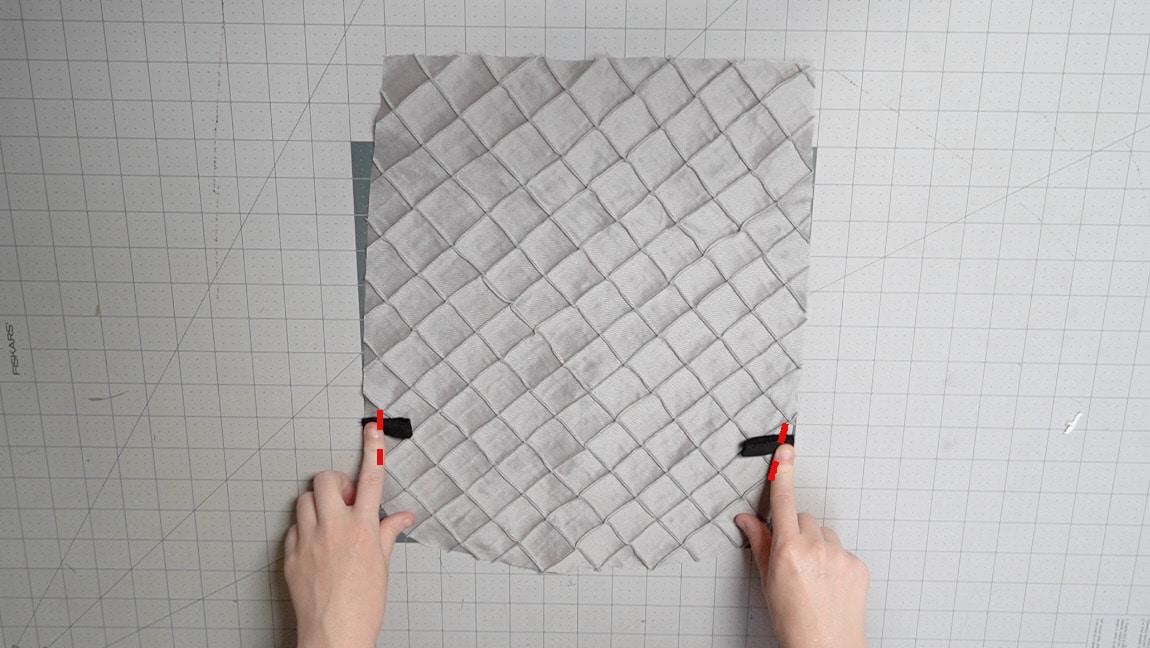
clip corners and turn the spikes to the right side
Turn the spikes to the right side and press them flat.
Step 4
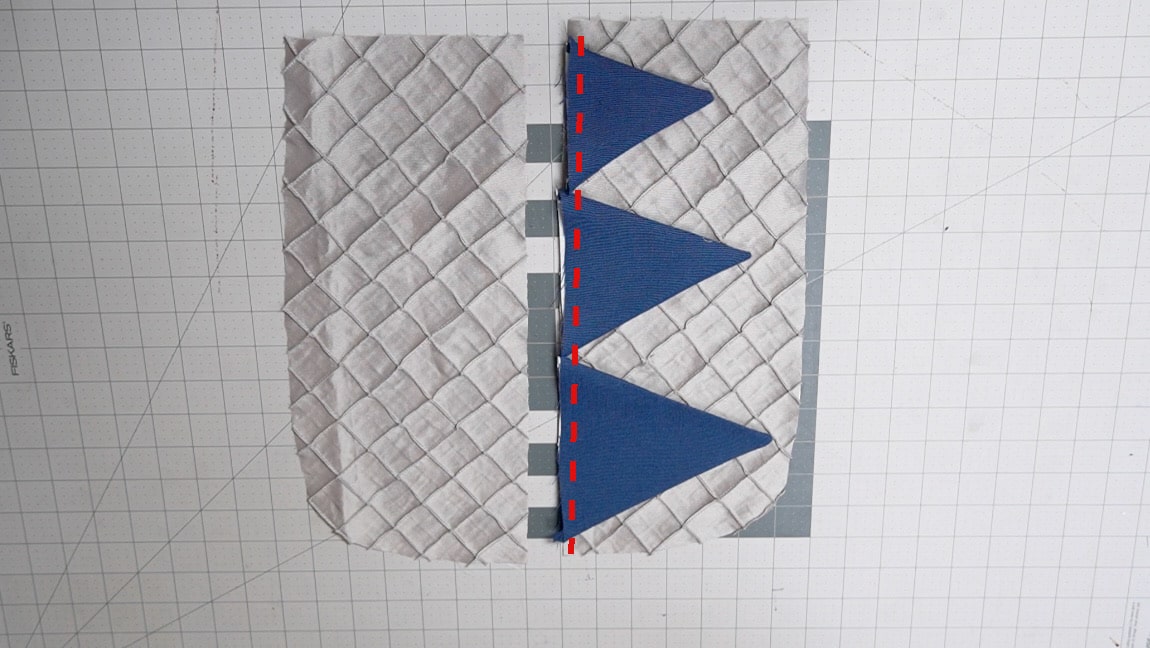
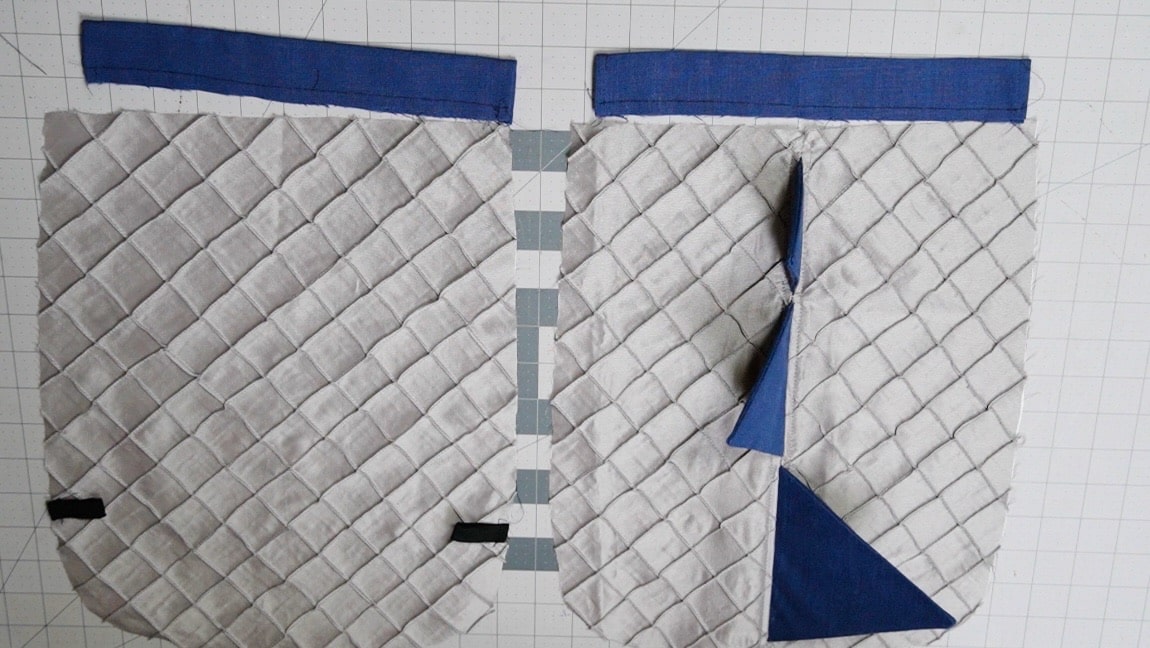
baste the spikes to one side of the front
make sure to leave seam allowance and the top and bottom of the front piece.
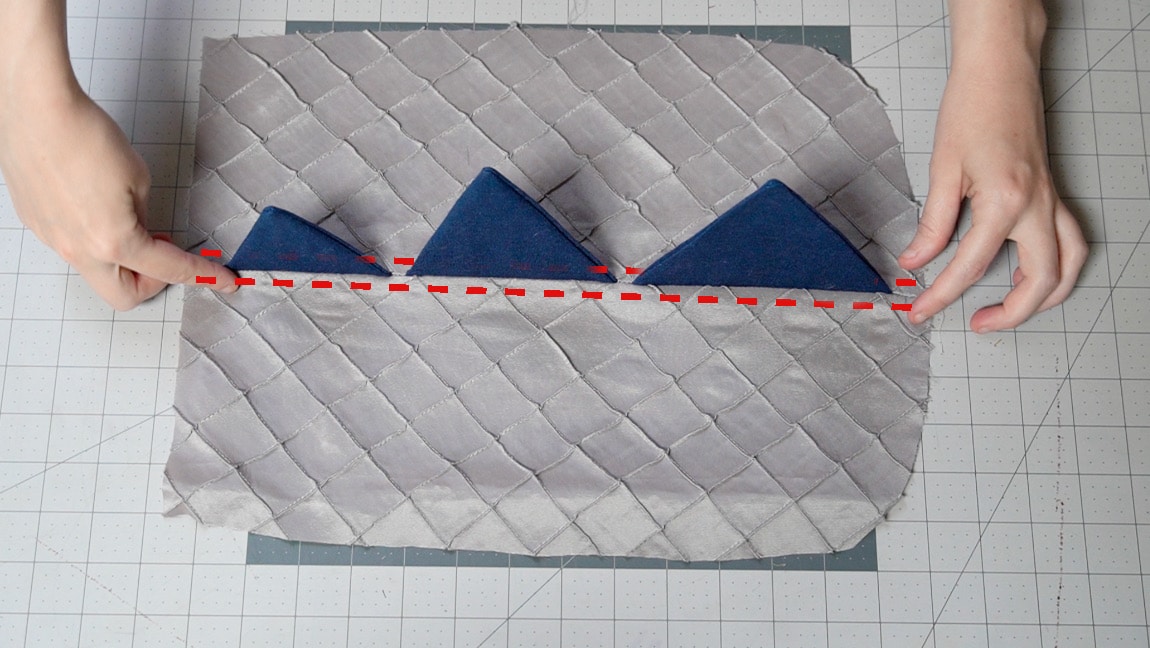
Step 5
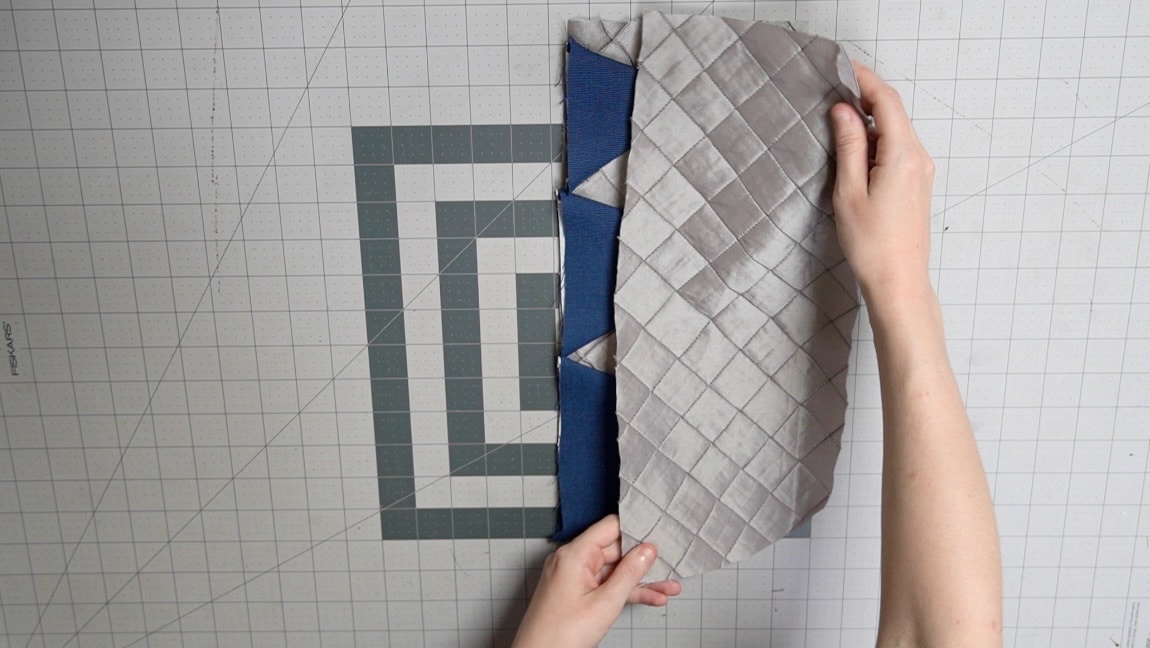
sandwich the spikes and sew the front down the center

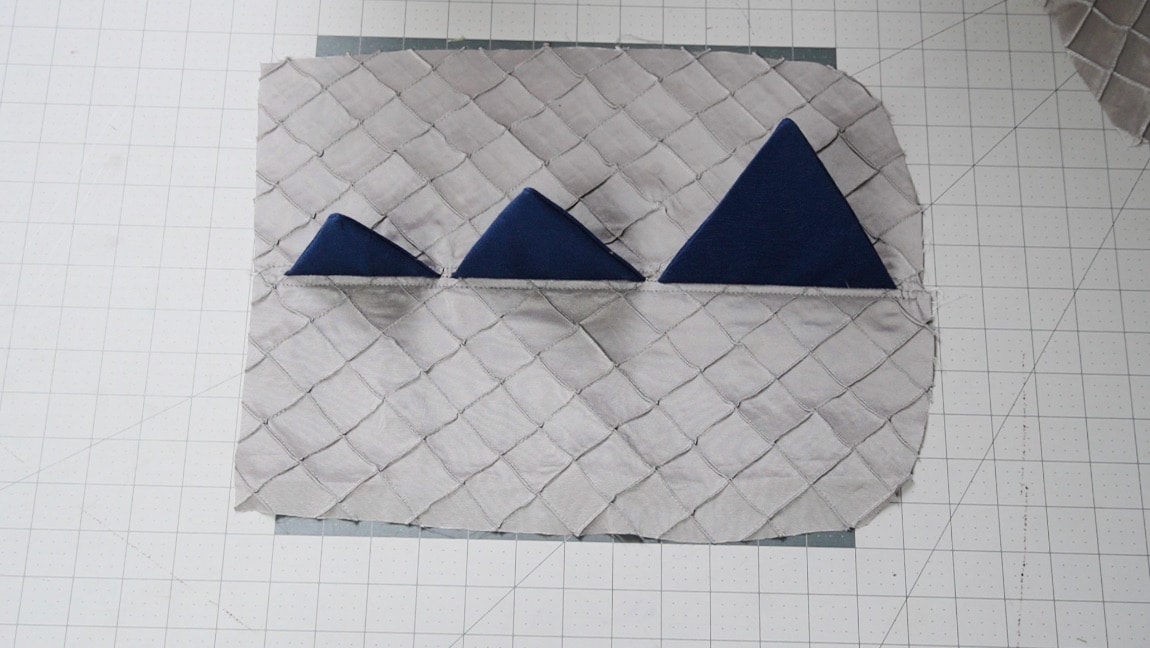
Step 6

Press the seam open on the back
Press the front seam and the spike seams open on the center of the front piece (this is what’s going to get the spikes to stand up).
Step 7
Topstitch the seam allowance on both sides of the spikes
After pressing the seam allowance open, topstitch it in place along both sides of the spikes.
Step 8

Sew the tabs
Fold the sides of the tab pieces to the center and then fold them in half. Sew along the length of the two tab pieces.

Step 9
Baste the tabs to the back of the bag
Fold the tab pieces in half and baste them to the bottom of the back bag piece.
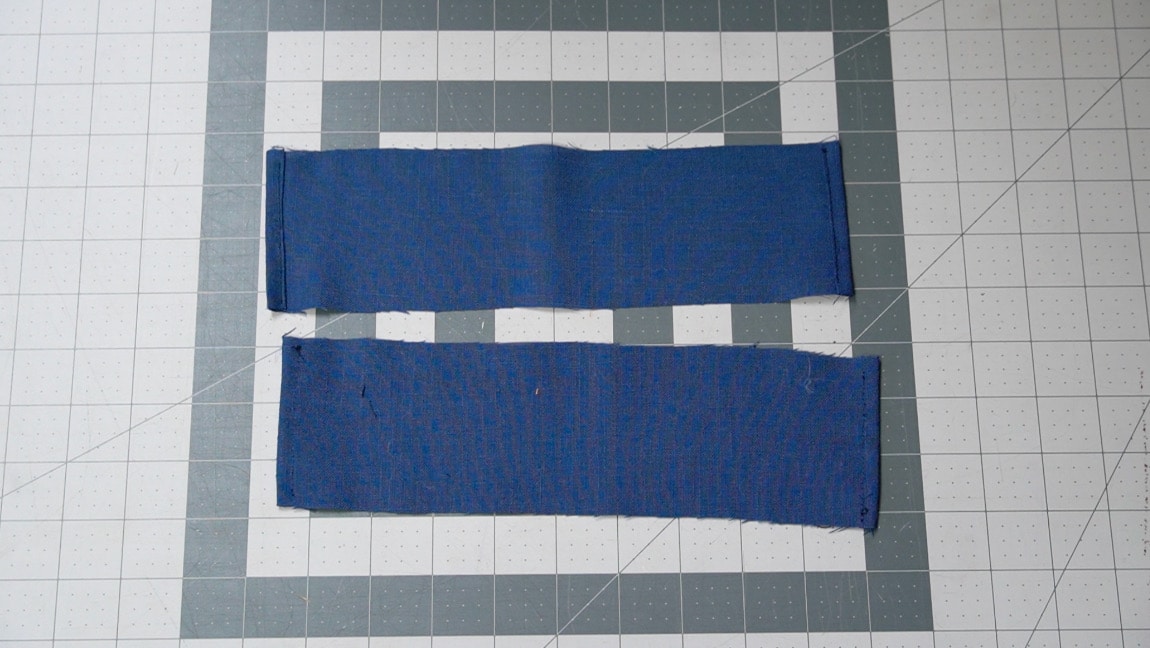
Step 10
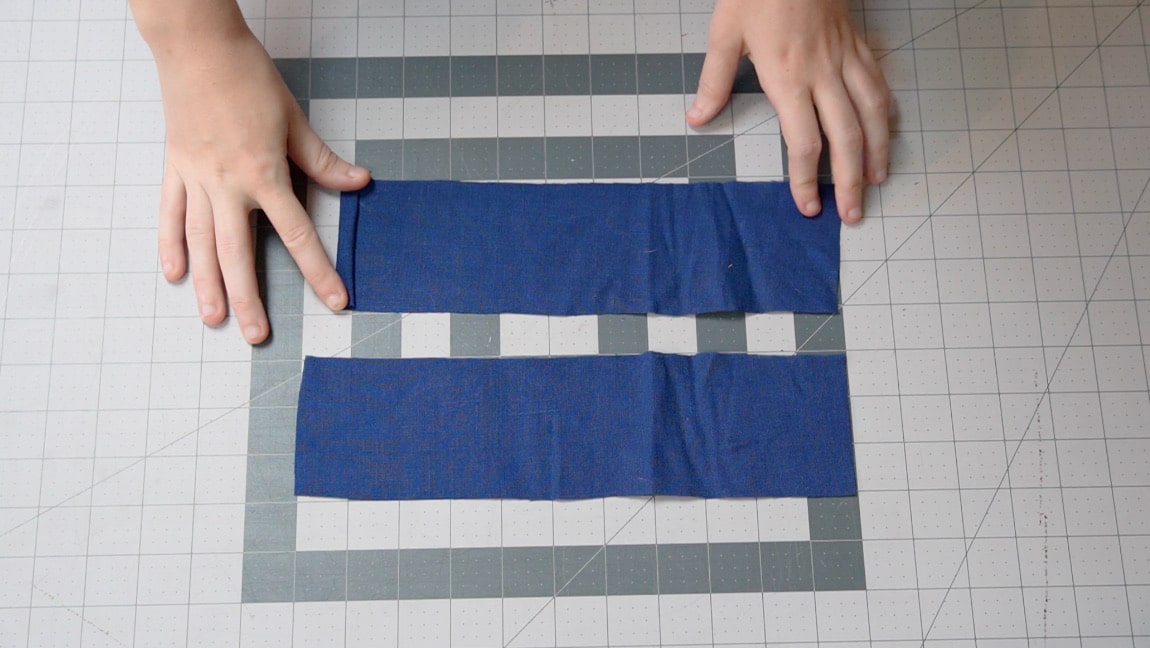
hem the sides of the casings
make a narrow hem on both of the shorter sides of both casings
Step 11
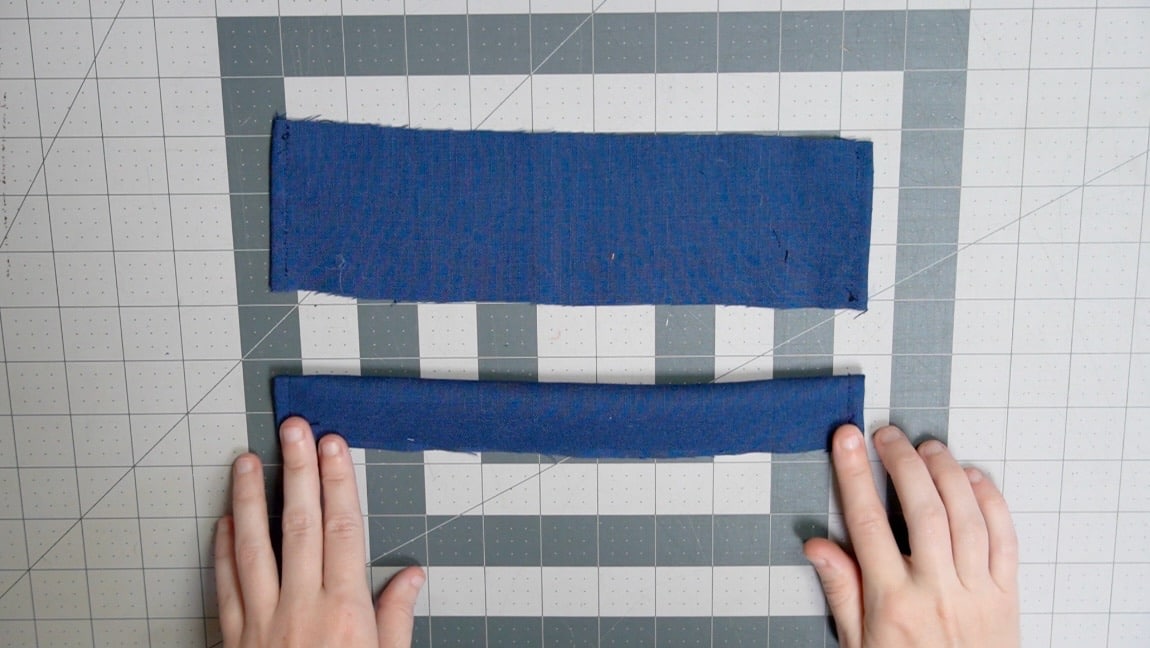
Fold the casing in half
Step 12

sew the casings to the top of the bag
On both sides of the bag, sew the casing through all layers. Then press the casing up, away from the bag. This will create a loop for the drawstring to go through.

Step 13
Sew the front and back of the bag together
With right sides together sew the front and back of the bag along the sides and bottom.
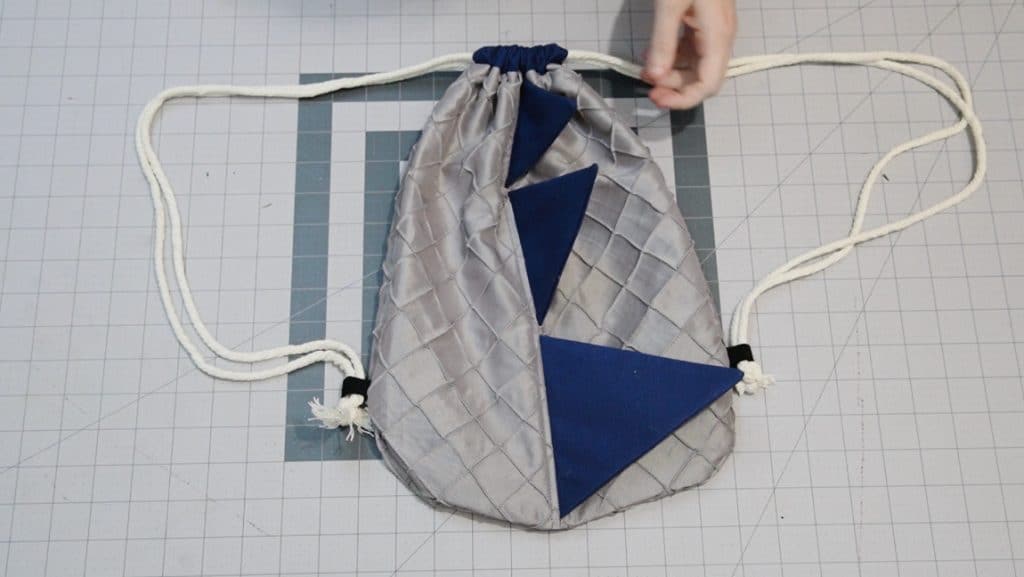
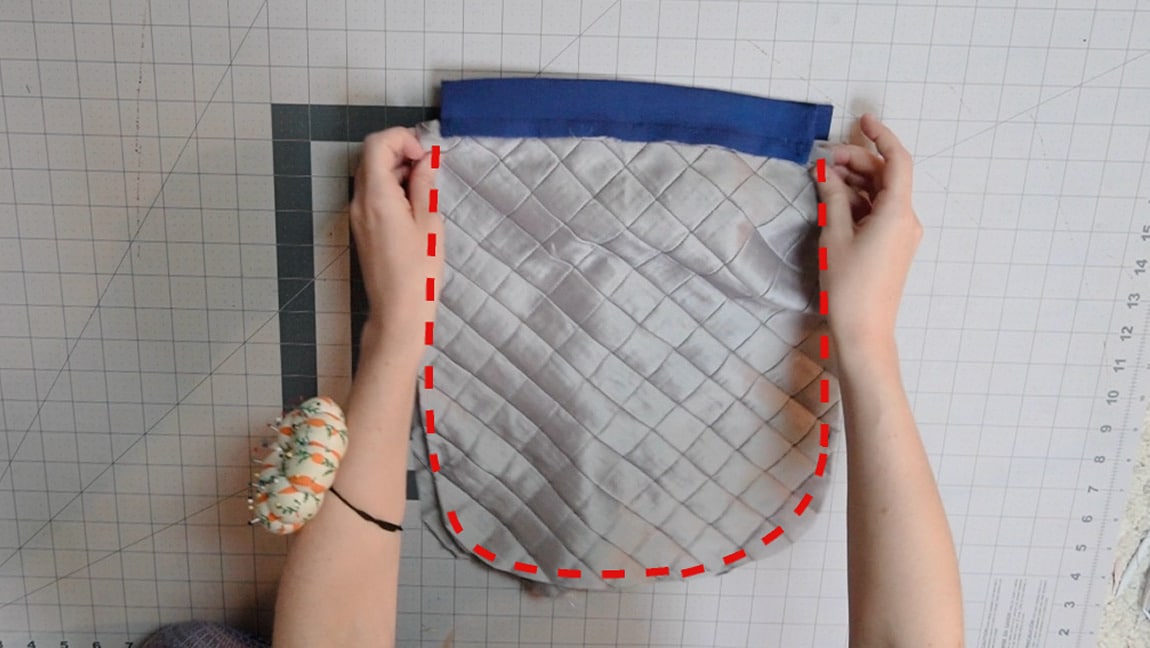
Step 14
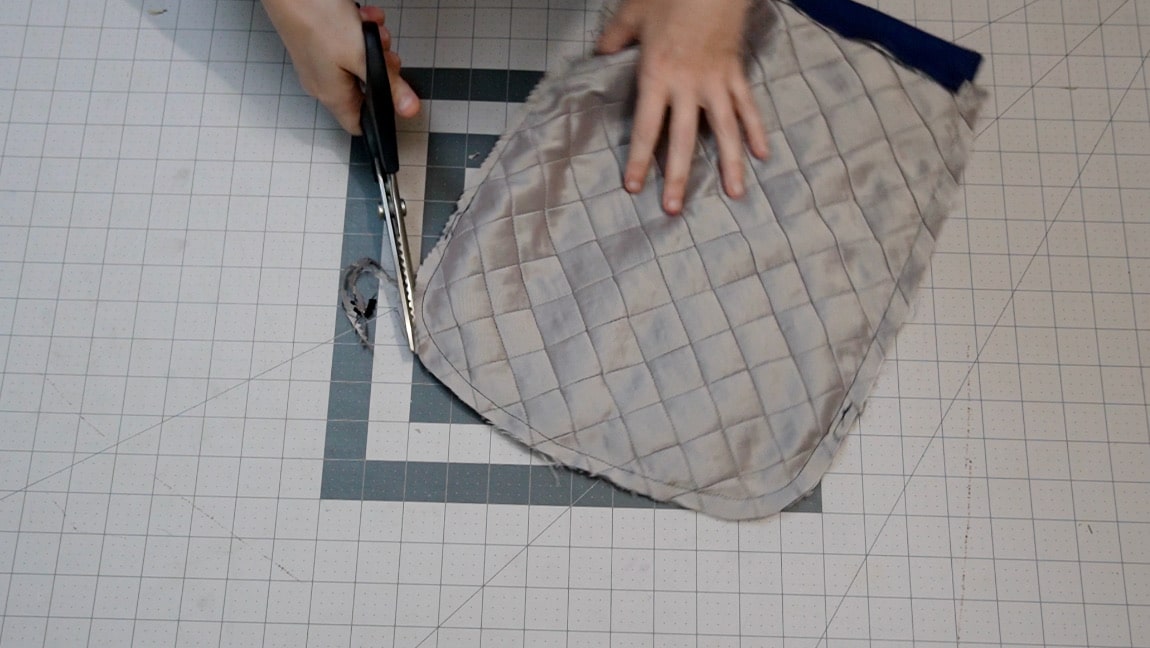
Turn the bag to the right side
Clip the curve and turn the bag to the right side. Once turned the spikes should stand up on their own.

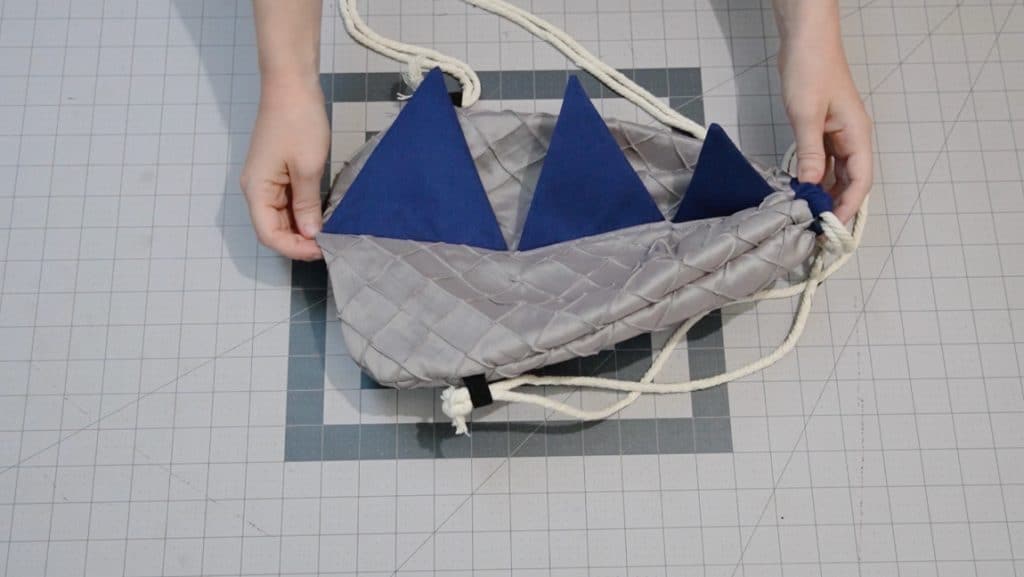
Step 15
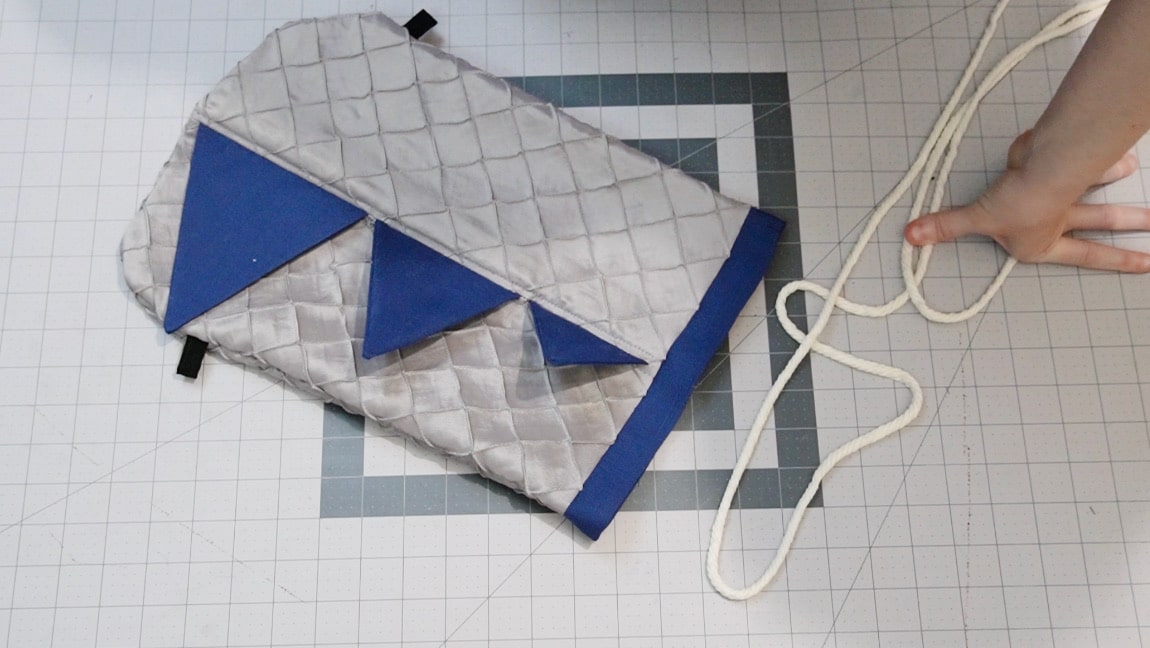
add the drawstring to the casing
You need two pieces of string (about 60″ long) and they both need to go all the way around, through both casings. One string you’ll insert through the left side, thread it all the way around so it comes back out the left. The other will start on the right side and go all the way around so it comes back out the right.
Then you want to tie each string around the tabs that were sewn in earlier.
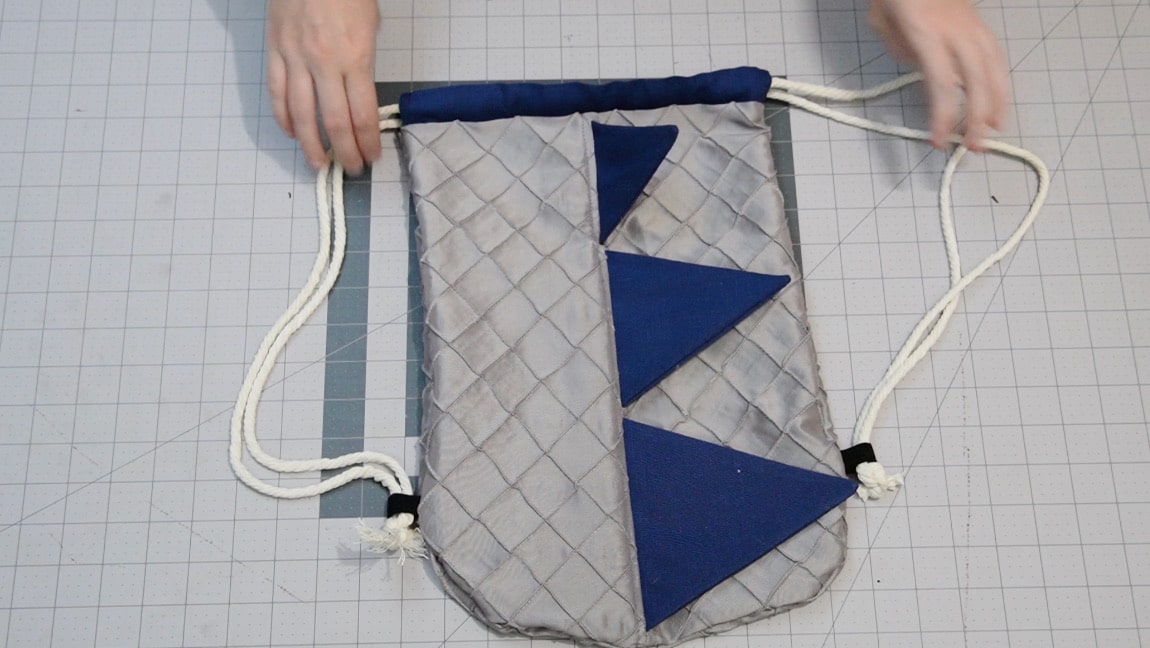
Finished!