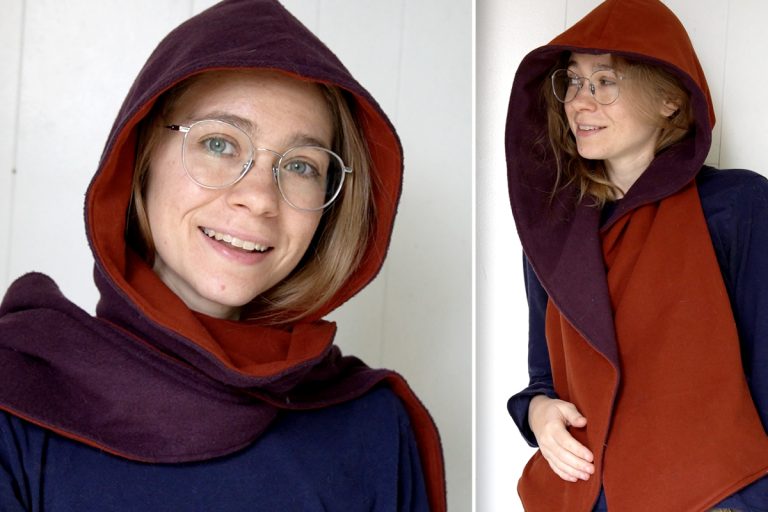
Easy Tie-On Pants Tutorial for Costumes

This tutorial will show you how to make a wide pair of pants that you tie onto your waist. It’s a way to make pants without using a zipper or elastic. I plan on making a Hakama-style pants tutorial eventually, but if you use pleats instead of gathers at the waist of this one (and leave off the cuff), this tutorial will work great for historical Japanese anime.
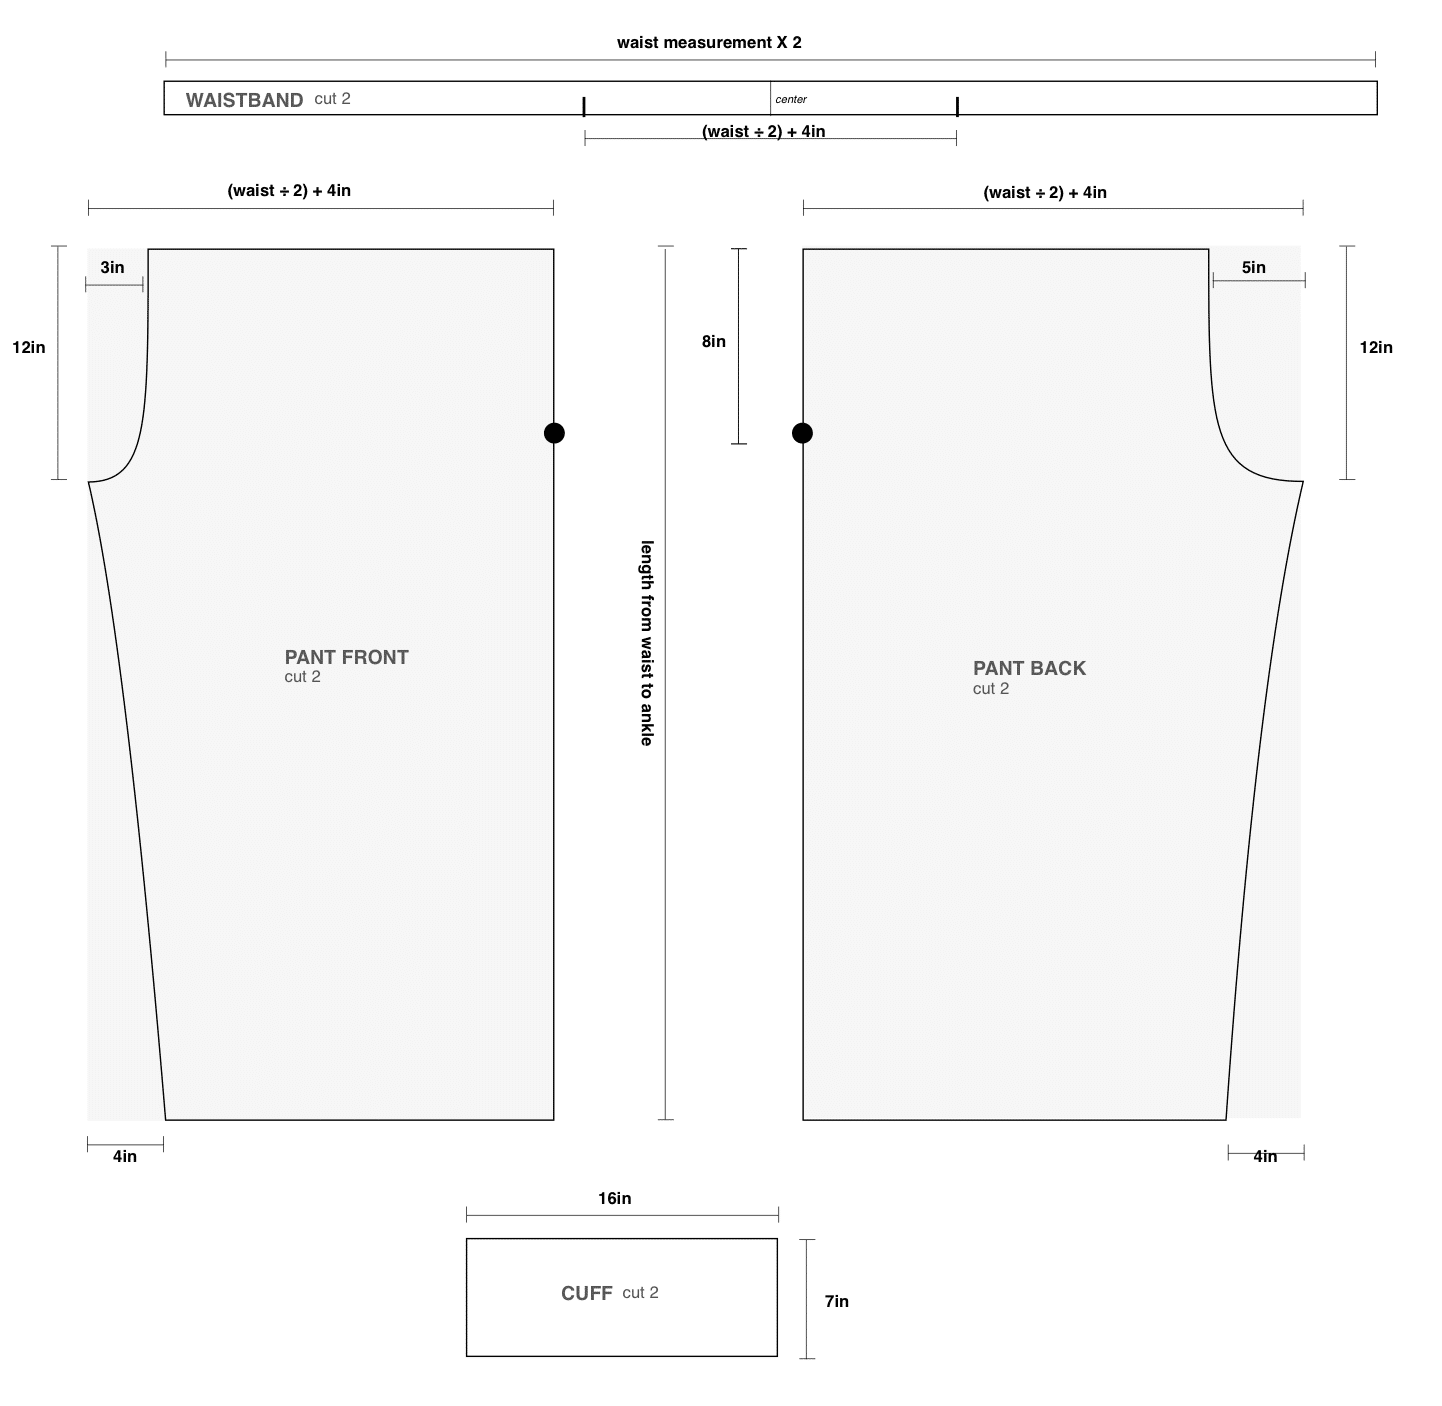
Follow the diagram to make your own pattern for your pants based on your measurements, then follow along with the step-by-step sewing tutorial.
Note: In this tutorial, I use ‘fabric’ that I created using leftover fabric scraps and remnants. If you want to learn how I did that so you can reuse your fabric scraps too, check out this tutorial.
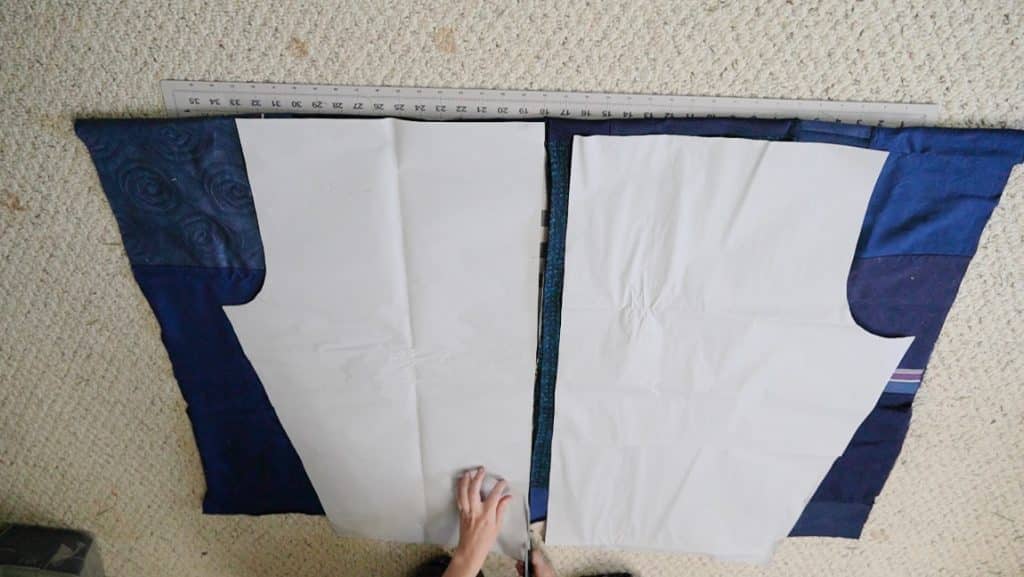
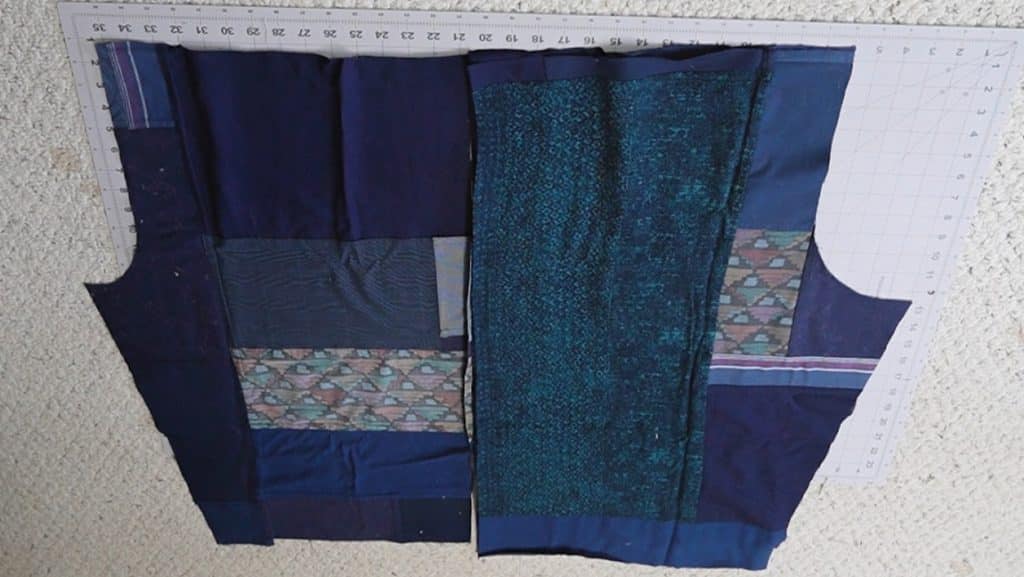
Supplies Needed:
Make Your Pattern:
* The measurements I give you for the I center crotch seam are meant to make it loose so that it will fit most body types. However, if you are very tall or have a bigger bottom, you can lengthen or widen the crotch measurements for a better fit.
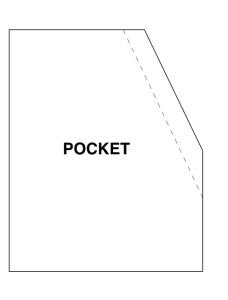
Step 1
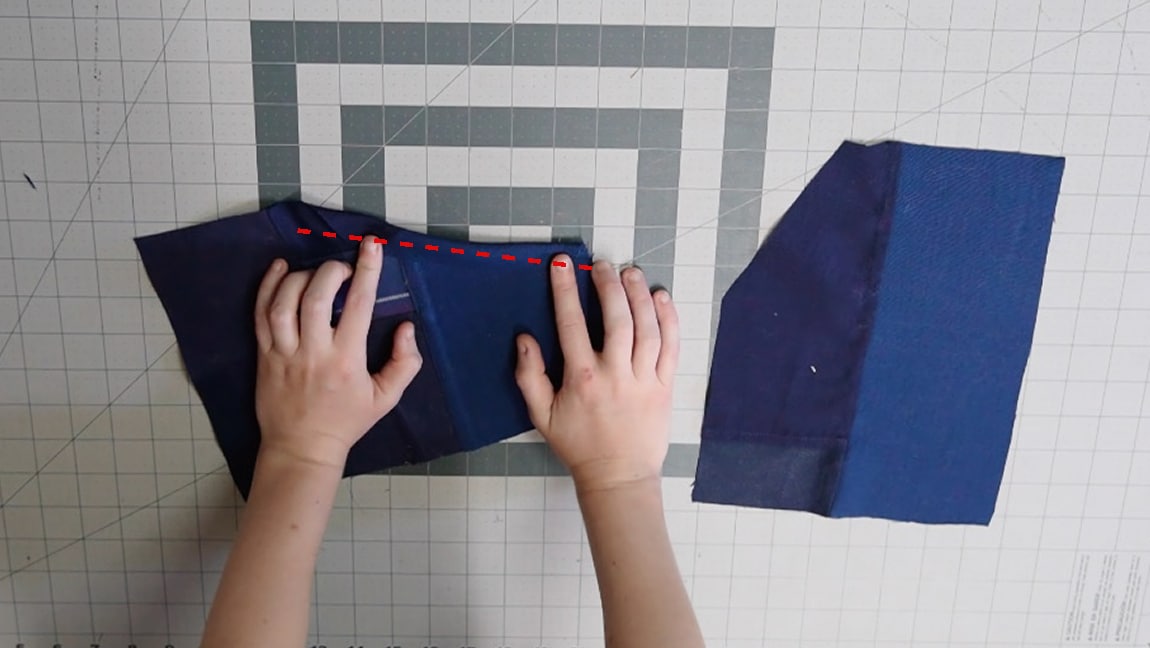
hem the diagonal edge of the pockets and press the opposite two sides
Make a 1/2 inch hem on the diagonal edge of the pocket. Then press the seam allowance of the two opposite sides (the sides not touching the hem).
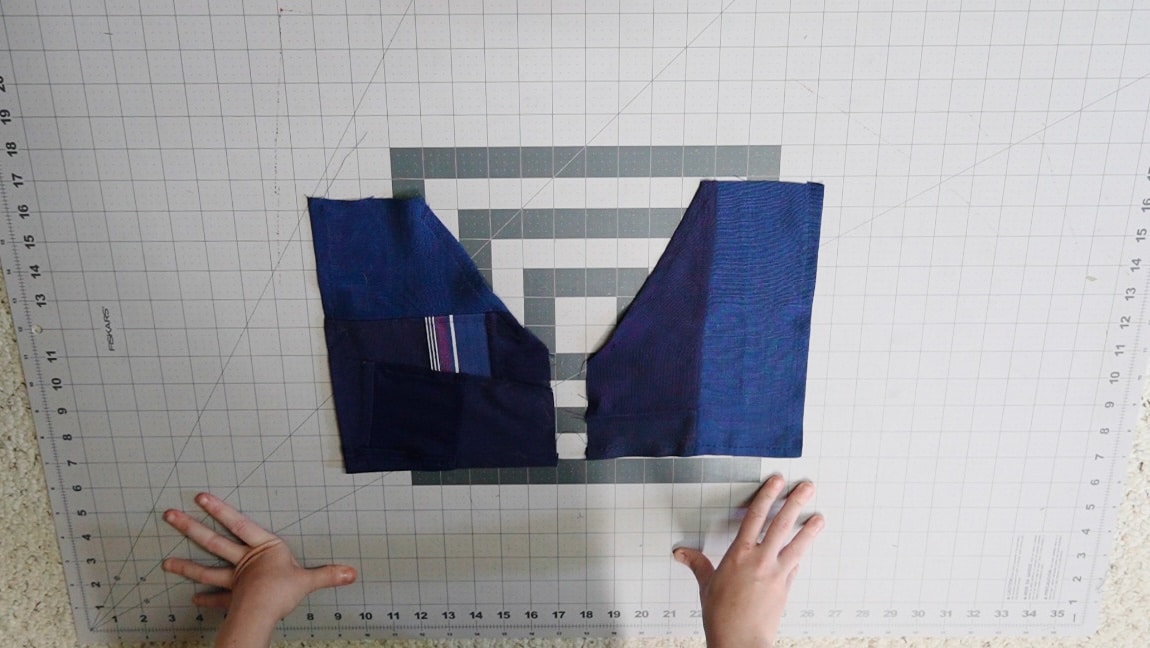
Step 2
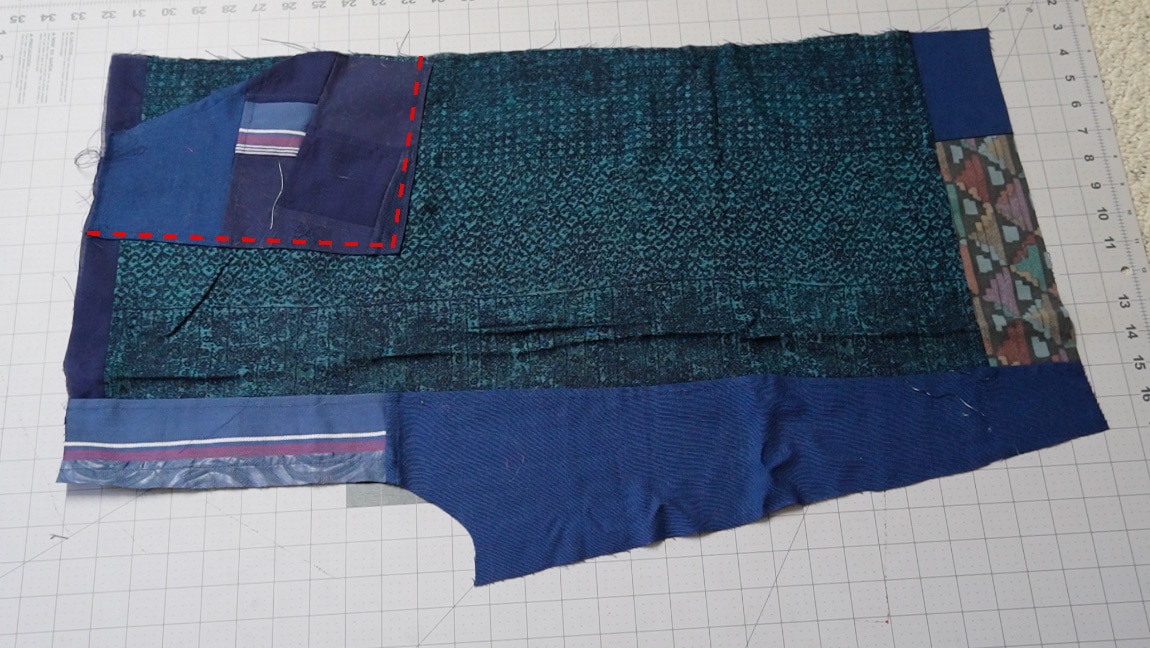
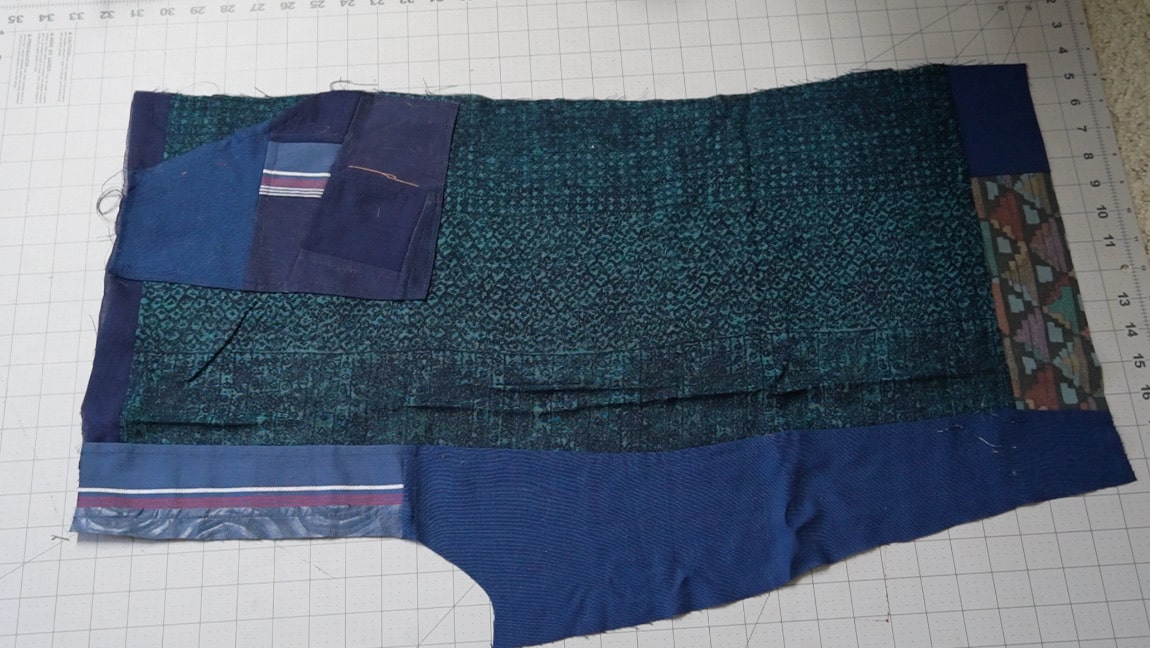
sew the pocket to the side of the front pants
Line the pocket up with the top and side of the front pant pieces and edgestitch it along the two sides that you pressed under in the previous step. Baste the side that line up with the top and side of the pant leg.
Step 3
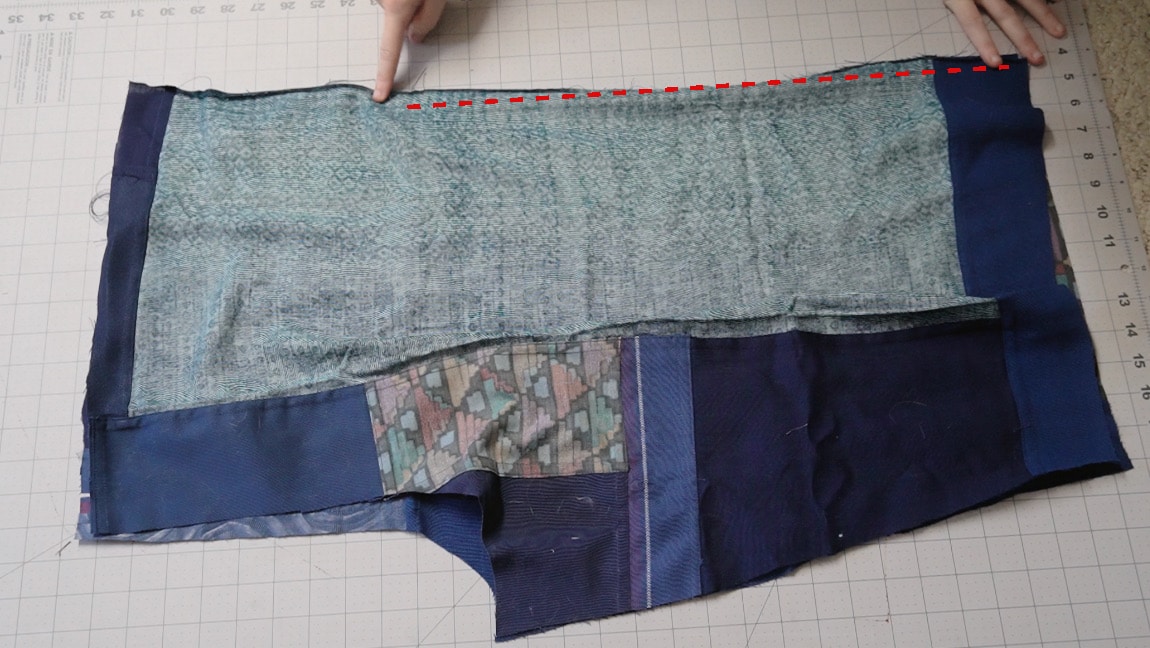
sew the front and back pant together up to the dot
with right side together, sew the outer side seam of the front and back pant pieces. Only sew from the bottom up to the dot that you made as a reference point earlier (8 inches from the top of the pants).
Step 4
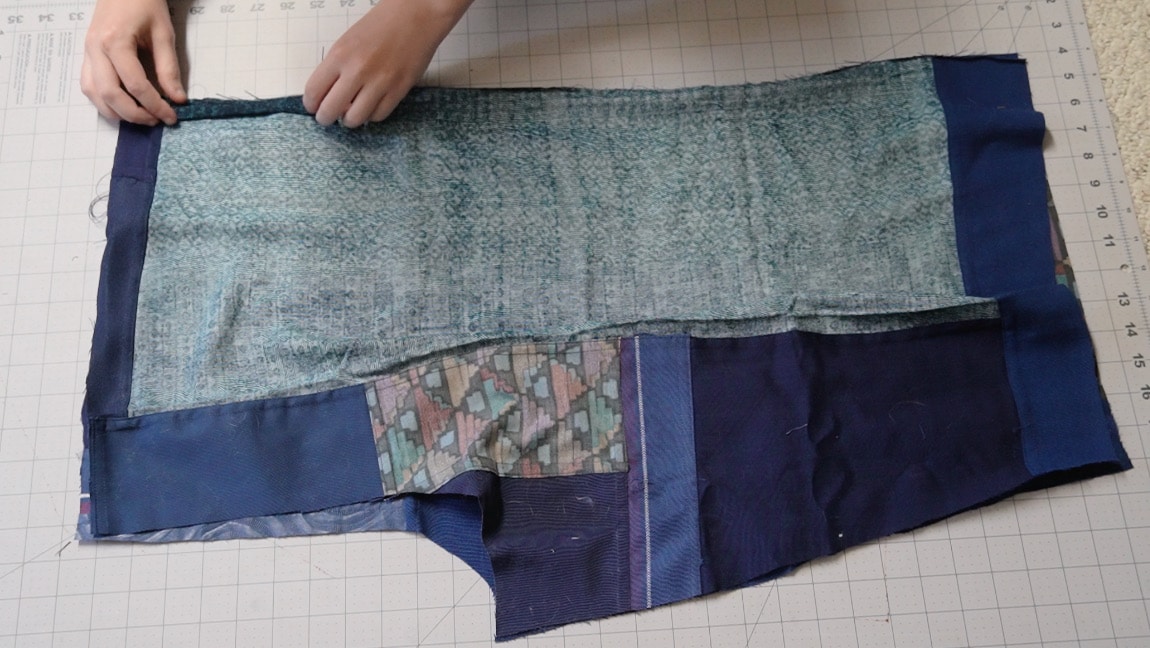
narrow hem the area above the dot
Make a narrow hem on both the front and back pieces to fold over the fabric at the top 8″ of the pants and keep it from fraying.
Step 5
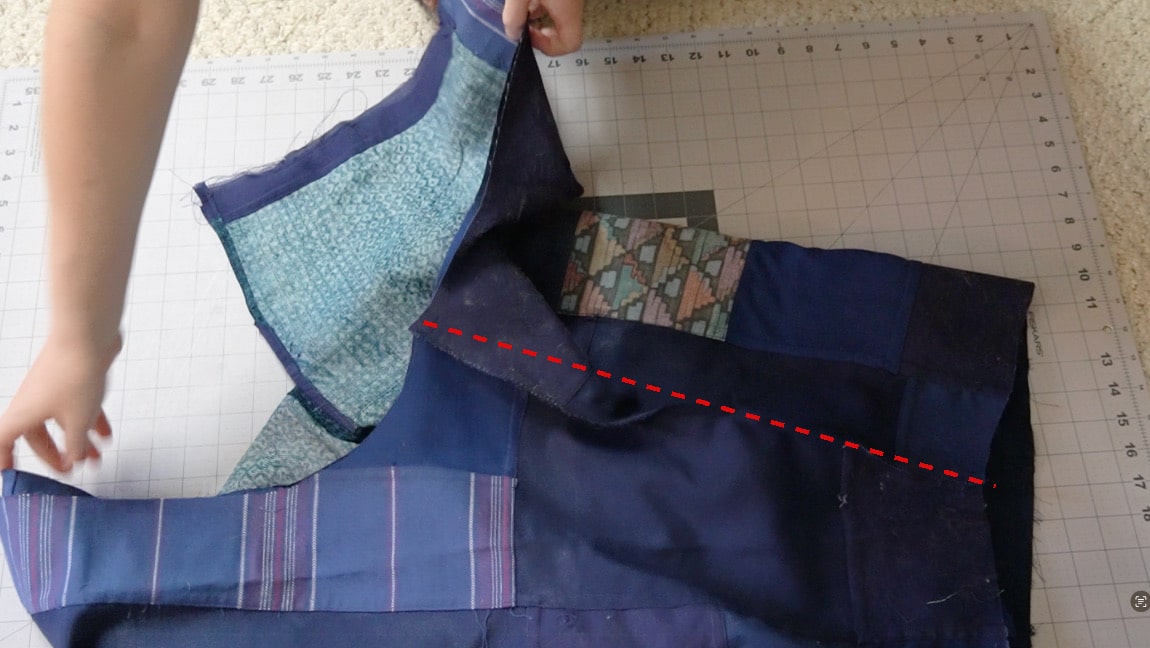
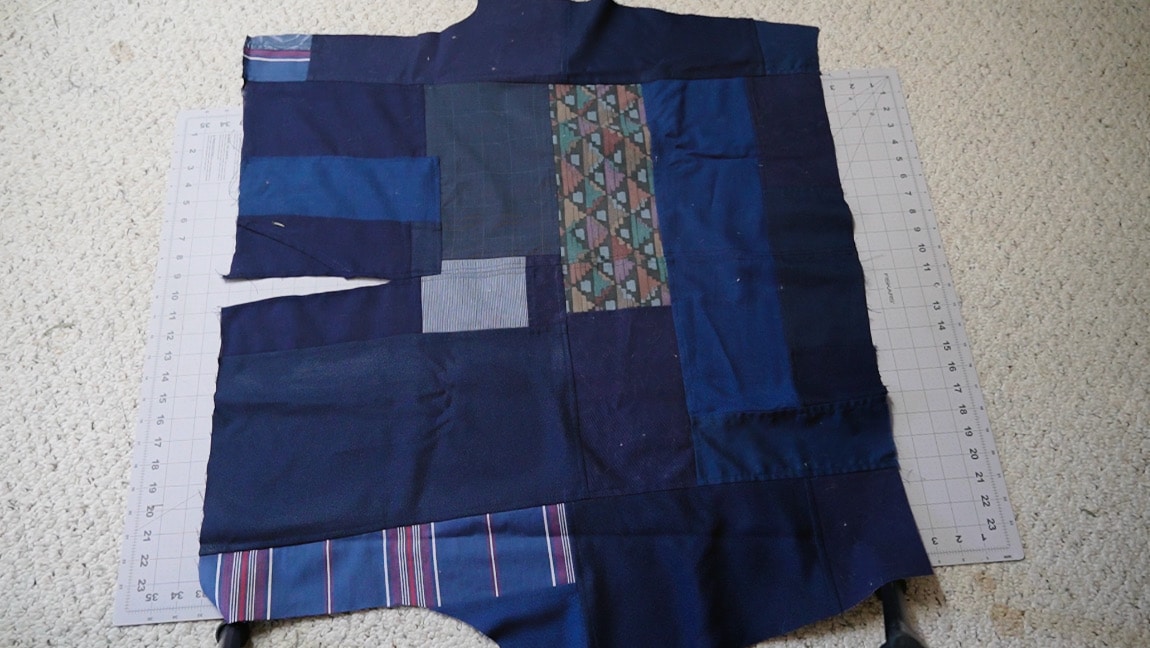
sew the inseam of the pant legs
fold the pants so the inseams line up and sew with right sides together.
Step 6
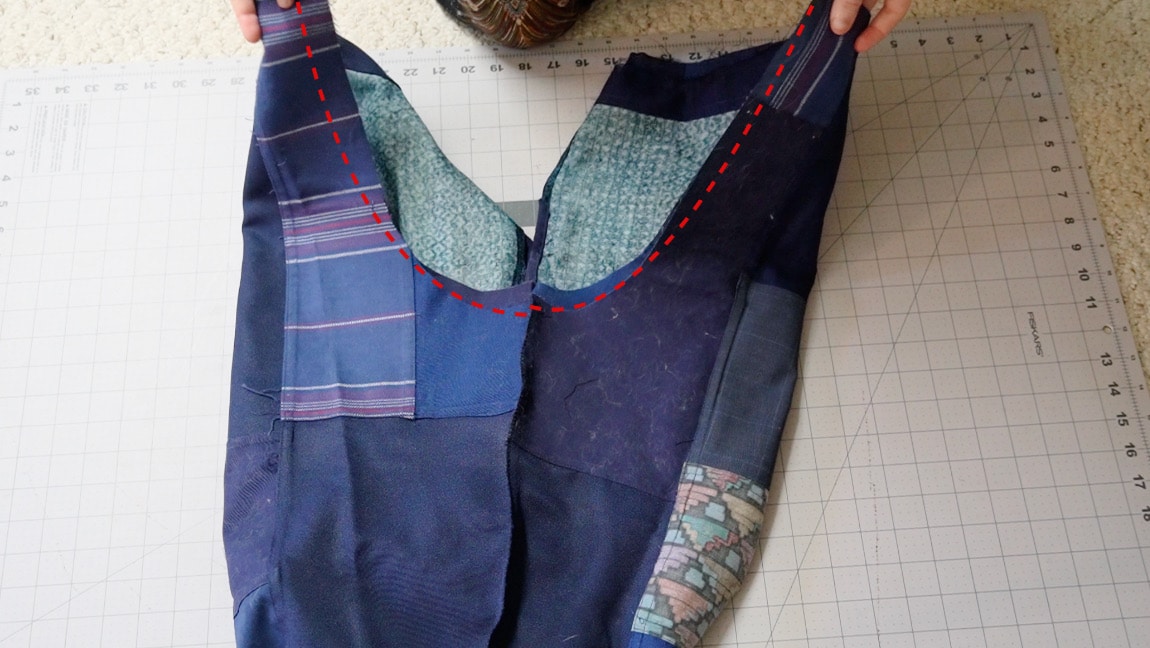
place one pant leg inside the other and sew the crotch seam
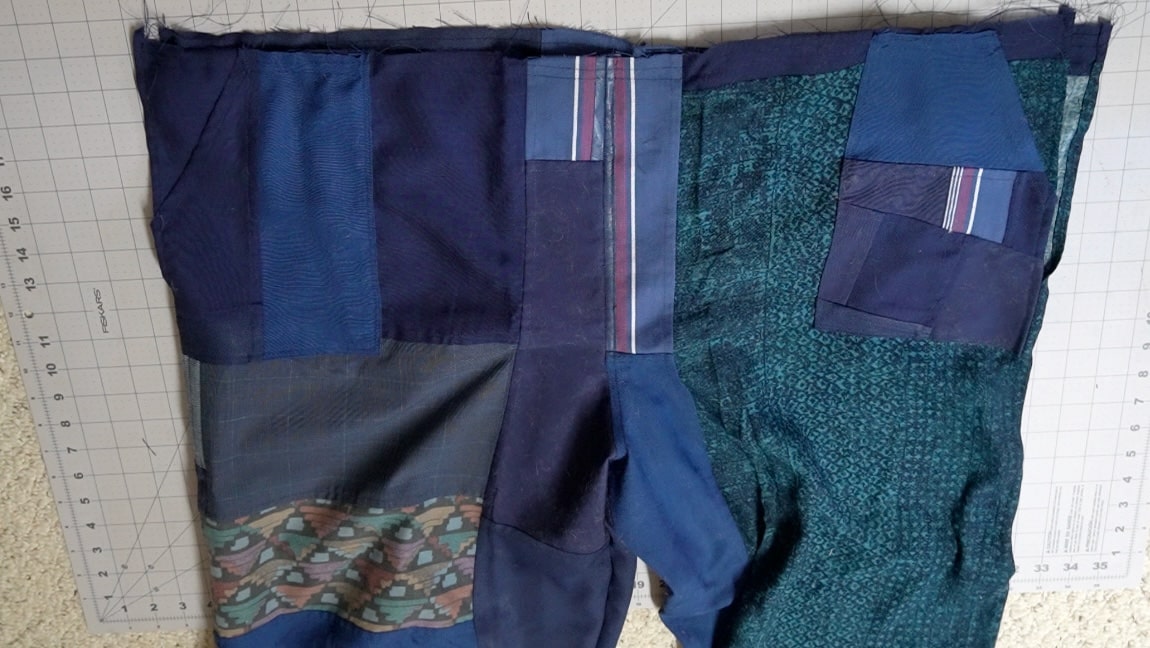
With right sides together, put one pant leg inside the other. Line up the crotch seam and sew it. Then turn your pants to the right side.
Step 7
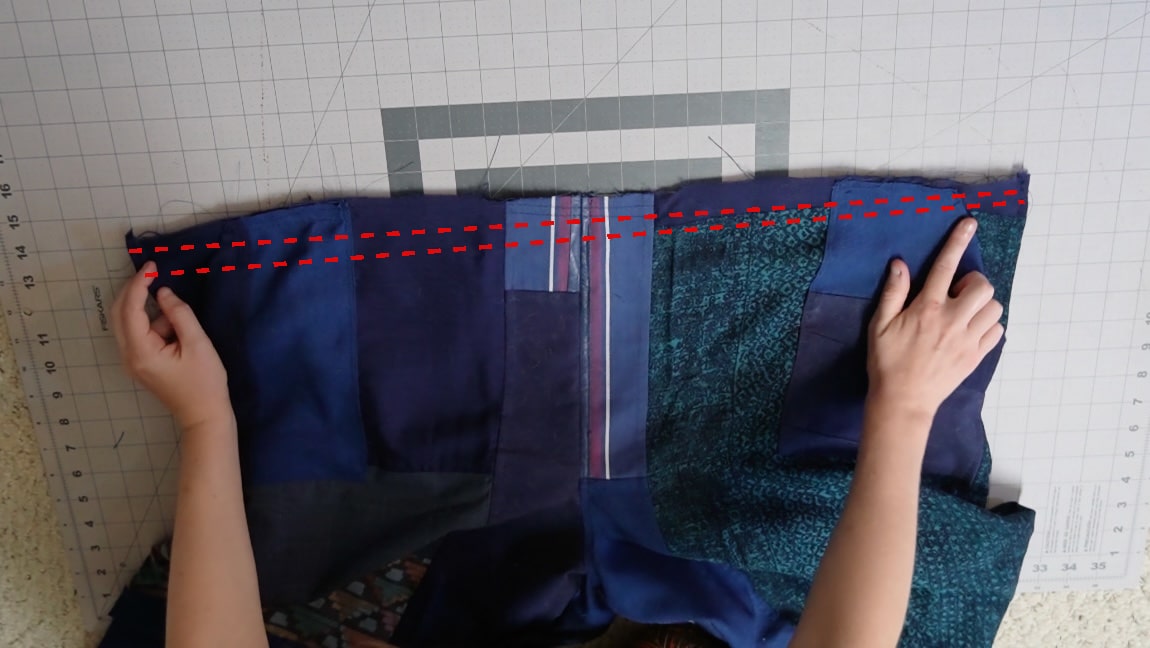
add gathering stitches along the top front and back
Sew wide gathering stitches (by machine or by hand) along the top edge of the front and back pant pieces.
Step 8
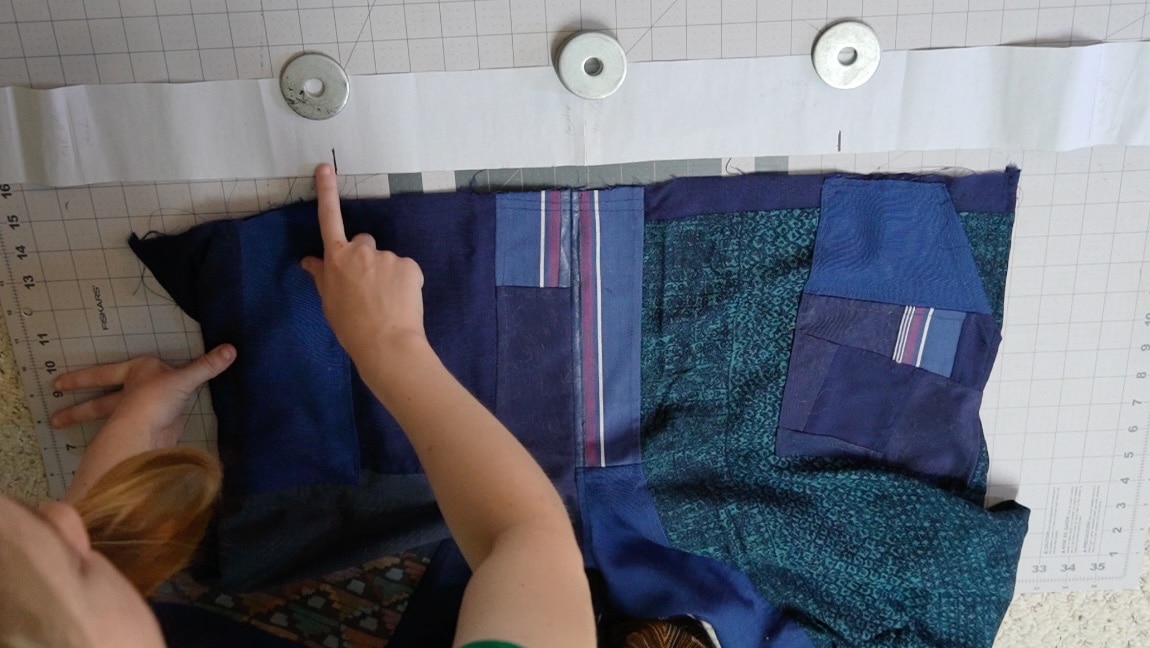
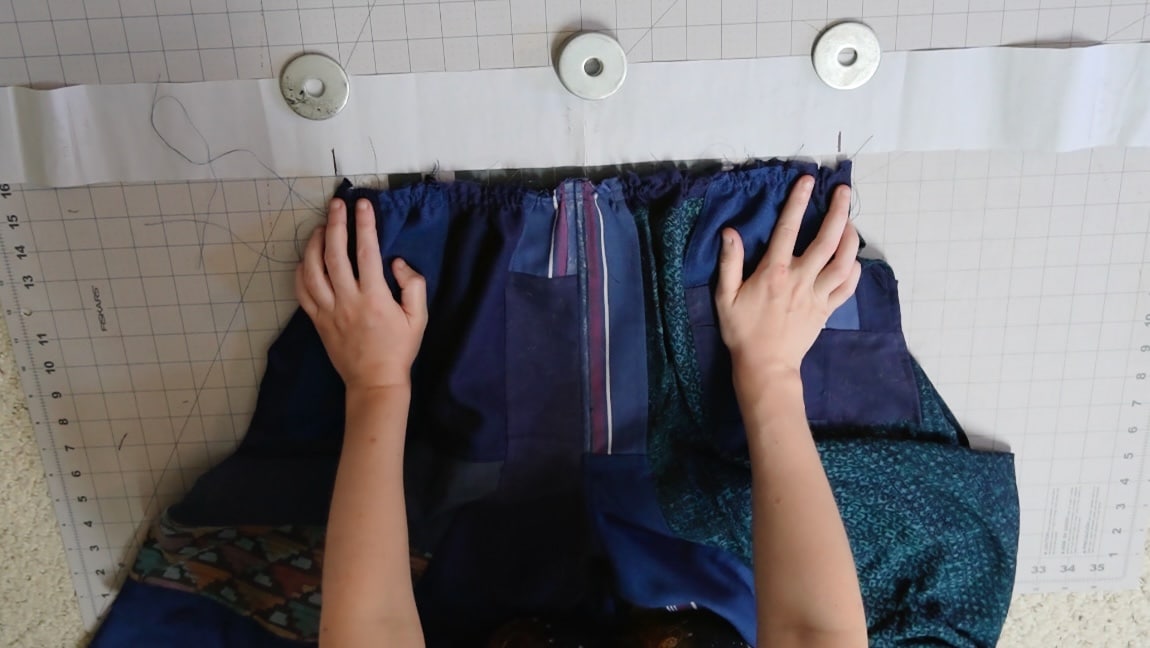
gather the top of the pants
Use the marks you made on the waistband to know how far to gather your pants. The final width of each of your pant tops should be half of your waist plus 4 inches.
Step 9
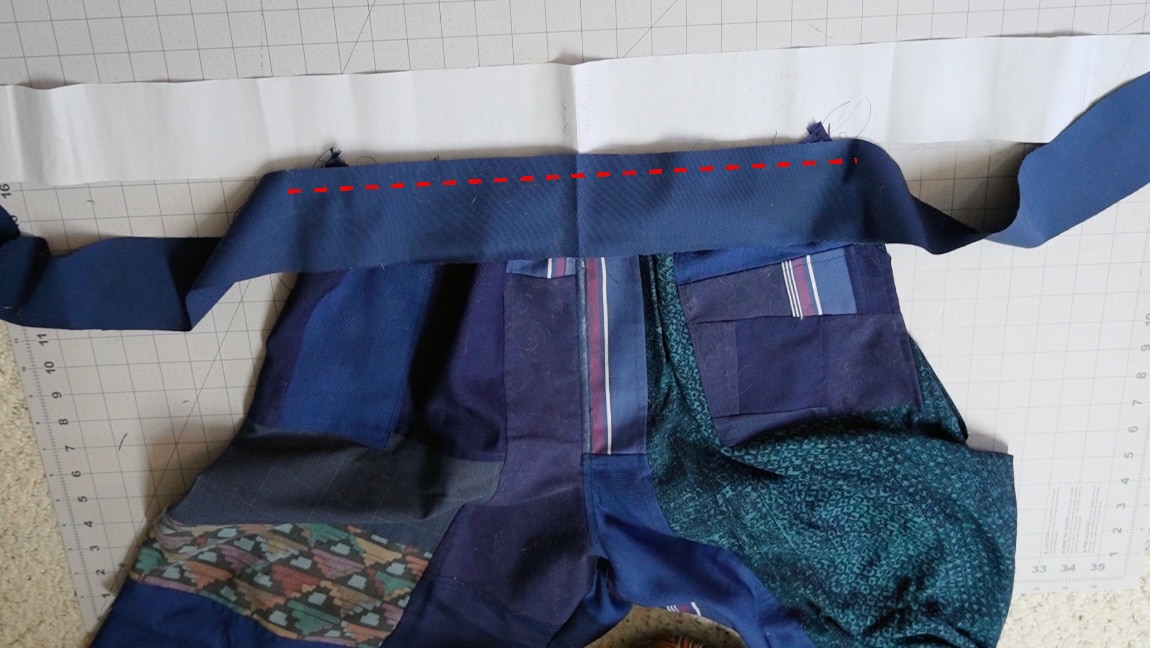
sew the waistband to the pants
Center the waistband on the pant tops and sew through all layers with right sides together.
Step 10
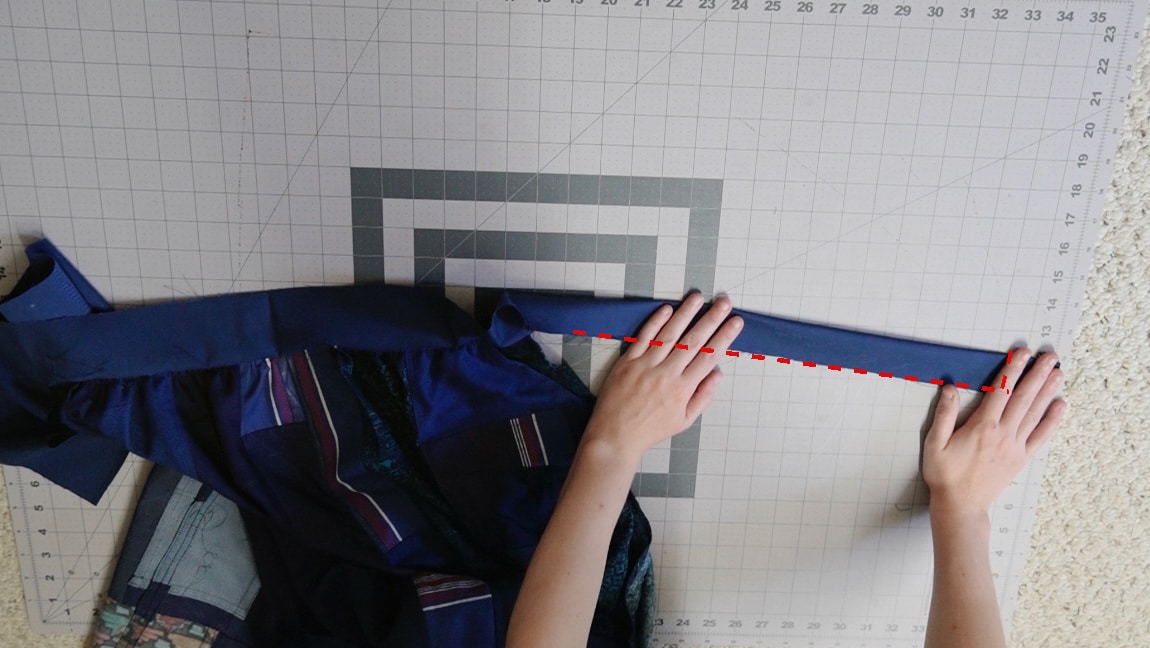
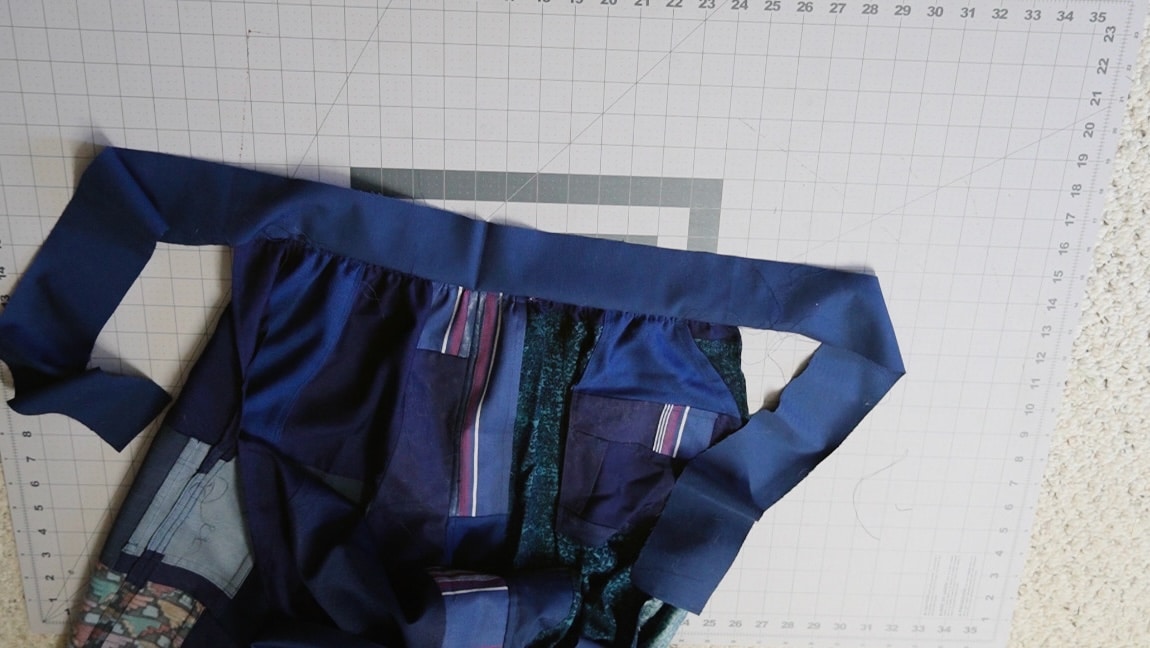
fold the waistband in half and sew
With right sides together, fold the two sides of the waistband in half (the parts that are extended from the waistband). Then sew them.
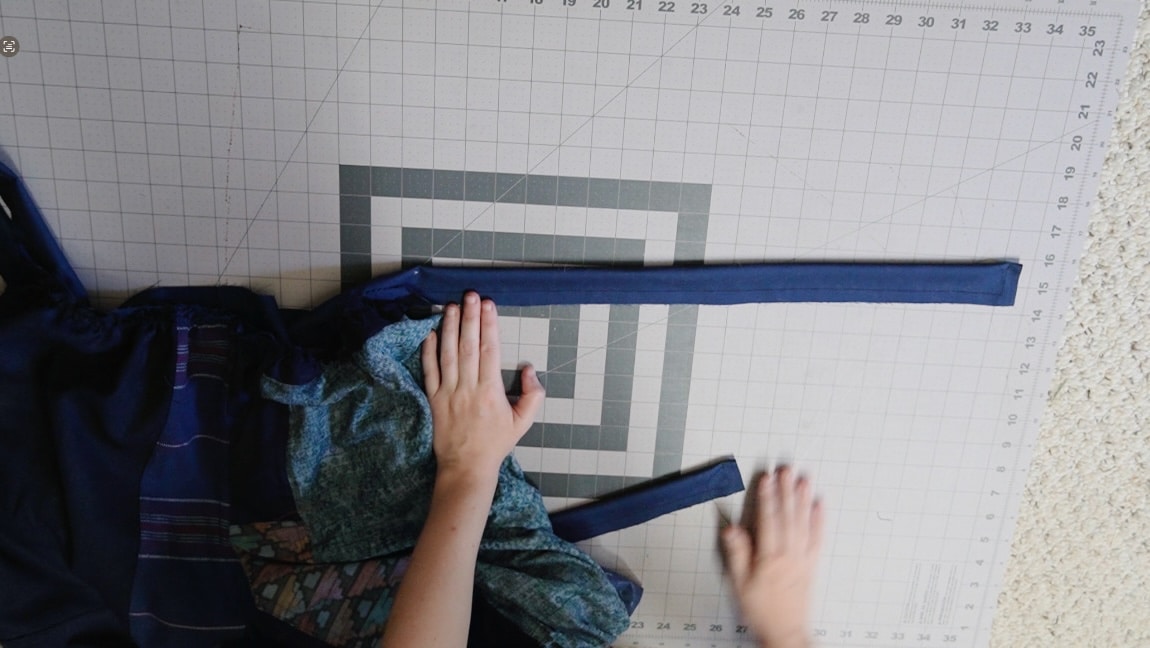
Step 11
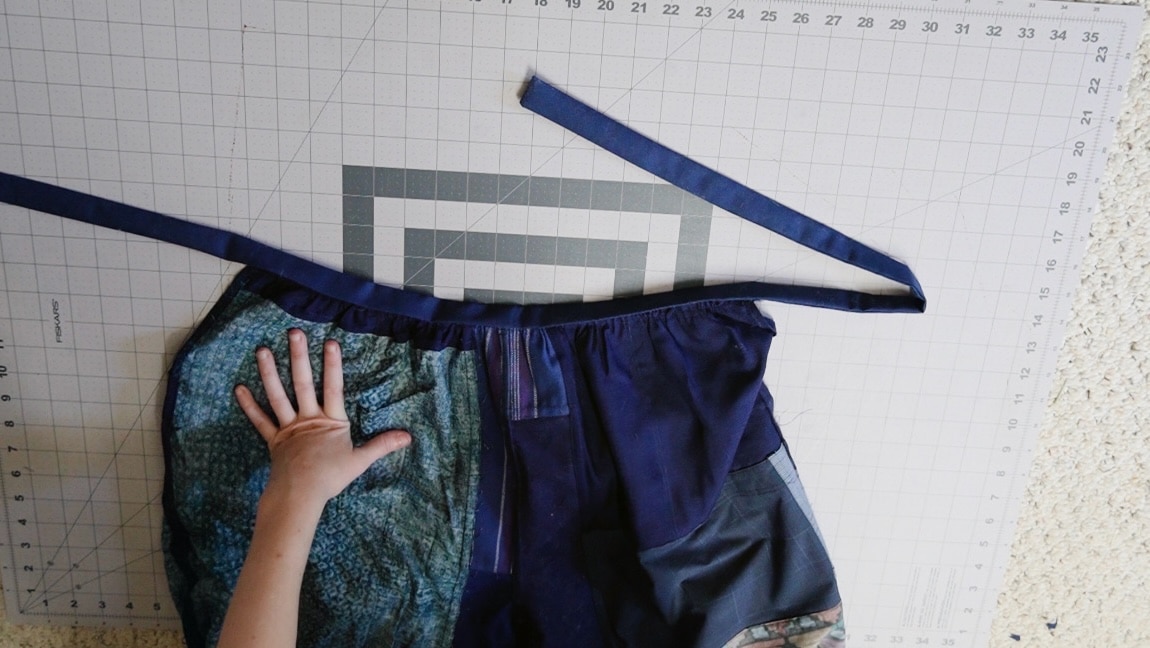
turn waistband to right side
Turn the waistband extensions to the right sides, these will be the ties for your pants.
Step 12
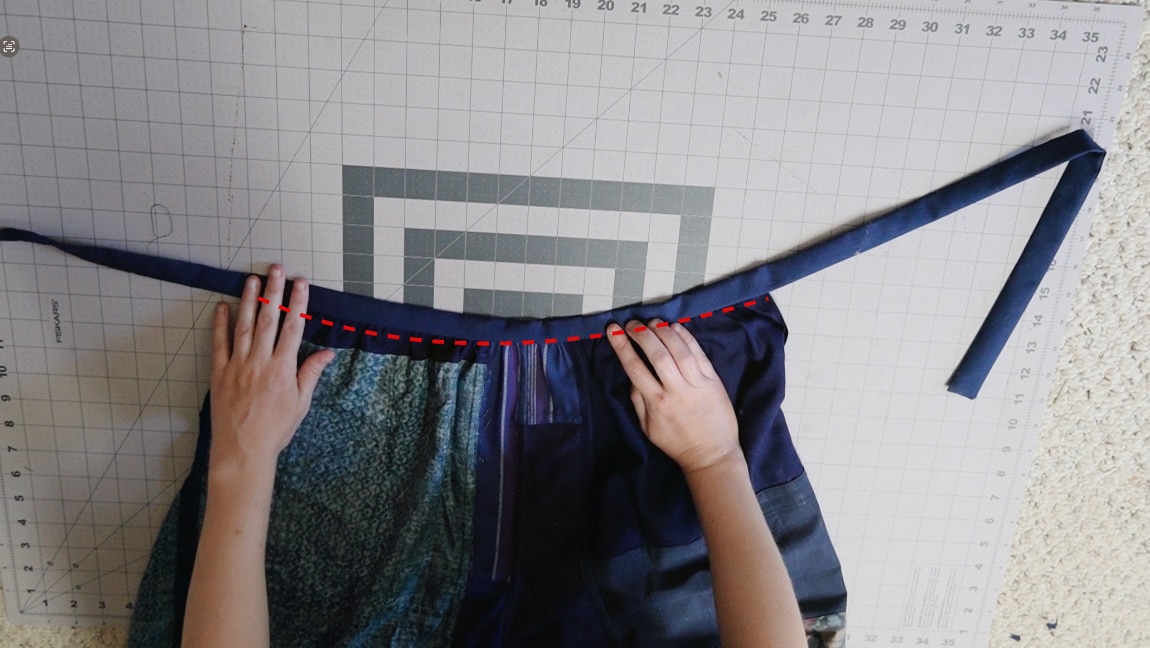
fold the waistband over and sew it to the top of the pants
Now you have the center of your waistband still flapping free. Fold it over the reverse side of the pants, encasing the gathering stitches, and topstitch through all layers.
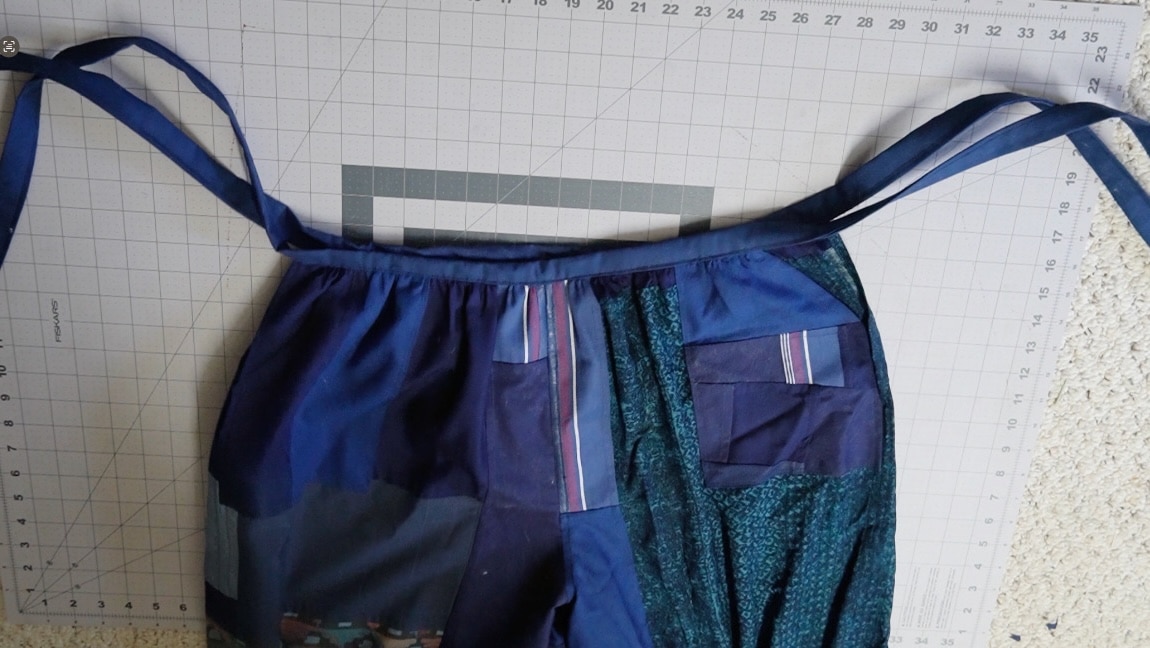
Step 13
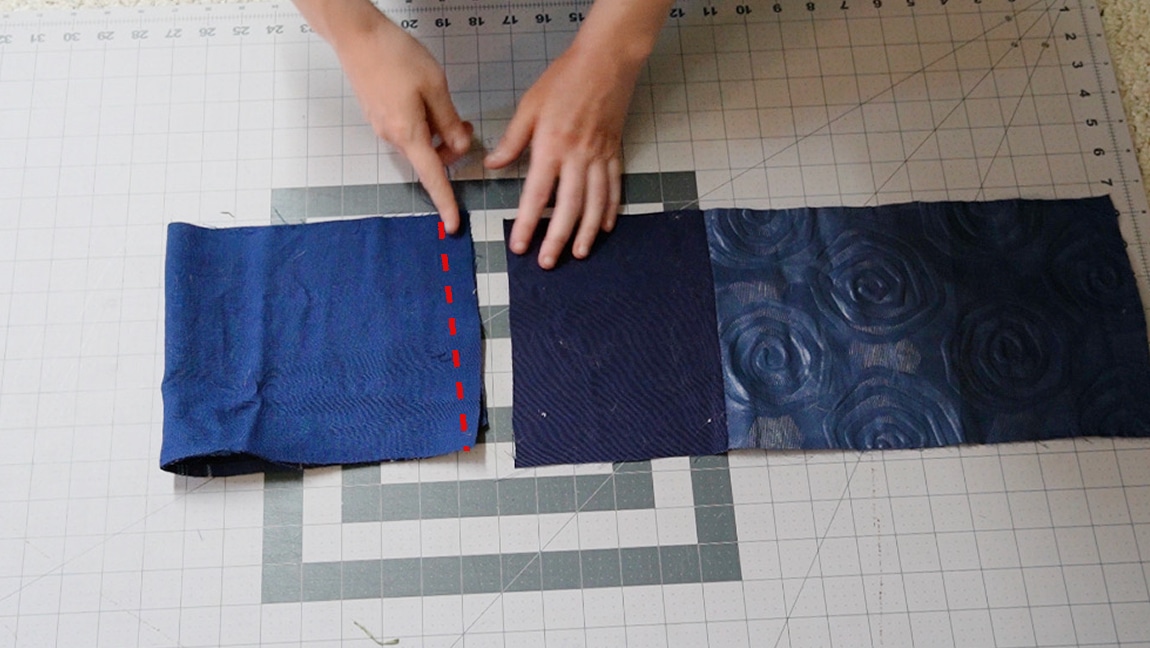
fold the cuffs in half and sew
With right sides together, fold the cuffs in half and sew them into a loop.
Step 14
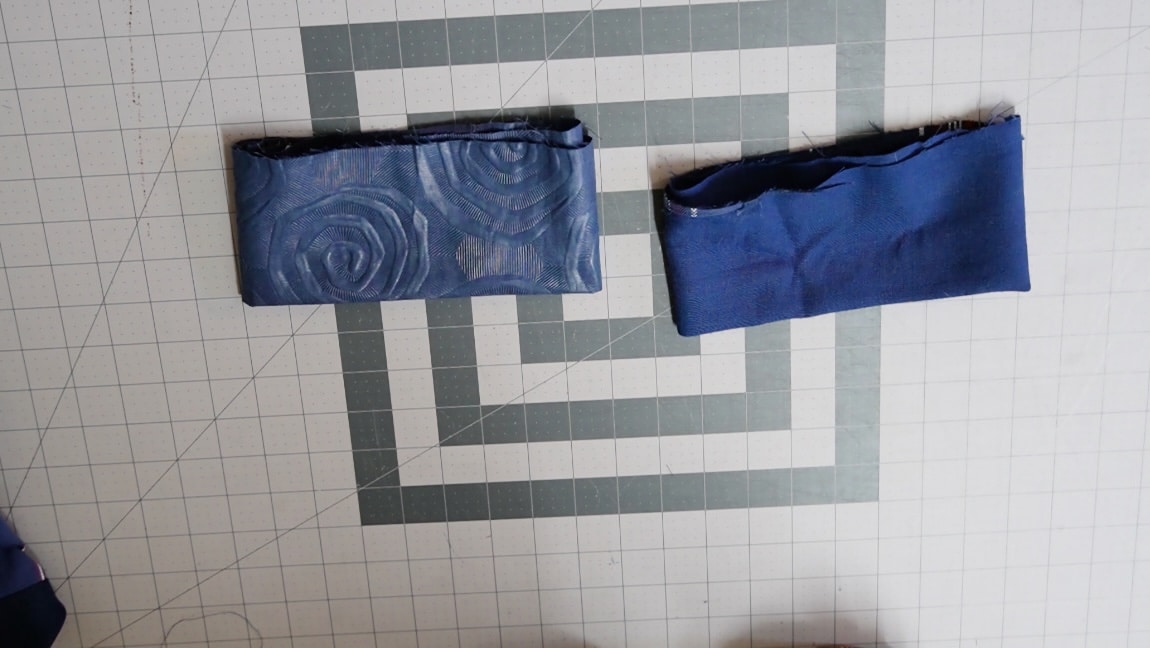
fold the cuffs in half with wrong sides together
Fold the cuffs in half with wrong sides together.
Step 15
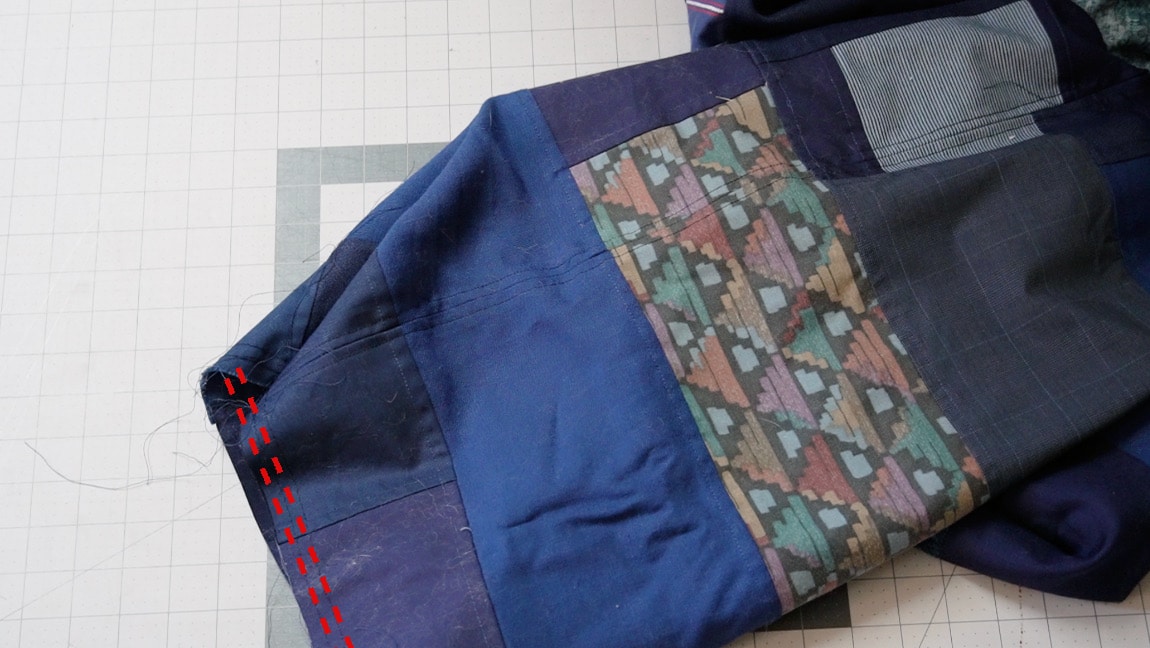
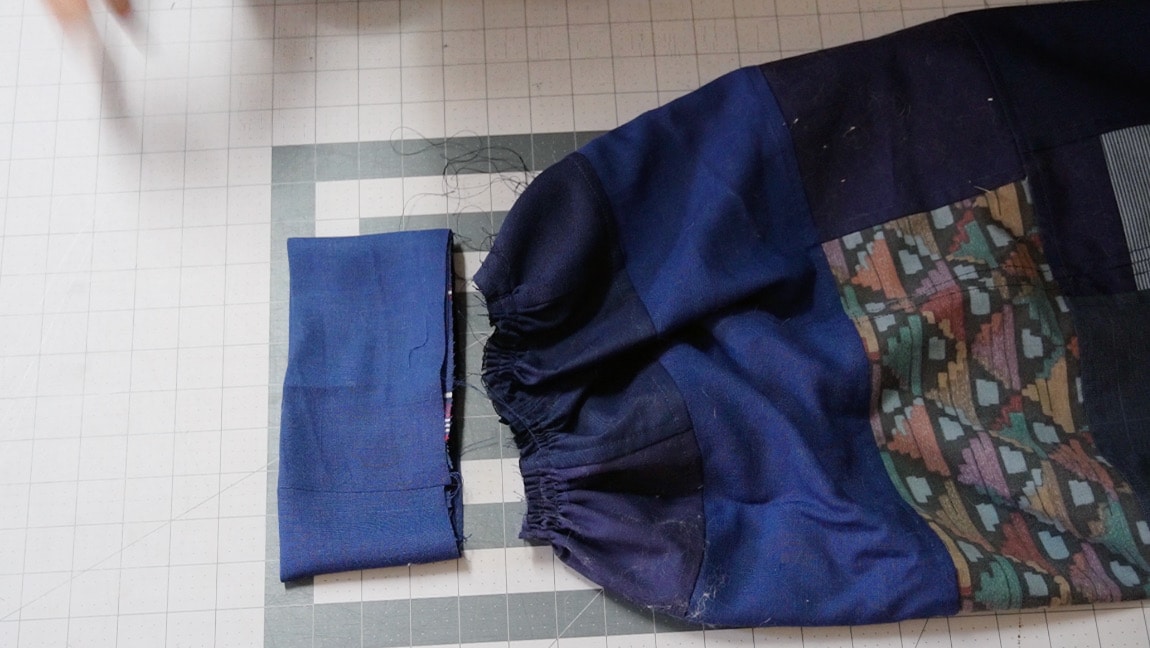
gather the bottom of the pant legs
Sew long gathering stitches along the bottom of both pant legs, and pull the stitches until they are the same size as the cuff.
Step 16
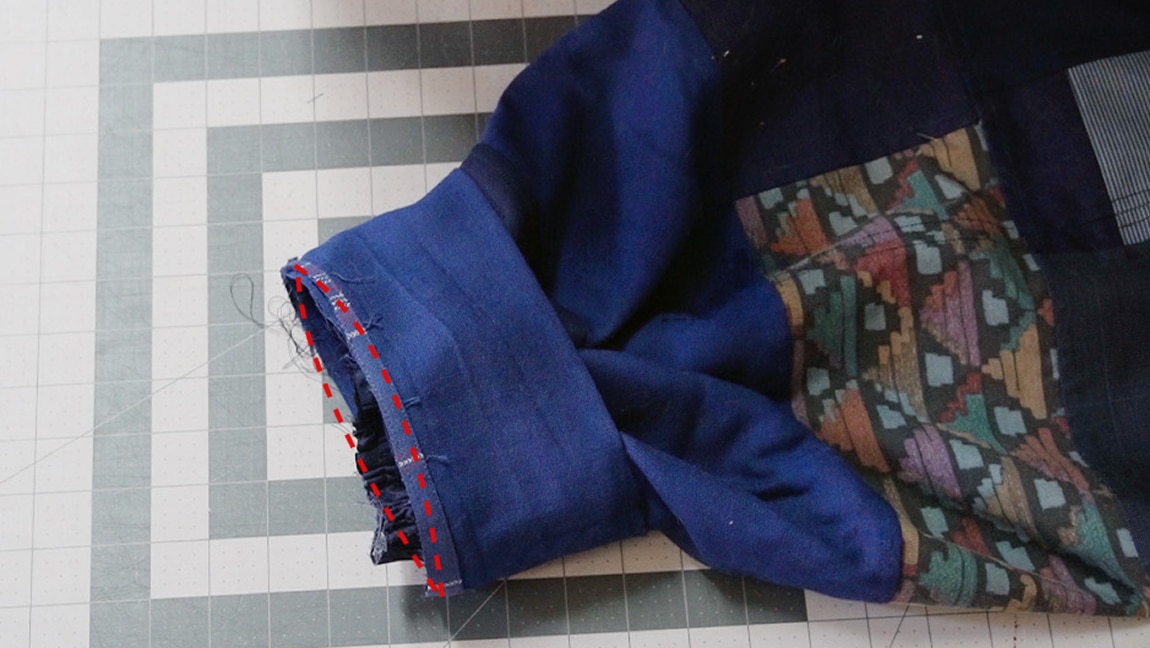
sew the cuff to the pants
With right sides together, sew the cuff to the pant leg.
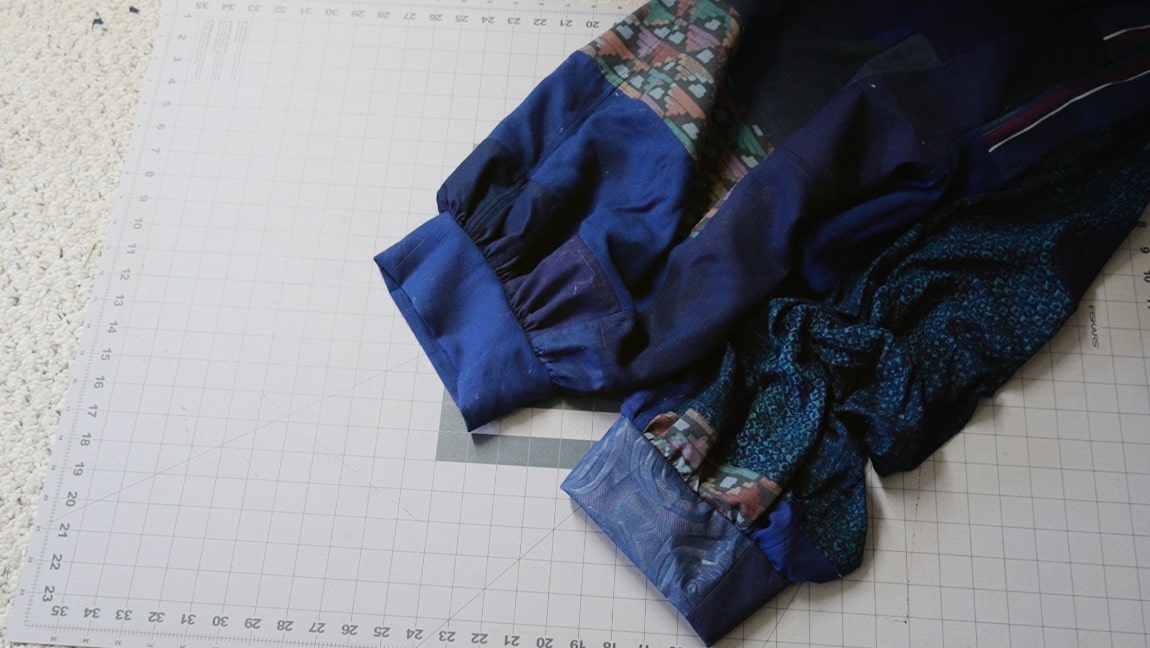
Finished!
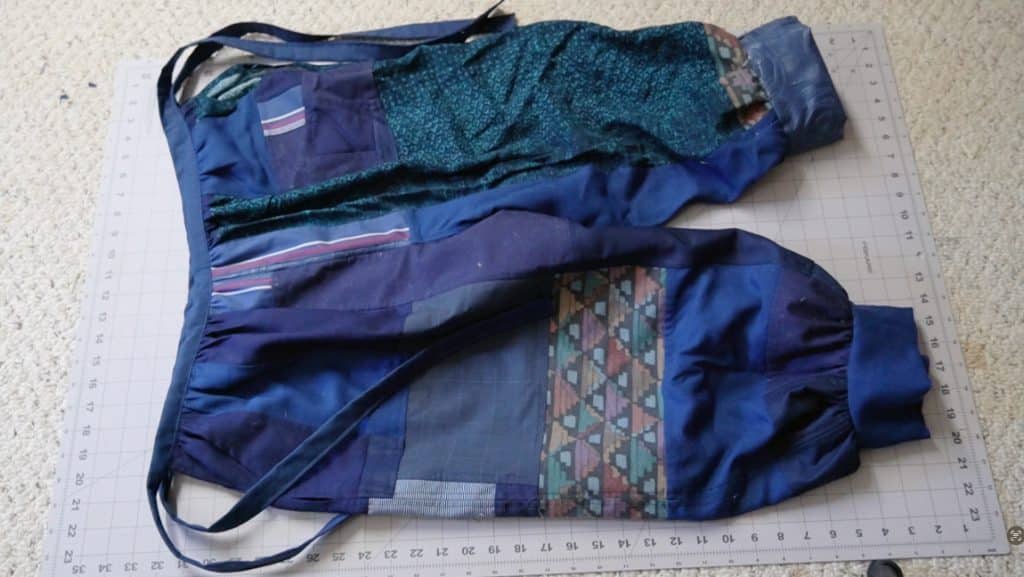
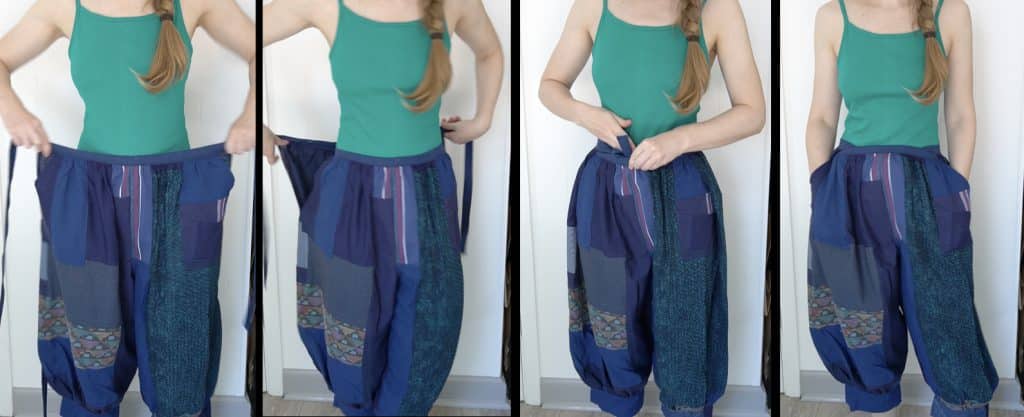
To wear the pants, tie the front behind you. Then tie the back of the pants around the front. Tuck the bows into the front and back pants to hide them.