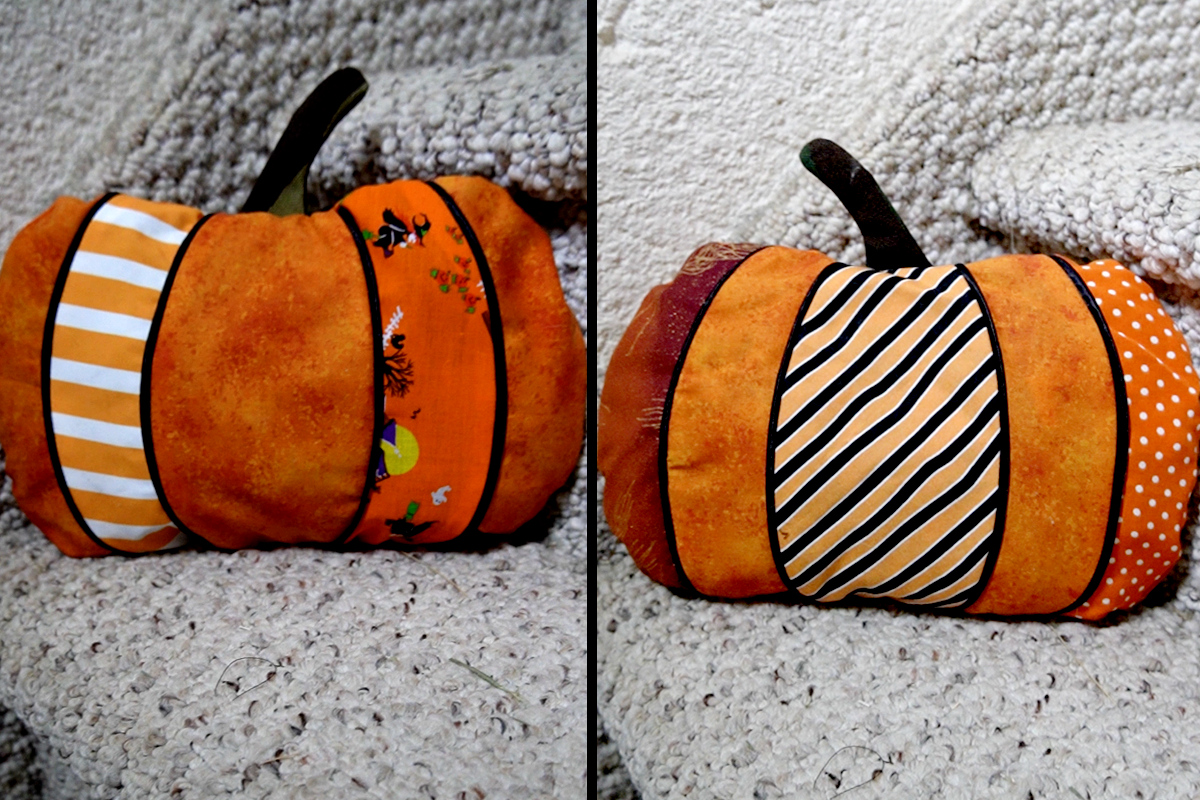
Tutorial: Pumpkin Pillow (with free pattern)
This page contains affiliate links. As an Amazon Associate, I earn a small commission from qualifying purchases.
Supplies Needed:

(all of my patterns include 1/2″ seam allowance)

Step 1

baste the black piping to the side pumpkin pieces
Add the black piping to all of the far-side and center-side pumpkin pieces along the inner curves.

Step 2

sew the pumpkin pieces together, sandwiching the piping
Do this for the front and back of the pillow.


Step 3

Sew the pumpkin stem
with right sides together, sew the stem pieces.

Step 4

turn the stem right side out
Trim the seam, clip the curves and turn the stem to the right side.

Step 5

Baste the stem to the top of the pumpkin pillow

Step 6

sew the front and back of the pillow together
With right sides together, sew your two pillow faces around the edge. Be sure to leave a gap on the bottom of the pillow so that you can turn it right side out.

Step 7

Trim the seam allowance and turn the pillow to the right side
Trimming the seam allowance with pinking shears can help to get a smoother curve around the sides of the pumpkin.

Step 8

stuff the pillow
You can use what ever you want to stuff your pillow. I like to use leftover fabric scraps that are too small to use for anything else as my pillow stuffing, but this does make the final pillow a little more lumpy than it otherwise would be. So, if you don’t like that, you can always use polyfill or another type of traditional pillow stuffing material.

Step 9

sew up the gap
Hand sew the gap closed to finish up the pillow.
Finished!