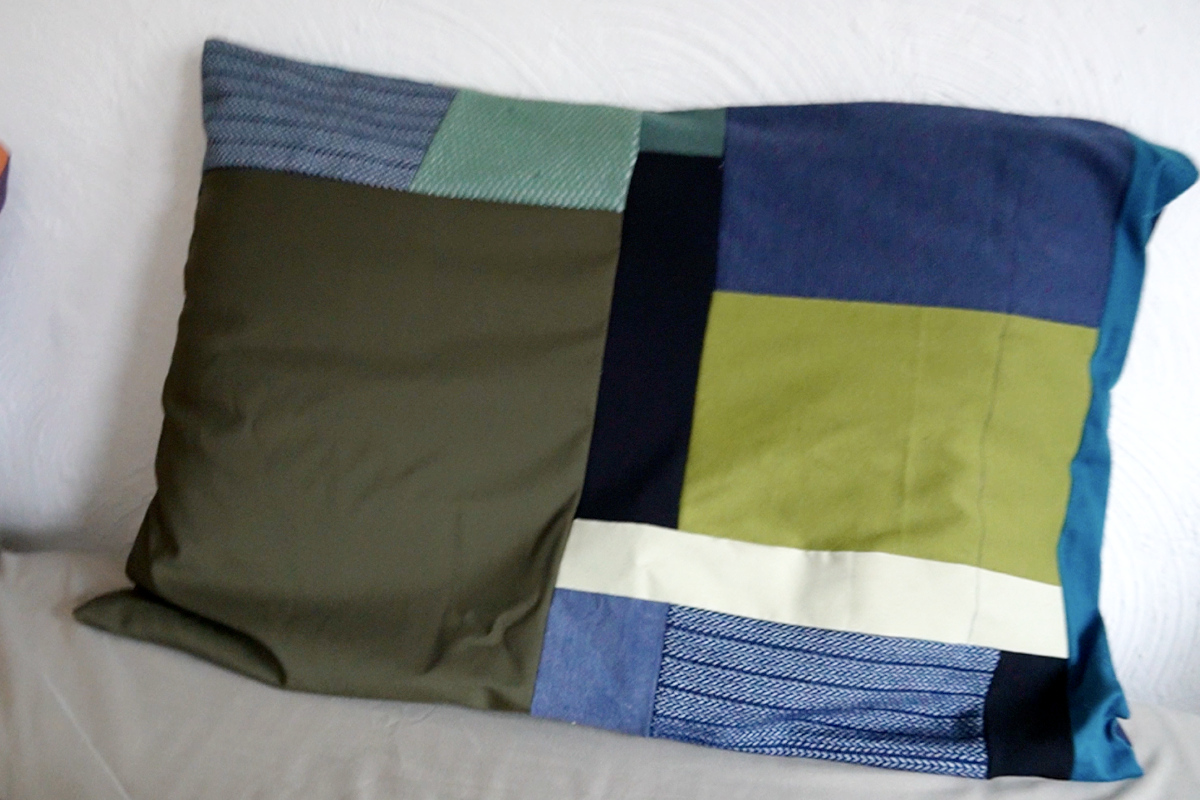
Tutorial: How to Make a Pillowcase With Scrap Fabric
Supplies Needed:

(all of my patterns include 1/2″ seam allowance)

Step 1

Arrange the scraps for your pillow
Lay out your fabric scraps and start organizing them into a collage. Make sure the scrap collage is big enough for your pillow pattern to fit. Remember to overlap the fabric pieces to account for seam allowance.
Note: This is significantly easier with straight edges, so I recommend cutting straight lines and right corners on your scraps.


Step 2


sew the scraps together
One by one sew your scrap pieces together. I usually start by sewing smaller pieces into chunks, and then add on the bigger pieces.
Step 3

cut out your pattern from the scraps
Place your pillow pattern on top of your scrap layout and cut it out. Now you have a one side of your pillow.

Step 4

repeat the process for the second side of the pillow
Repeat steps 1-3 for the other side of the pillow.
Step 5

sew the front and back of the pillow together
With right sides together, sew your two pillow faces around the edge. Leave one side open.

Step 6

fold over the side of the pillow according to the dotted line
Fold over the open side of the pillow along the dotted line on the pattern (or 4 inches from the end). Sew this flap down to hem the side of the pillow. Then turn the pillow to the right side.


Finished!