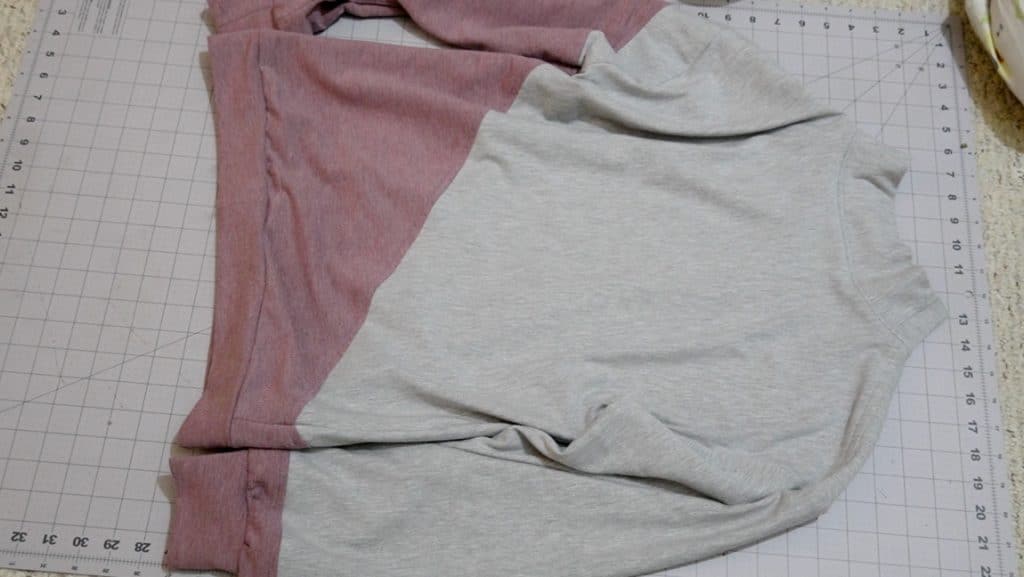
Tutorial: How to Color Block a Sewing Pattern to Customize Your Costume
Color blocking is a way of breaking a sewing pattern down into pieces so that you can use different colored fabrics in the same design. It’s an excellent way to create unique garments that also use up leftover remnants of fabric.
This tutorial will walk you through the basic technique for creating color block sections of your garments. You can do this with just about any sewing pattern that you own as your starting point, the steps will be the same.
Supplies Needed:
Step 1
Make your design lines
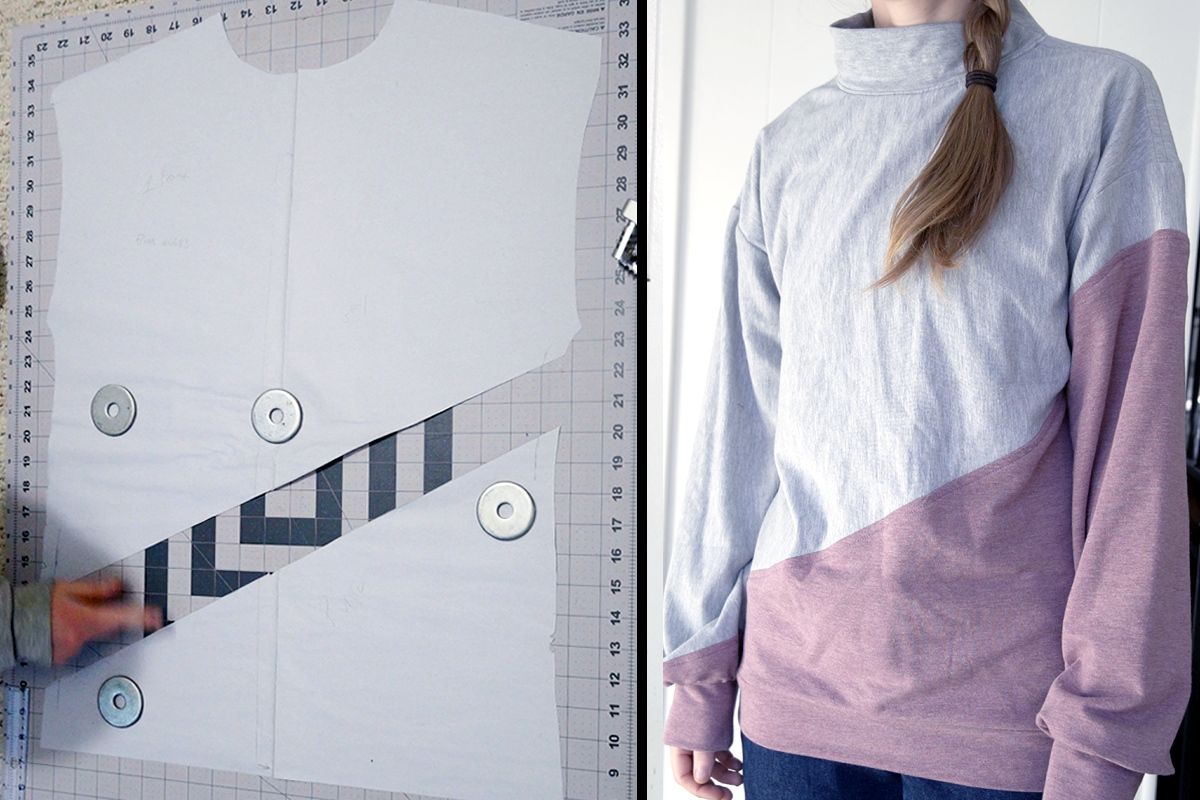
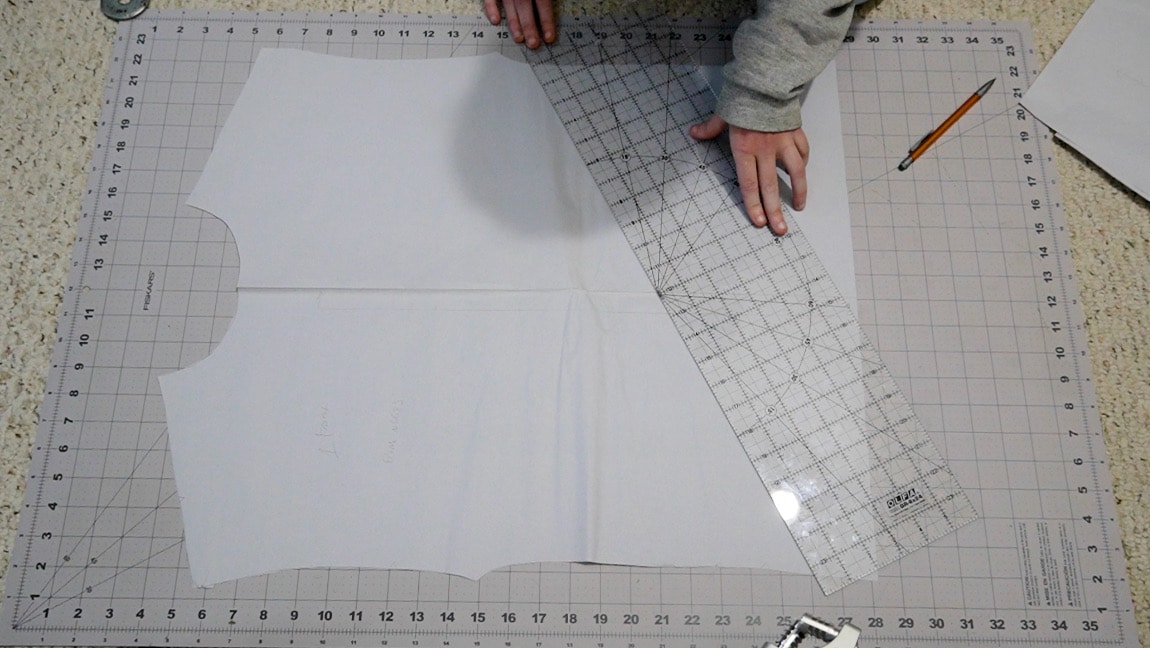
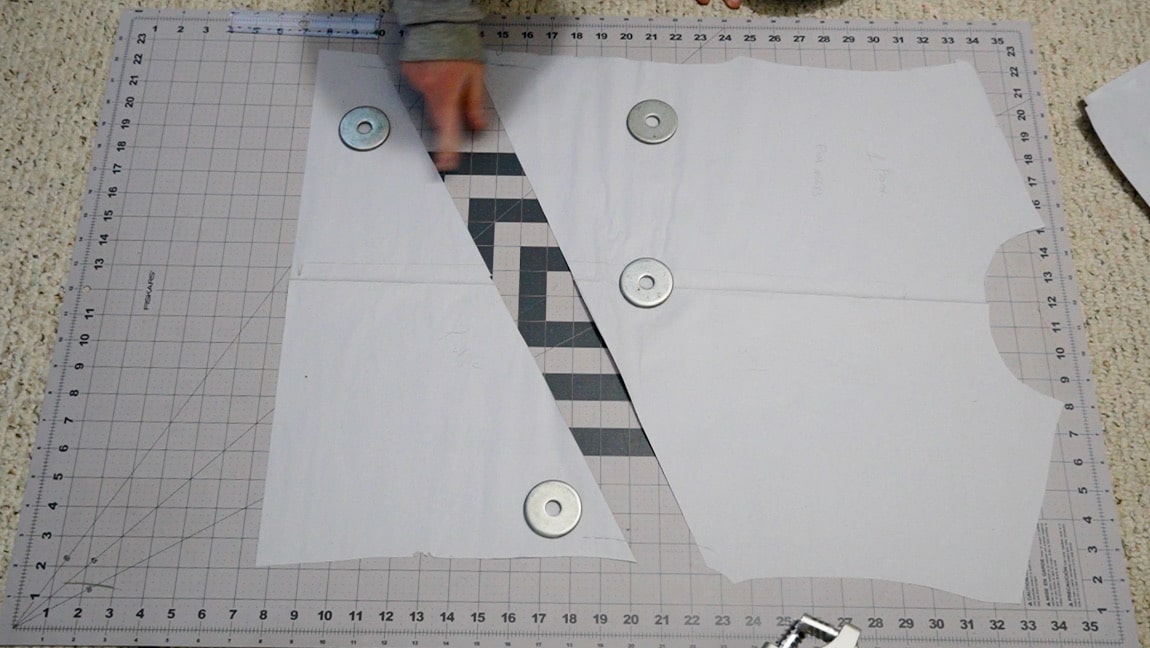
The first step is to decide what you want your final design to look like. In this case I want to add a diagonal line on my shirt from one shoulder down to the wrist. So I need to draw in the diagonal line.
Note: You’ll notice I am making edits on a whole front piece, rather than a half piece that is “cut on fold.” If you want to make an asymmetrical design that is not the same on the right and left sides of the body, you should trace out your whole front and back pieces before drawing your design lines.
Step 2
Match your lines in front and back
If you want your color blocking to be mirrored on the front and back, you’ll need to make sure the design lines up along the seams. Make sure to transfer the design lines along the side seams to ensure they will line up correctly when sewn.
Step 3
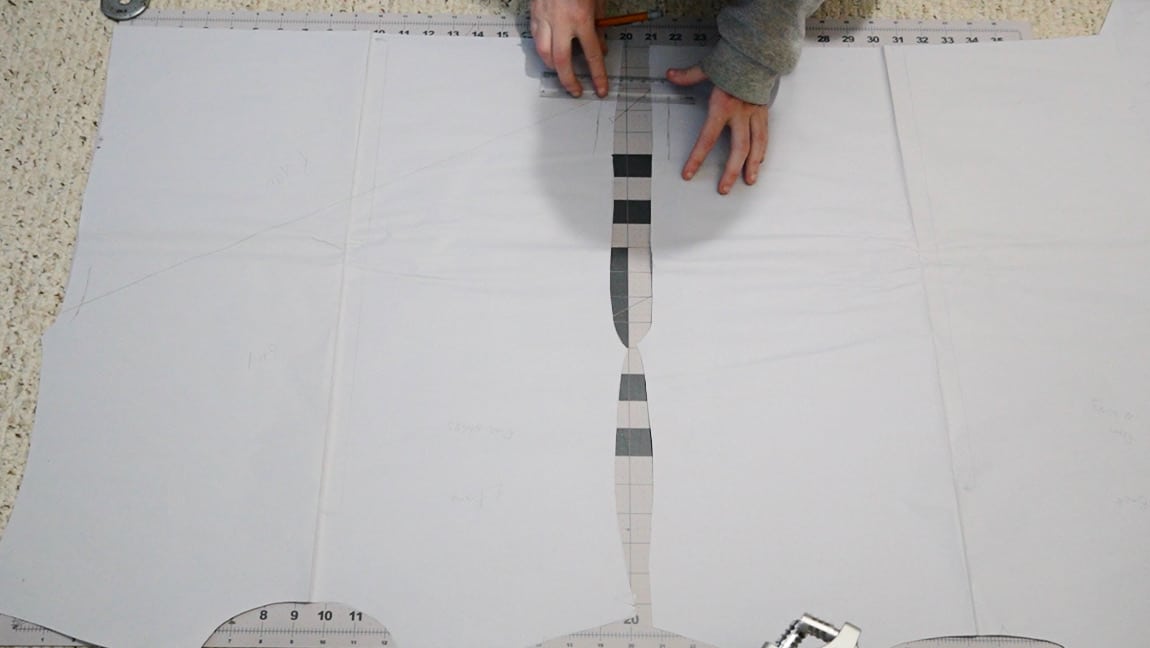
Cut the design lines
Now it’s time to cut your pattern open along the lines you created.
Step 4
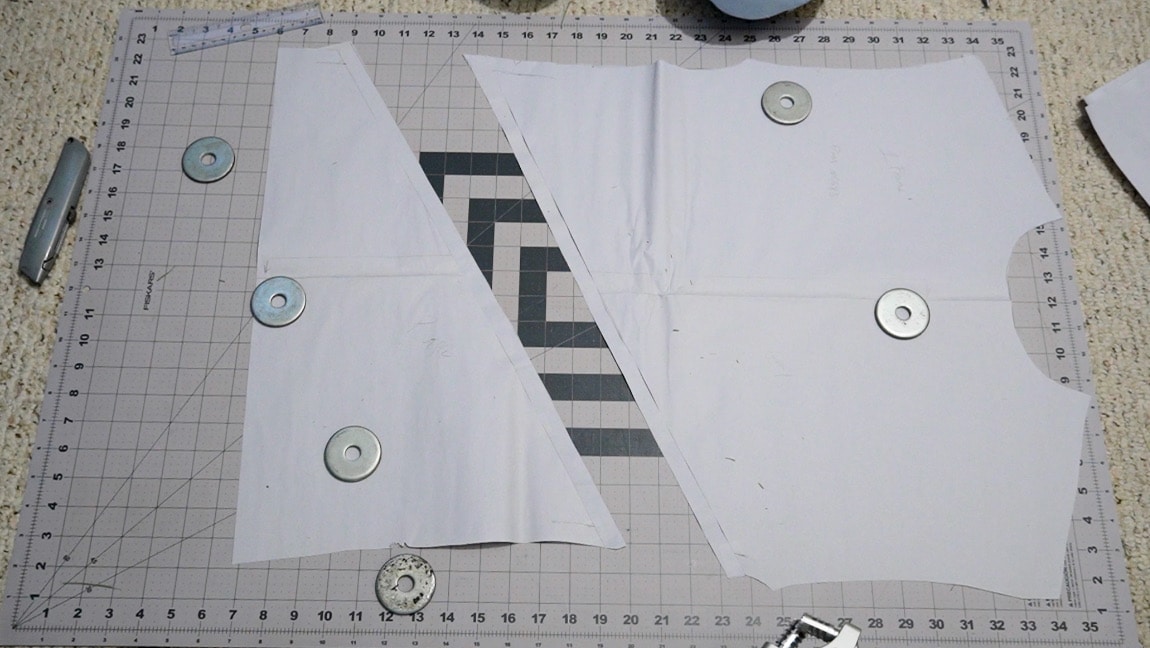
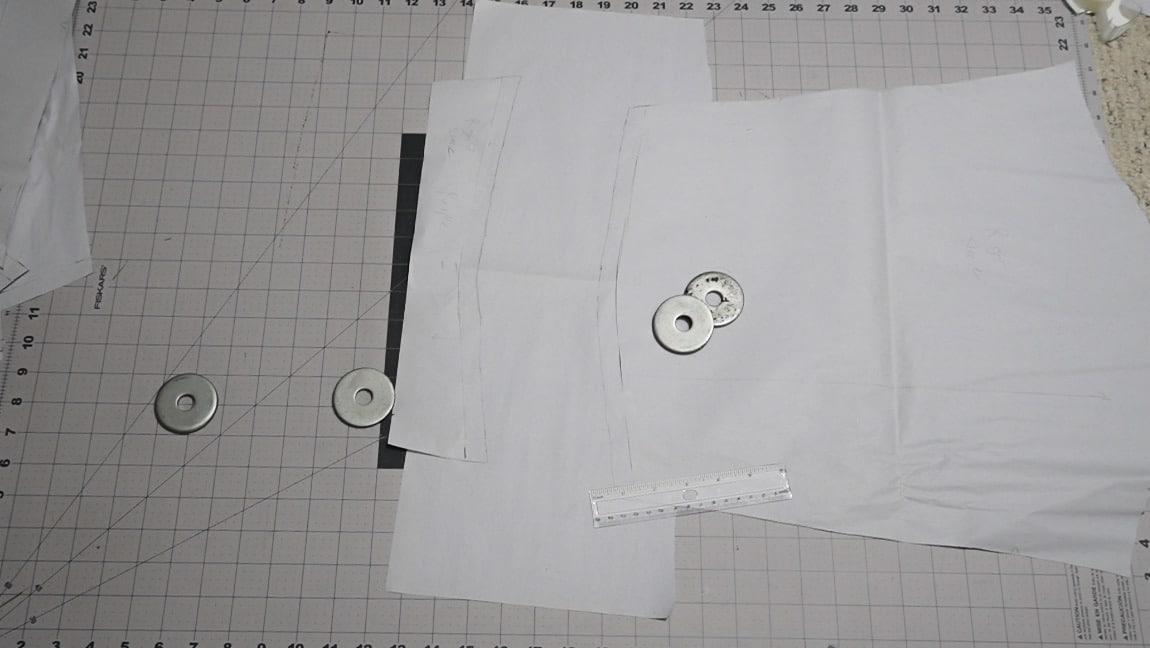
add seam allowance
After cutting, you must add seam allowance along both sides of the cut so that the final shirt will have the same shape. You can add however much seam allowance you want, but I will usually add however much the original pattern uses (usually 5/8″)
Step 5
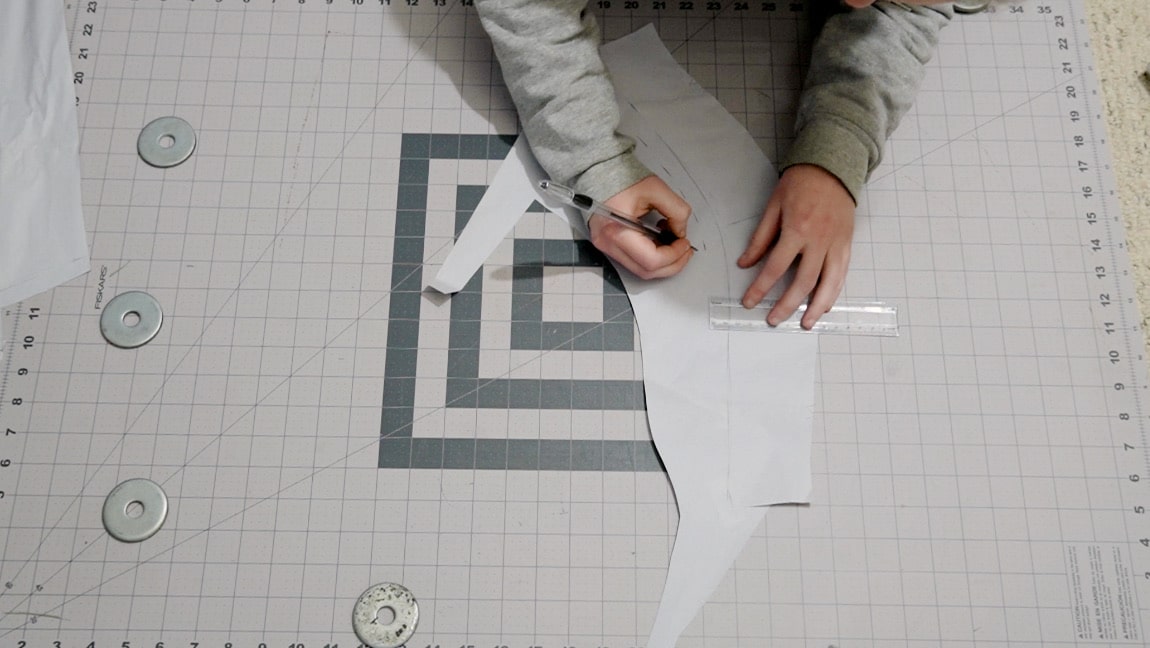
You can use the same process to make color blocking along curved seams
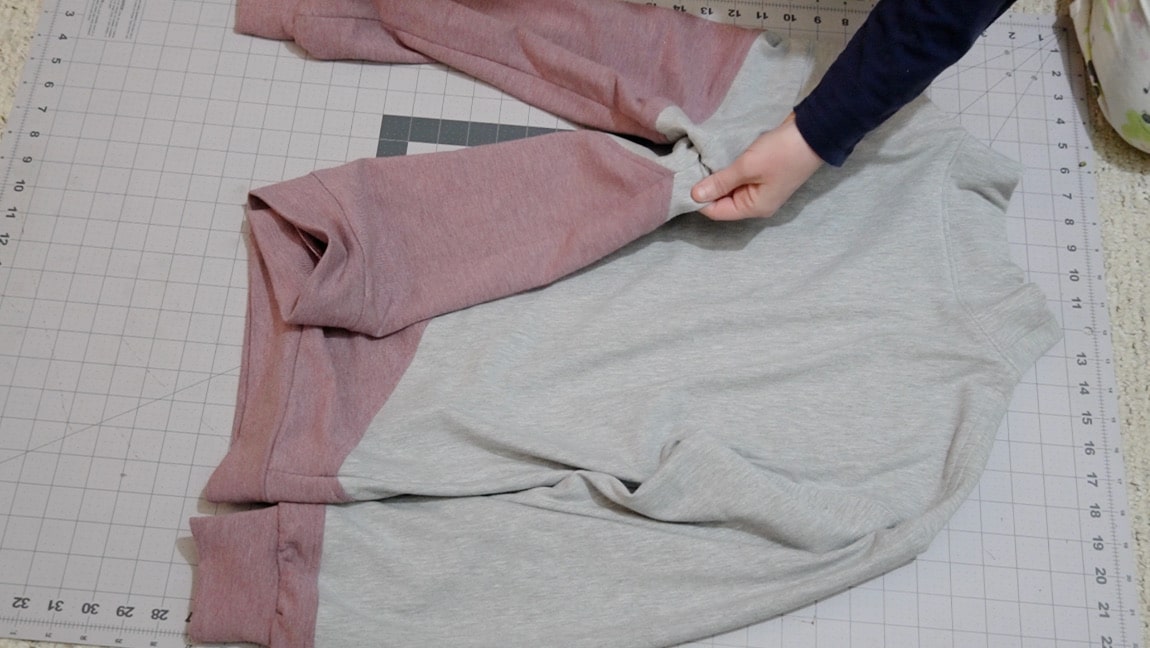
Since I want the diagonal line to continue into the sleeves, I needed to repeat the process, curving it along the sleeves. Make sure your design lines meet up on both sides of the sleeves and remember to add seam allowance after cutting the pattern open.
Step 6
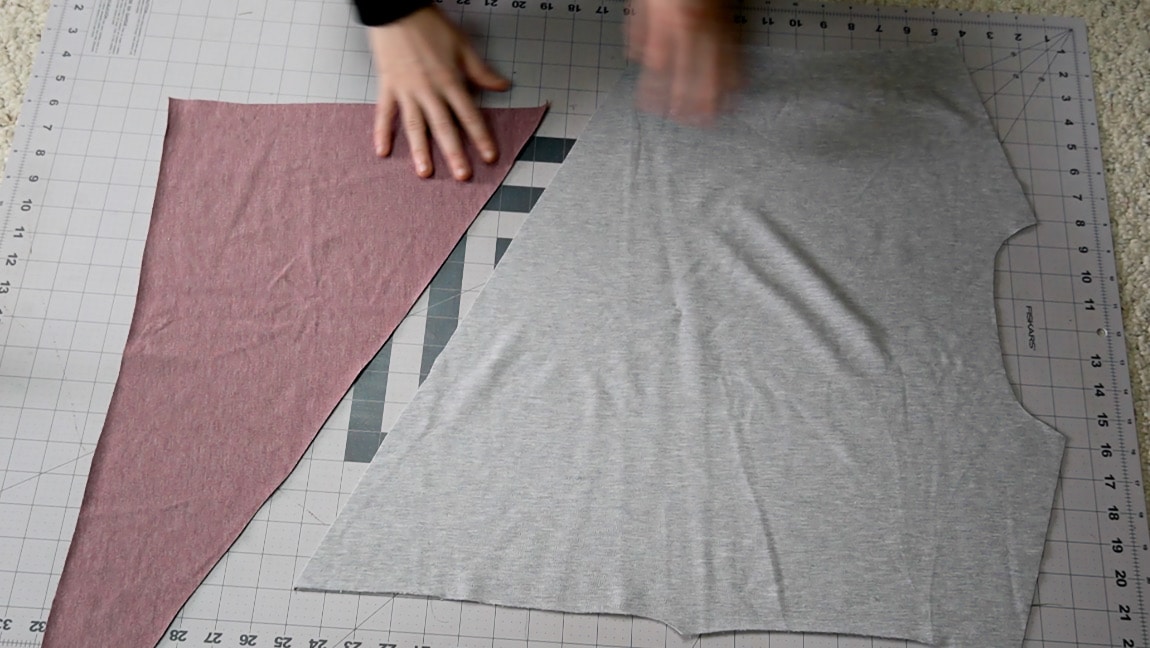
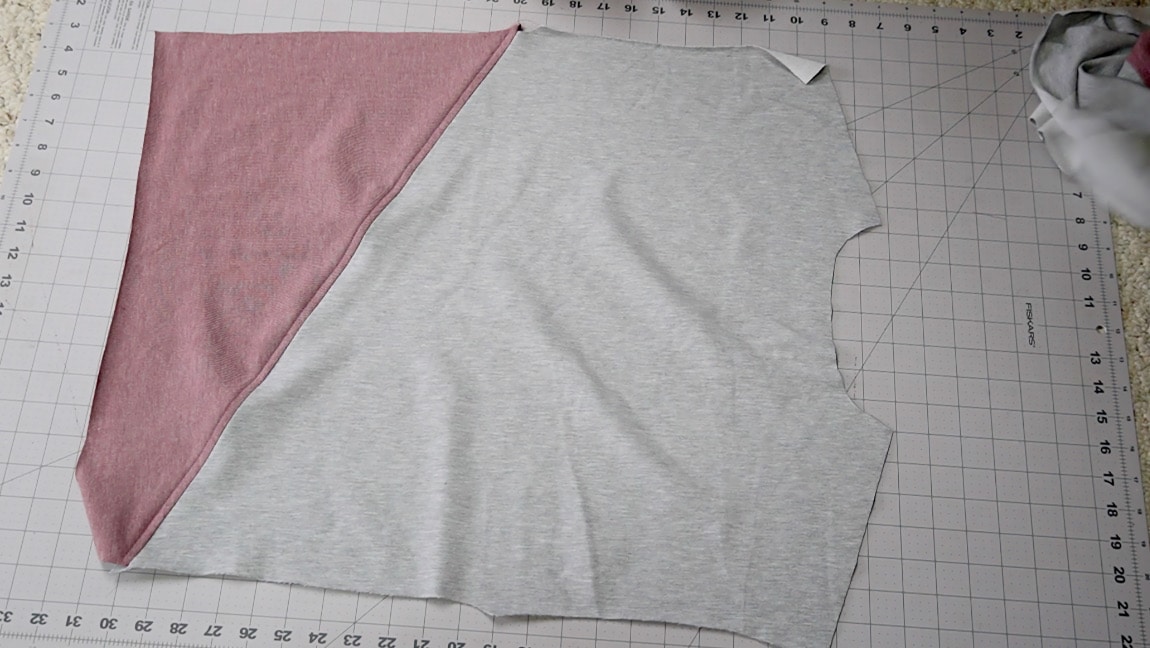
Assemble the pieces
After cutting out your pattern pieces, the first thing you want to do is sew the main pieces together. What I mean is, your sewing the font pieces together to create the whole front piece, and the back pieces together to create the whole back piece, and the same for the sleeves.
Note: Be careful when cutting asymmetrical patterns. The pieces need to be cut on a single layer of fabric with the right side of the pattern piece face up. If not, you’ll end up with the back being a reverse diagonal, and the sides won’t meet up properly.
Step 7
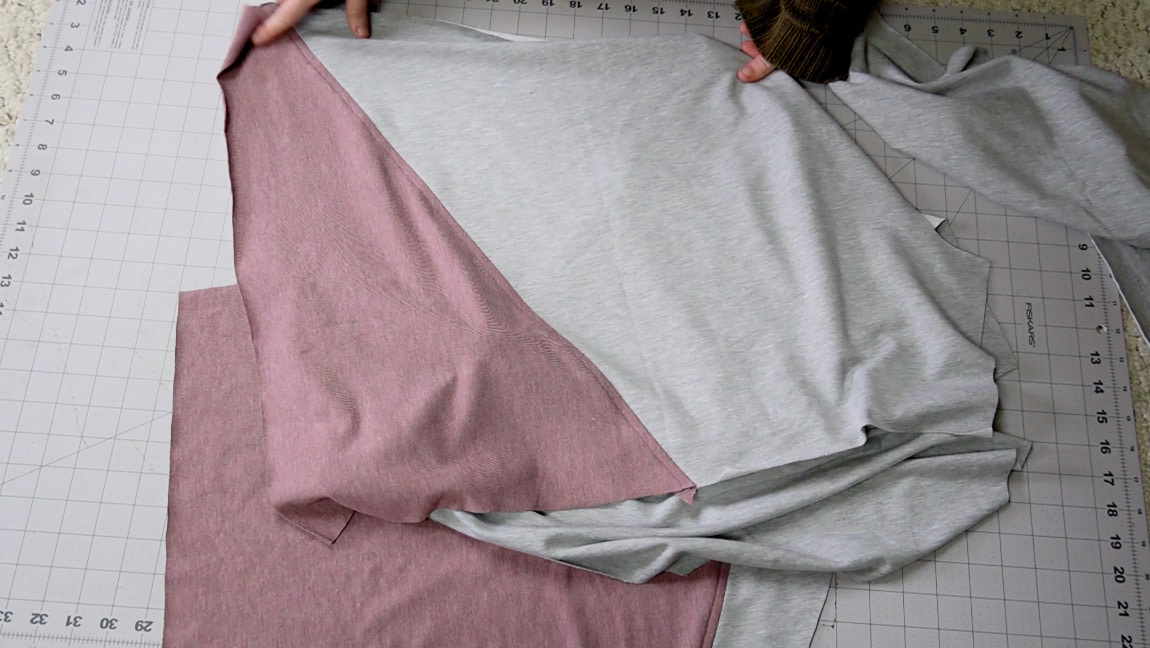
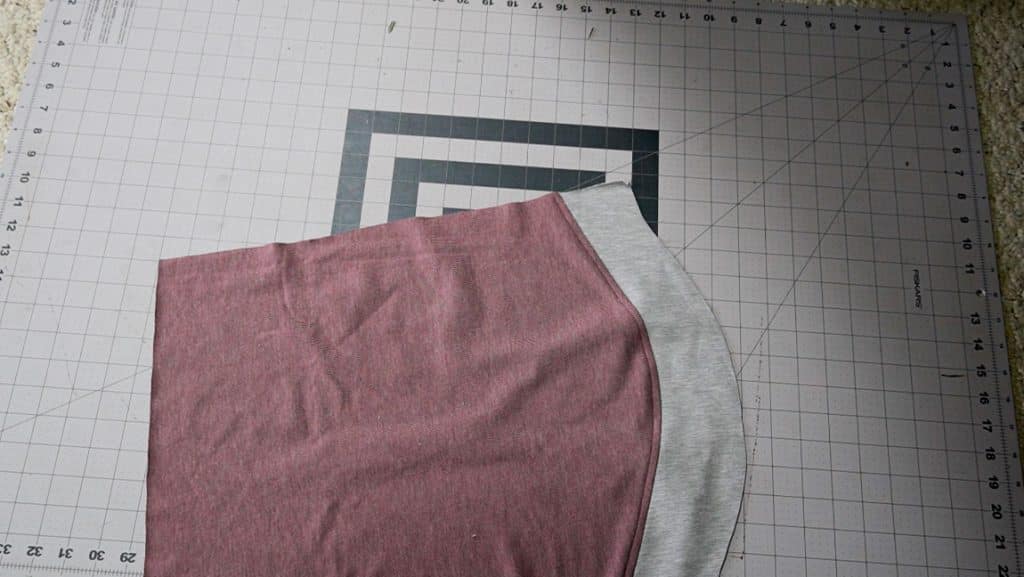
Sew the garment following pattern instructions
After you’ve sewn the color blocking pieces together, you can start to follow your original pattern instructions to assemble your garment. When sewing your side seams, make sure match the color blocking seams for that cool effect.
Finished!