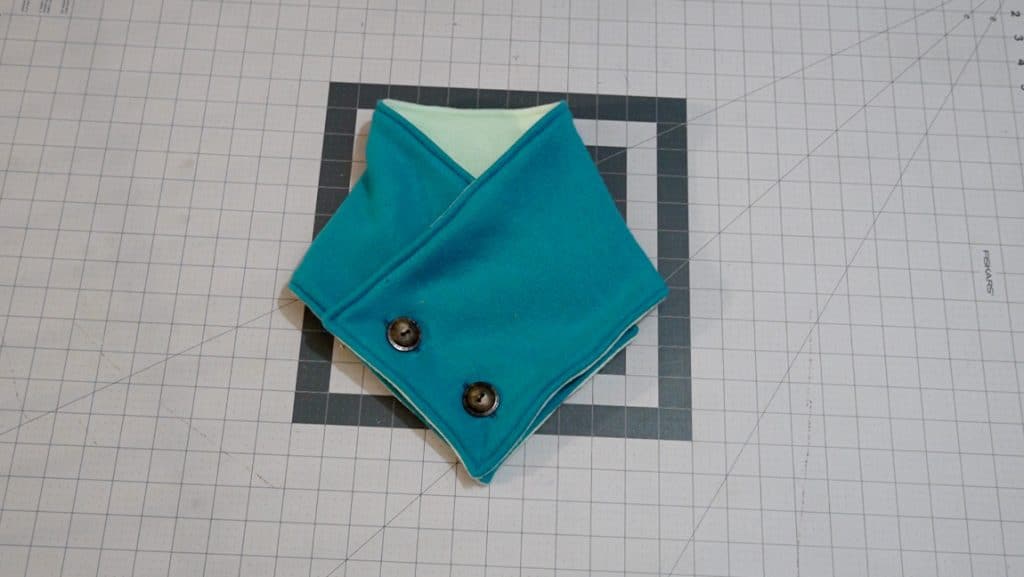
Tutorial: Cowl Neck Scarf With Buttons
Supplies Needed:
(all of my patterns include 1/2″ seam allowance)
Step 1

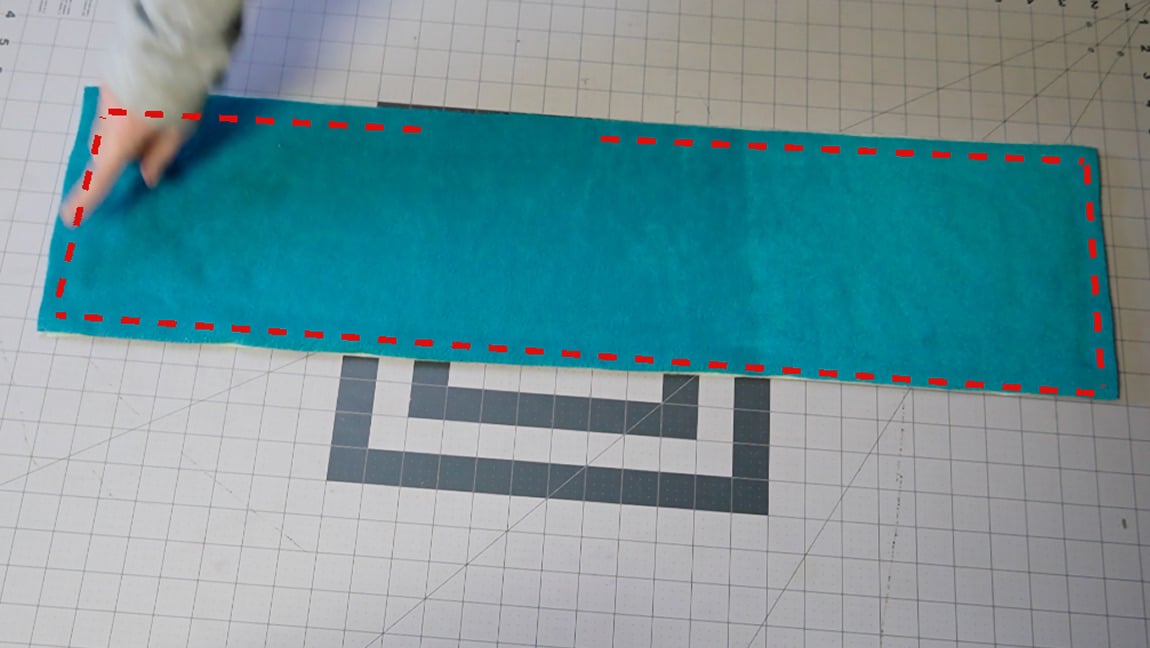
sew the scarf to the front and back
With right sides together, sew the scarf front and back together along the perimeter. Leave a small gap in the center.
Step 2
Poke a hole in the belt
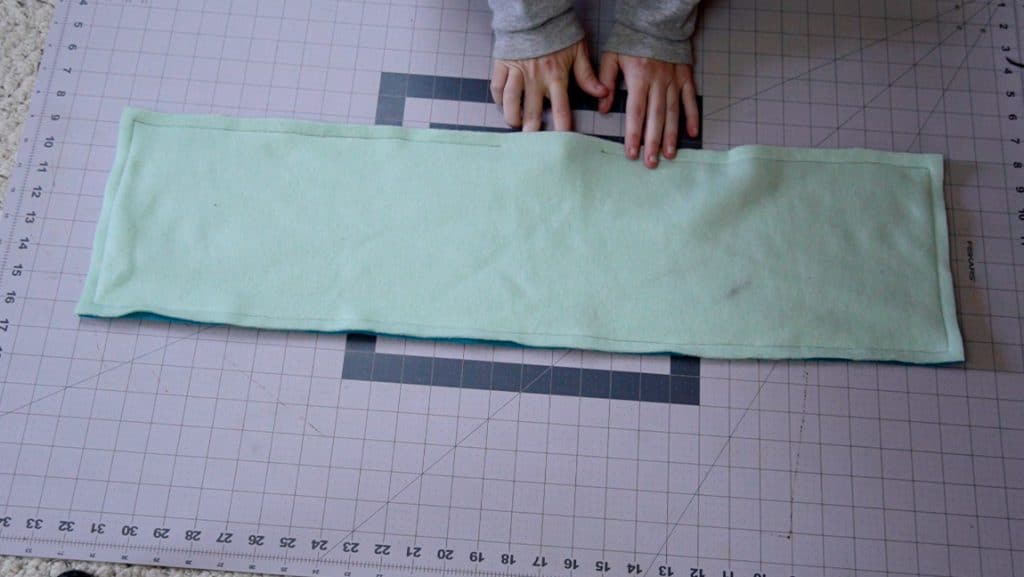
Clip the corners and turn the scarf to the right side through the small gap. Then press the seams.
Step 3

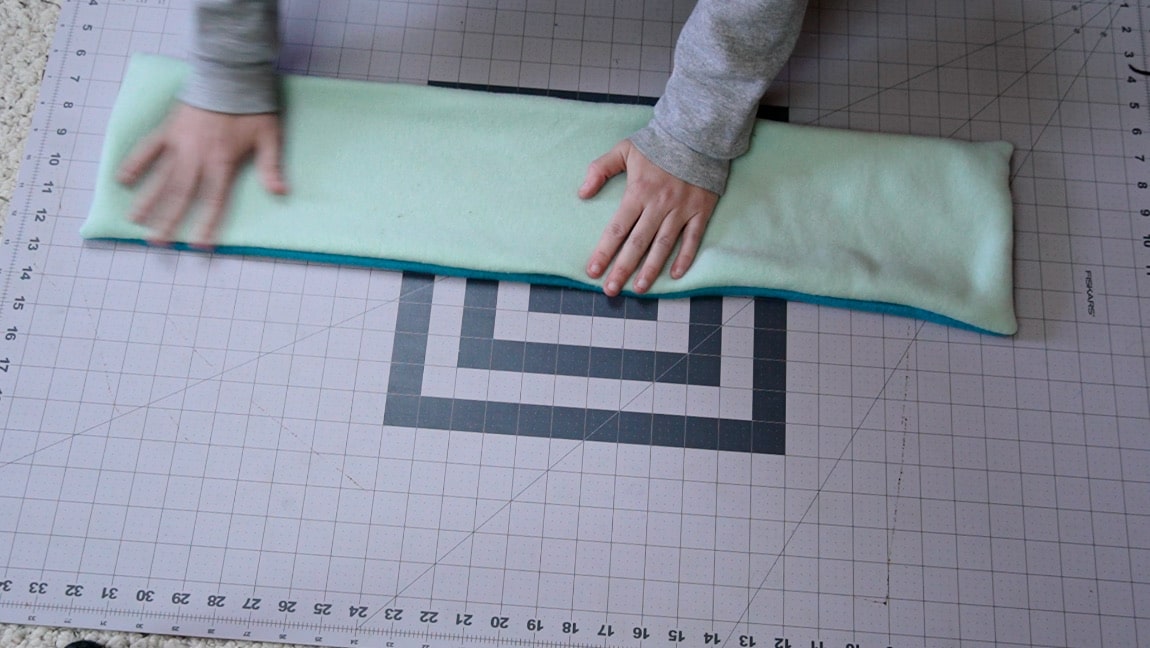
fold the gap together and Topstitch the scarf
Using matching thread (one color as top thread and the other color as the bobbin), top stitch all the way around the perimeter of the scarf about 1/4″ in (this will also close up the gap in the scarf). This will keep the edges crisp over time.
Step 4
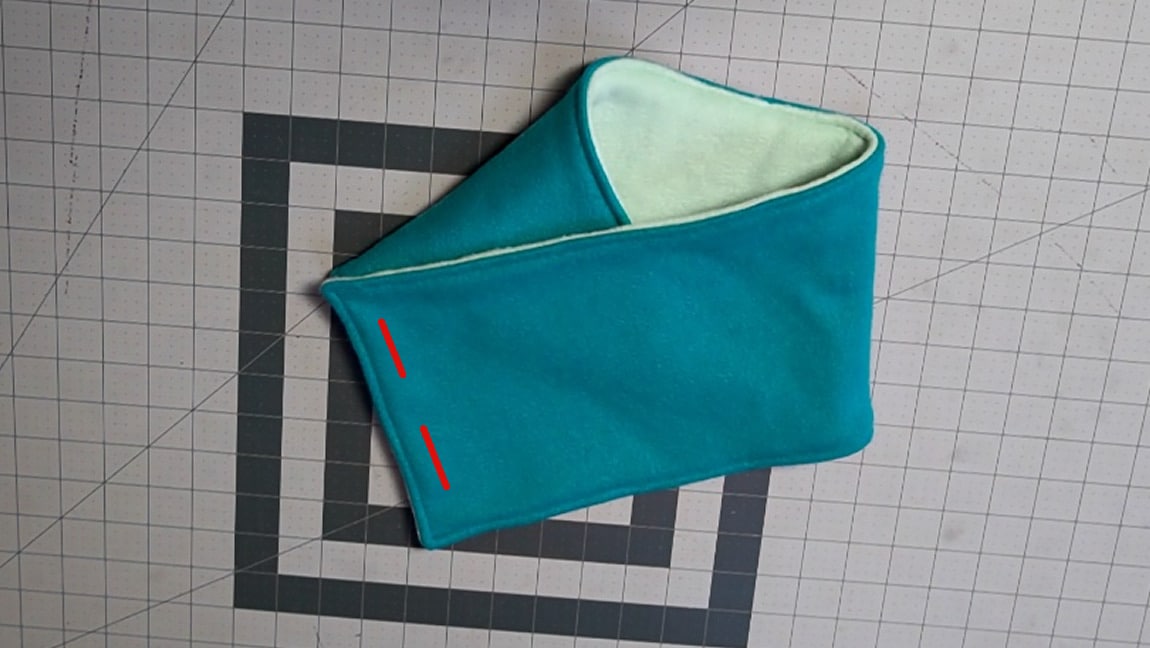
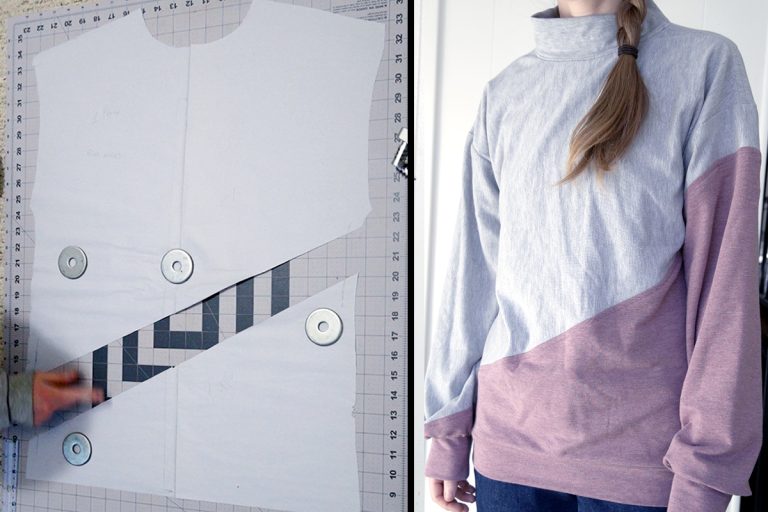
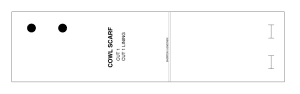
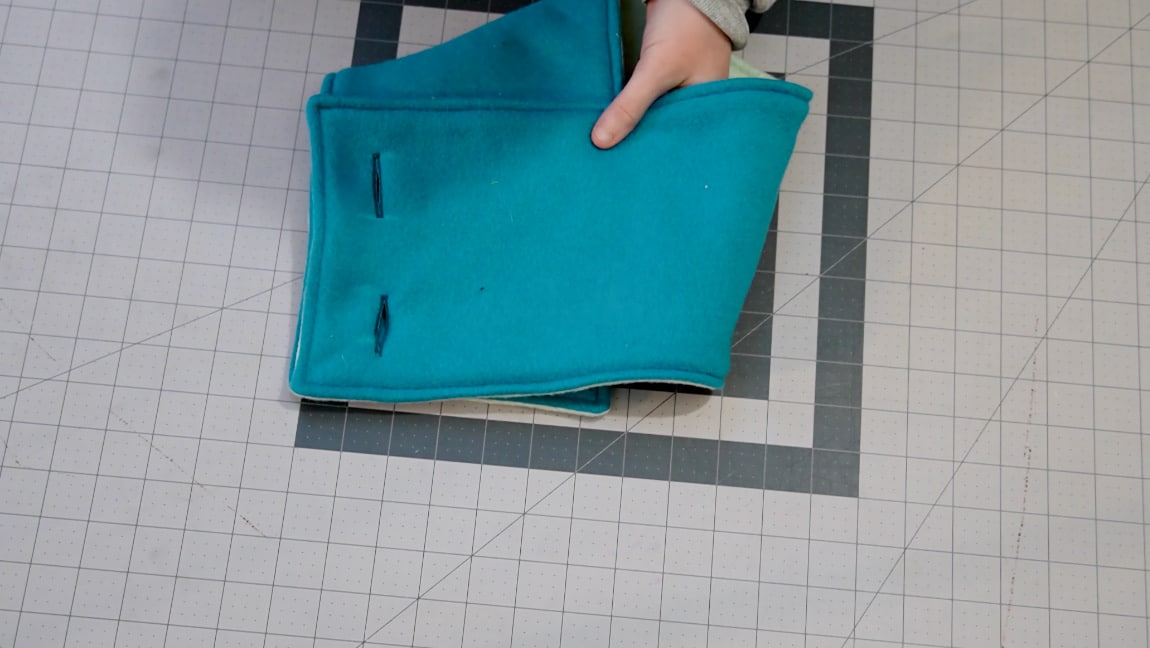
sew the button holes
Using the markings on the pattern, sew the button holes. Sewing button holes will vary depending on your sewing machine, so make sure you read your machine’s manual. These button holes were made for 1″ buttons.
Step 5

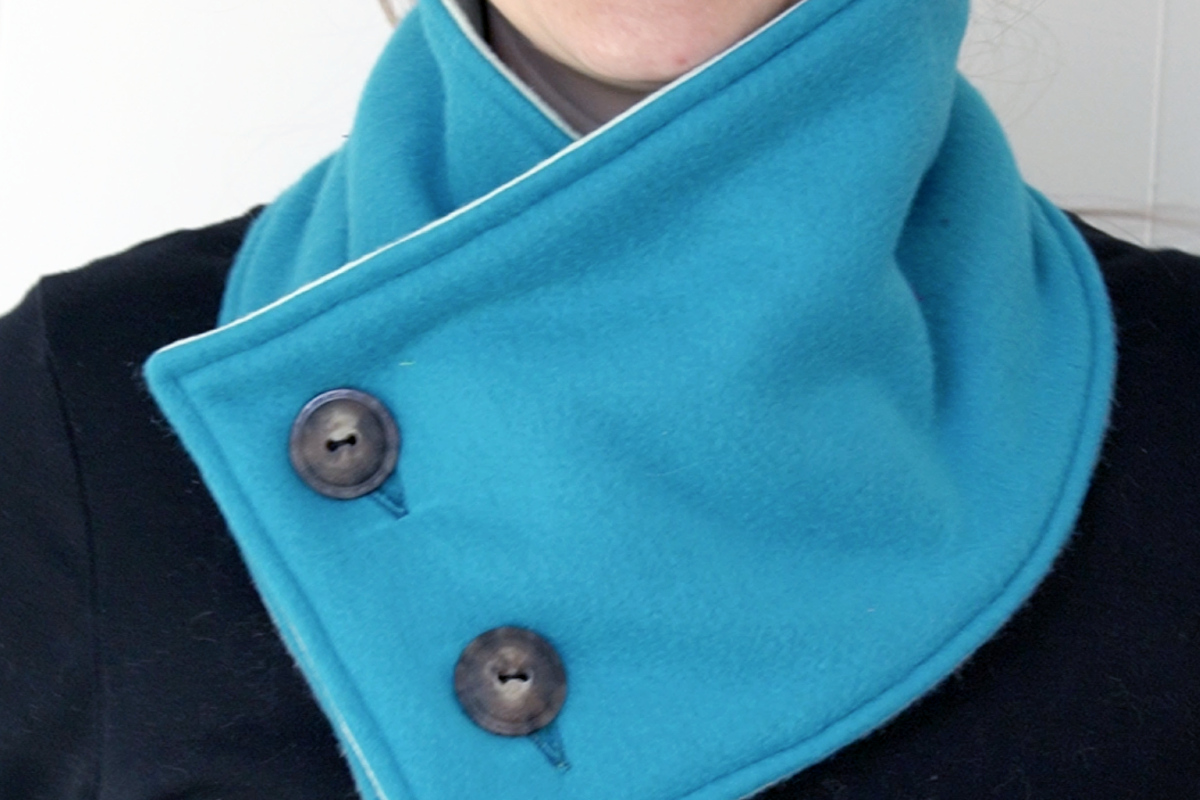
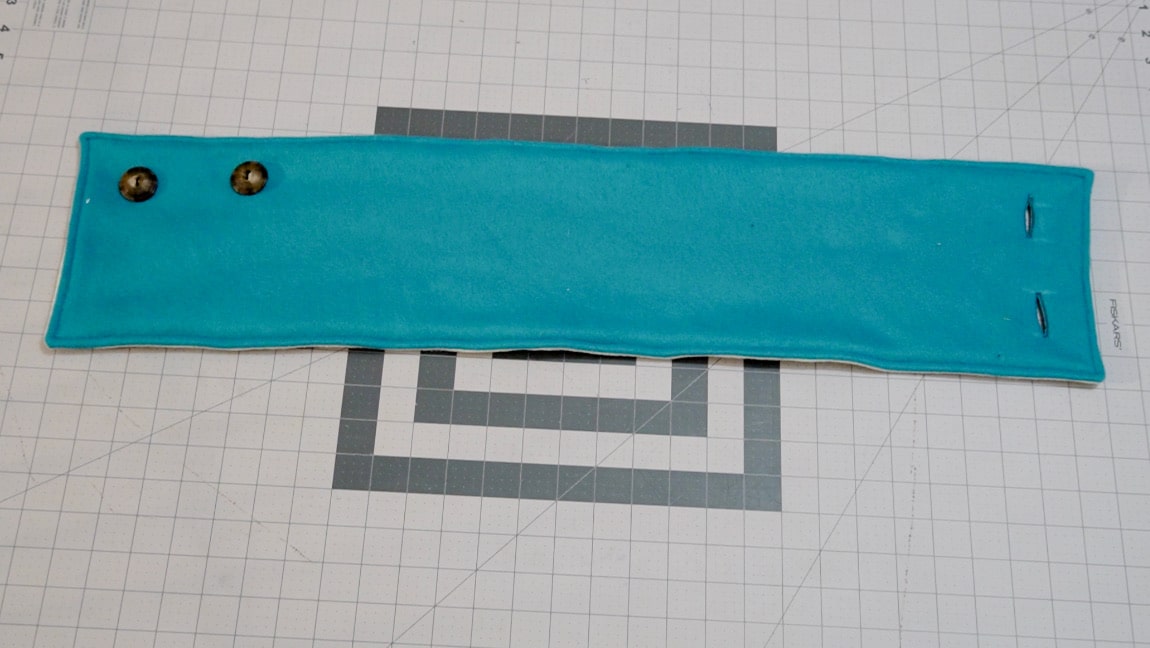
sew on the buttons
Using the markings on the pattern, sew the buttons onto the other end of the scarf.
Finished!